We celebrated my son’s second birthday this past weekend, which was awesome but really threw me for a loop. I mean, how on earth do I suddenly have a two-year-old? And does this mean that I can no longer refer to him as “the baby?”
I can’t believe how much my little guy has grown over the past year. It seems like only yesterday when we were first starting to see him walk…and now he spends many a day running, dancing, reading, playing, babbling, and of course, eating. (Not shockingly, my child loves his food. “Ice cream” and “cake” were among his first words – I kid you not.)
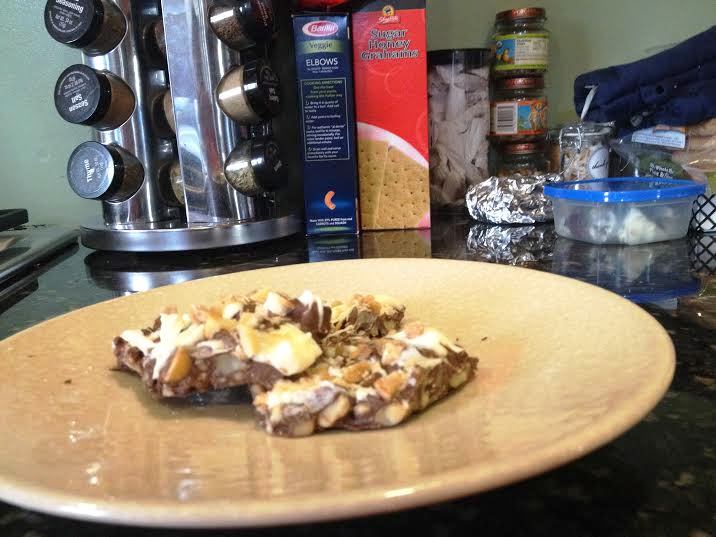
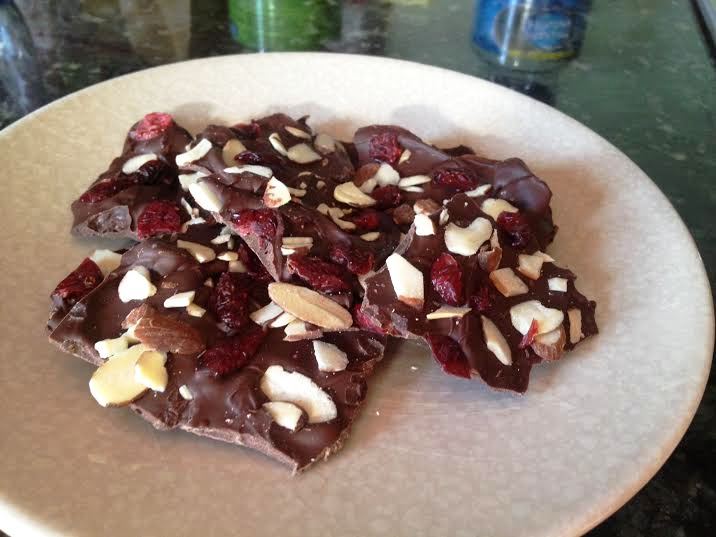
Now I could go on and on about how wonderful my little boy is and how much I love him, but I realize there’s a recipe to get to, and it involves birthday cake. Since we were having family over for a small celebration, I decided to go a little crazy on the dessert front. I made brownies, blondies, candy, and cheesecake, but no birthday dessert menu would be complete without a classic yellow cake with chocolate frosting. Needless to say, the child gobbled up his birthday cake after blowing out the candle with a a little help from Mommy and Daddy. He then proceeded to gobble up some cheesecake as well, after which he asked for fruit and ice cream. I wonder where he gets it from.
Not only is this the recipe I chose to make for my son’s birthday, but it’s also the 100th recipe I’m sharing with all of you. And I’m really happy to mark the occasion with a recipe that I made with my child in mind. See, when I started this blog almost a year ago, I had no idea how often I’d be able to update it or even get some quality time in the kitchen for that matter. Between working full-time, running a household, and taking care of the kid, the word “busy” sometimes doesn’t even begin to describe my day. But after all is said and done, everything I do, from laundry to cake-making, is all part of being a mama in my book. It’s not always glamorous, but I wouldn’t trade it in for anything else.
And with that, happy birthday little guy, and thank you for putting up with your busy baking mama.
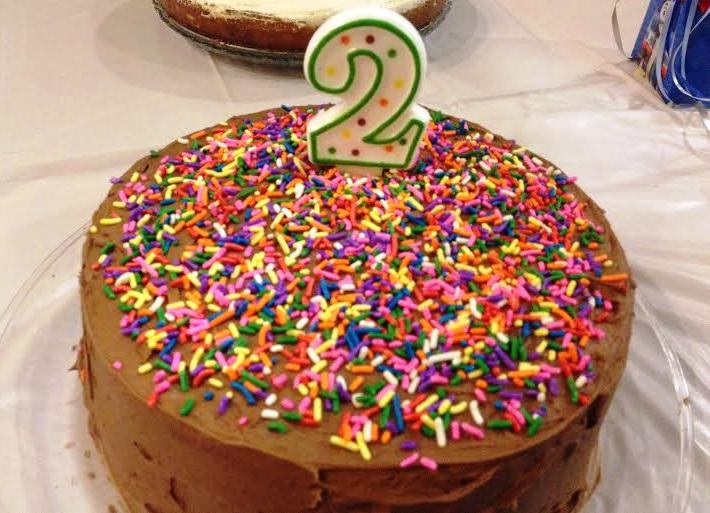
Yellow Birthday Cake With Chocolate Buttercream Frosting
Cake Recipe from Smitten Kitchen; Frosting Recipe From Savory Sweet Life
Ingredients:
For the cake:
4 cups plus 2 tablespoons cake flour
2 teaspoons baking powder
1 and 1/2 teaspoons baking soda
1 teaspoon salt
2 sticks unsalted butter, softened
2 cups granulated sugar
2 teaspoons vanilla
4 large eggs, at room temperature
2 cups buttermilk, well-shaken
For the frosting:
2 sticks unsalted butter, softened
3 and 1/2 cups confectioners sugar
1/2 cup cocoa powder
1/2 teaspoon salt
2 teaspoons vanilla
4 tablespoons whole milk or heavy cream
Method:
For the cake:
- Preheat your oven to 350 degrees. Butter and flour two 9-inch round cake pans and set aside. (I added a light layer of cooking spray as well.)
- In a medium bowl, combine the flour, baking powder, baking soda, and salt.
- In a large bowl, beat the butter and sugar at medium speed until pale and fluffy.
- Beat in vanilla.
- Add your eggs, one at a time, beating well and scraping down the bowl after each addition.
- Mix in the buttermilk on low until just-combined.
- Add in the flour mixture in three batches, mixing until each addition is just incorporated.
- Spread the batter evenly in your prepared pans and bake for 35-40 minutes, or until the tops start to turn golden brown and an inserted toothpick comes out clean. (Don’t panic if your cakes start to puff up a little; mine did, but they flattened out as they cooled.)
- Cool the cakes in their pans for 10 minutes; then invert them onto racks to cool completely before applying frosting (at least one hour).
For the frosting:
- Beat the butter on medium speed for 2-3 minutes.
- Add in the confectioners sugar and cocoa, and mix on low until the dry ingredients and butter are well-incorporated.
- Increase your mixer’s speed to medium and add in the vanilla, salt, and milk/cream.
- Mix for about three minutes until your frosting achieves your desired consistency. If needed, you can add a litle more sugar to make it thicker or some more milk/cream to make it thinner.
To assemble:
- Place the first yellow cake on a platter or plate, leveling off the top as necessary to create a flat, even layer.
- Use an offset spatula to spread a layer of icing on top of the cake.
- Level off the top of your second cake and place it upside down on top of the frosting layer (so that the more even side of the cake is now the top layer).
- Spread the remaining frosting over the top and around the sides of the cake. Top with sprinkles if desired.
- Place the cake in the fridge for about an hour to allow the frosting to set, but remove the cake about an hour before you want to serve it.