Mini Cannoli Cream Pies

Whenever I find myself in an Italian restaurant or bakery, I’m always tempted to order cannolis. But in reality, I don’t actually love cannolis. What I love is that delicious cannoli cream. As for the shell, I could take it or leave it. And often, when I get a cannoli, I’ll just unroll it and use a spoon to scoop out the cream filling and eat it on its own—a move that ‘s resulted in much staring and mockery over the years.

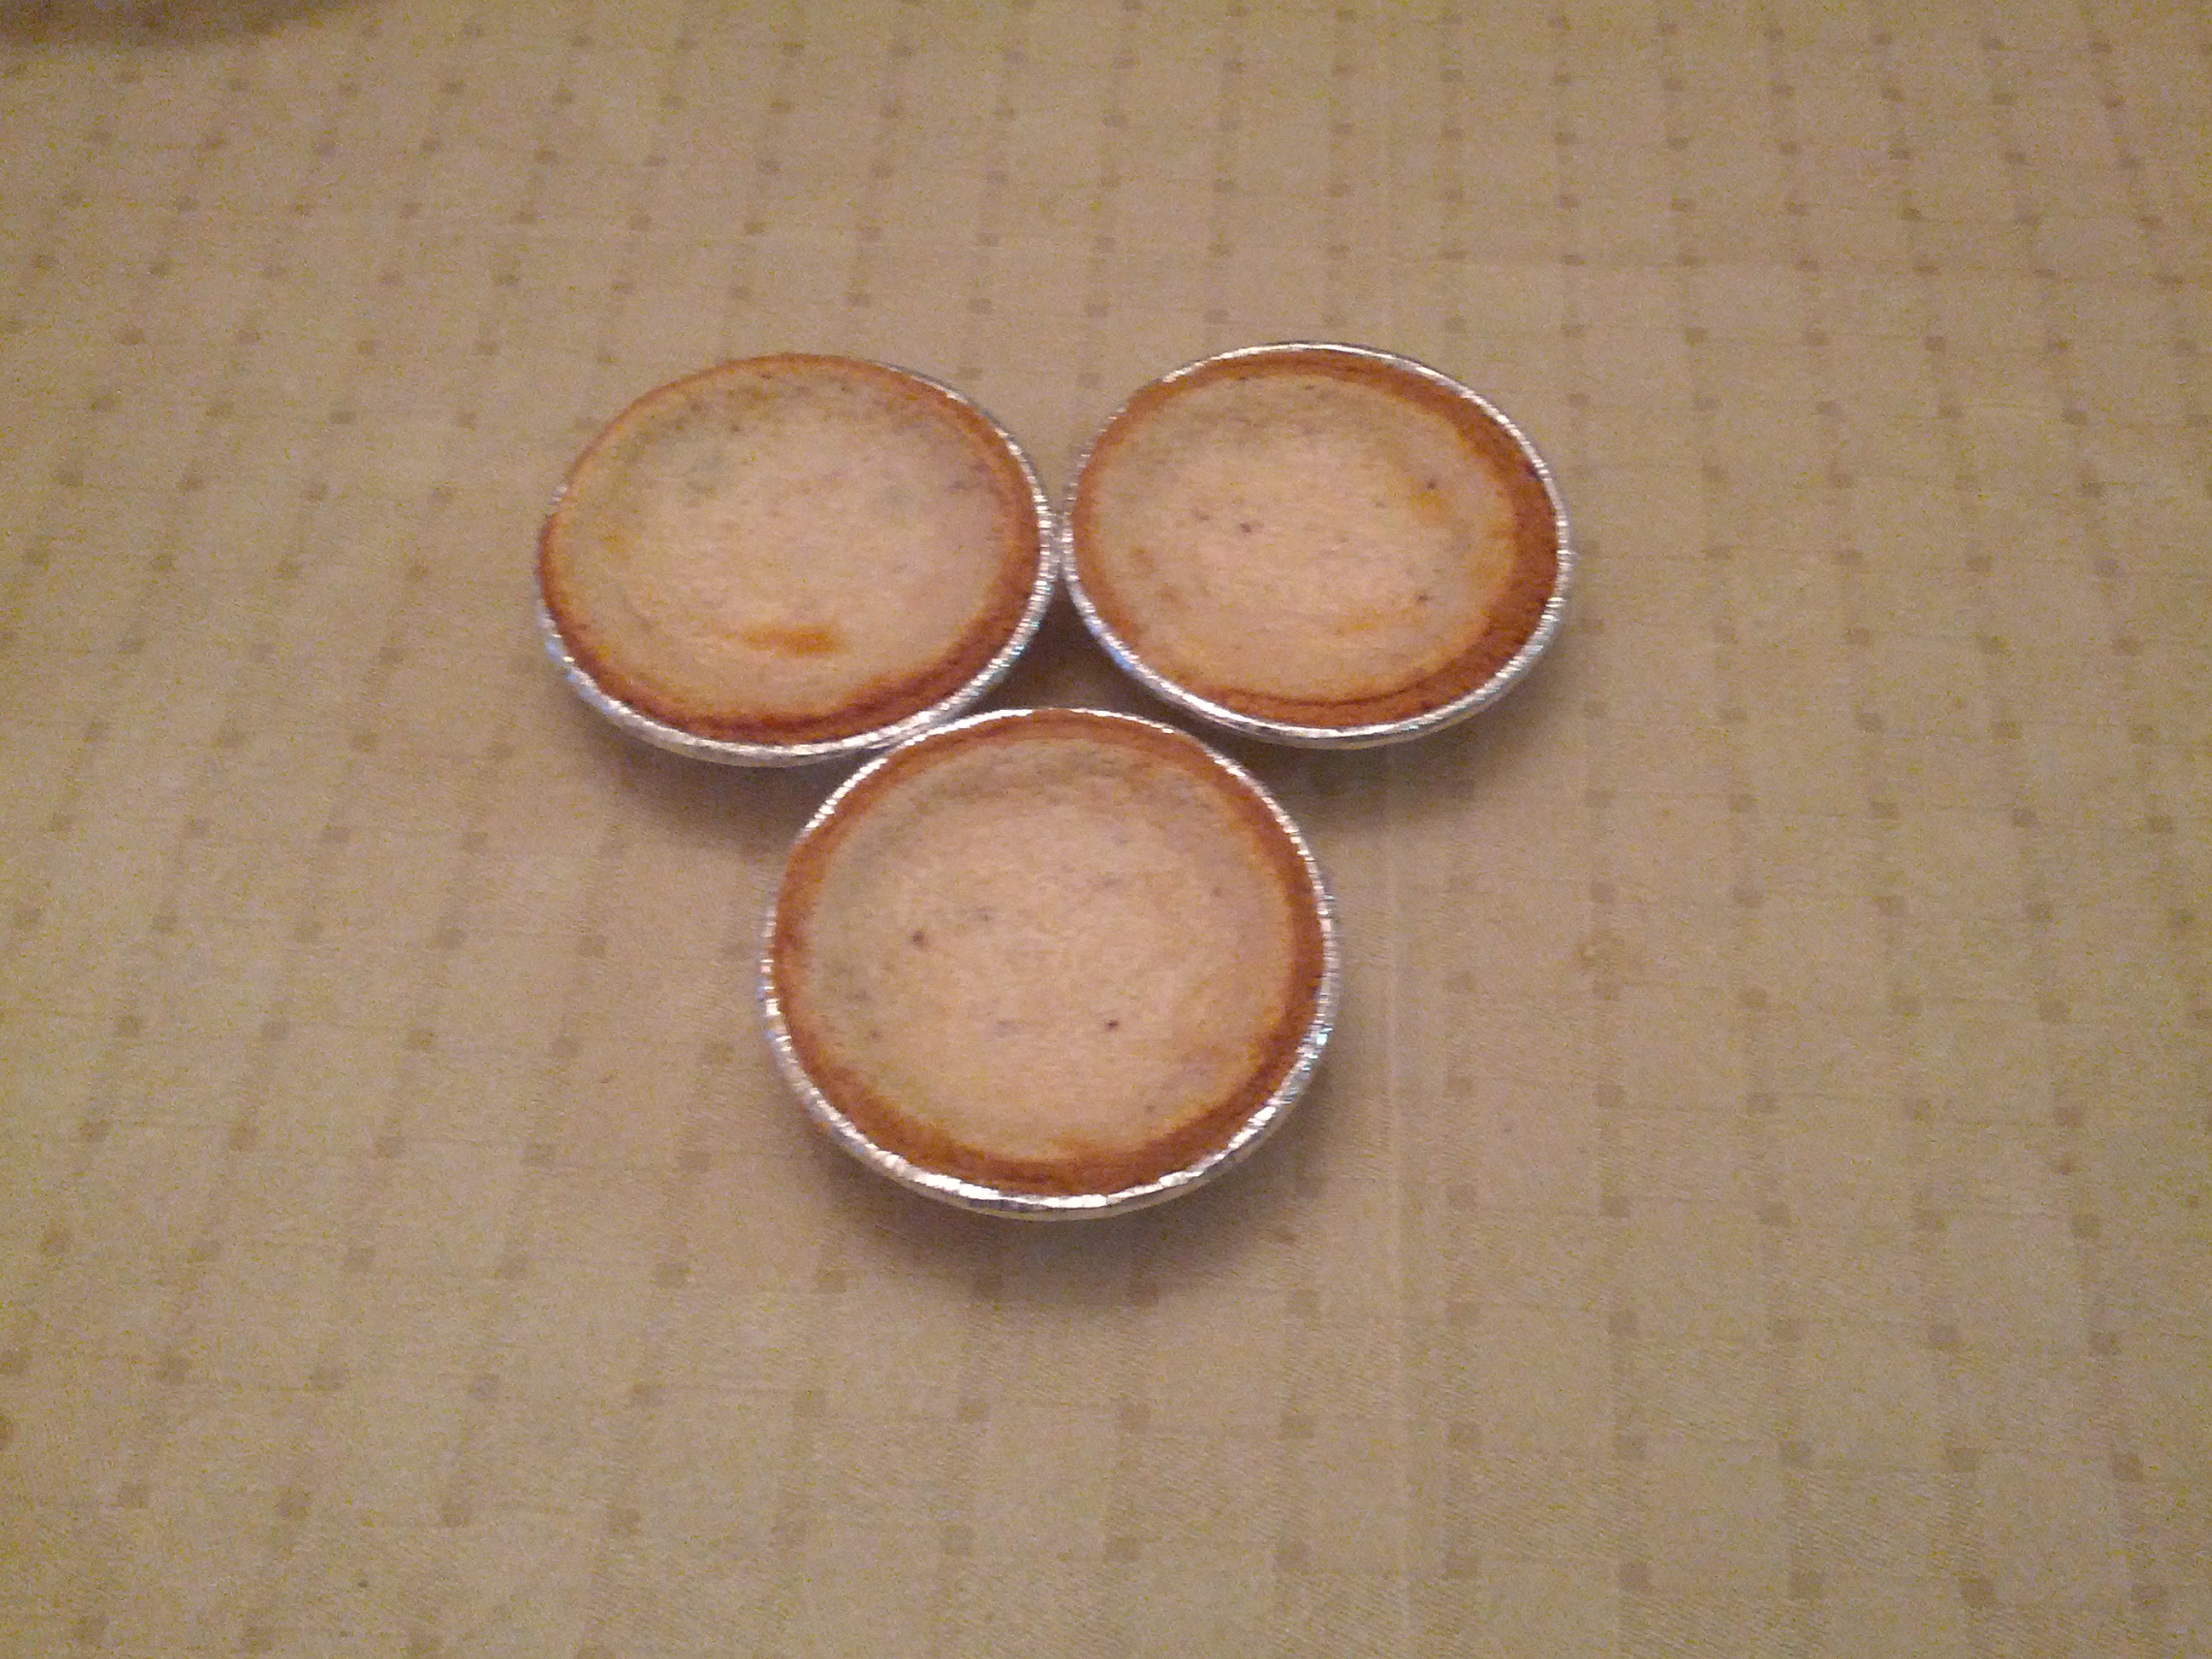
When I found myself craving that cannoli cream recently, I decided I wasn’t in the mood to drag myself out to a restaurant or bakery. And I certainly wasn’t about to start fiddling with cannoli shells, deep fryers, and the like. So instead, I decided to make these mini cannoli pies. I had some individual premade pie shells lying around, and I had everything else I needed on hand to whip up my version of the cream.

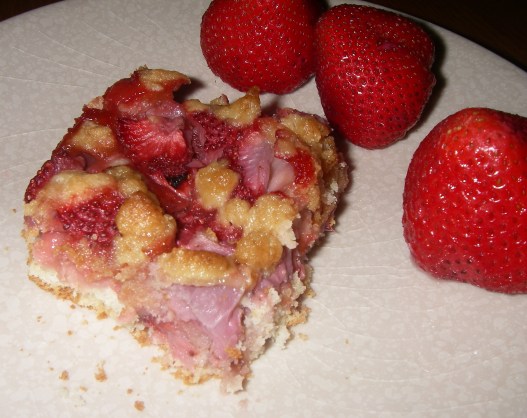
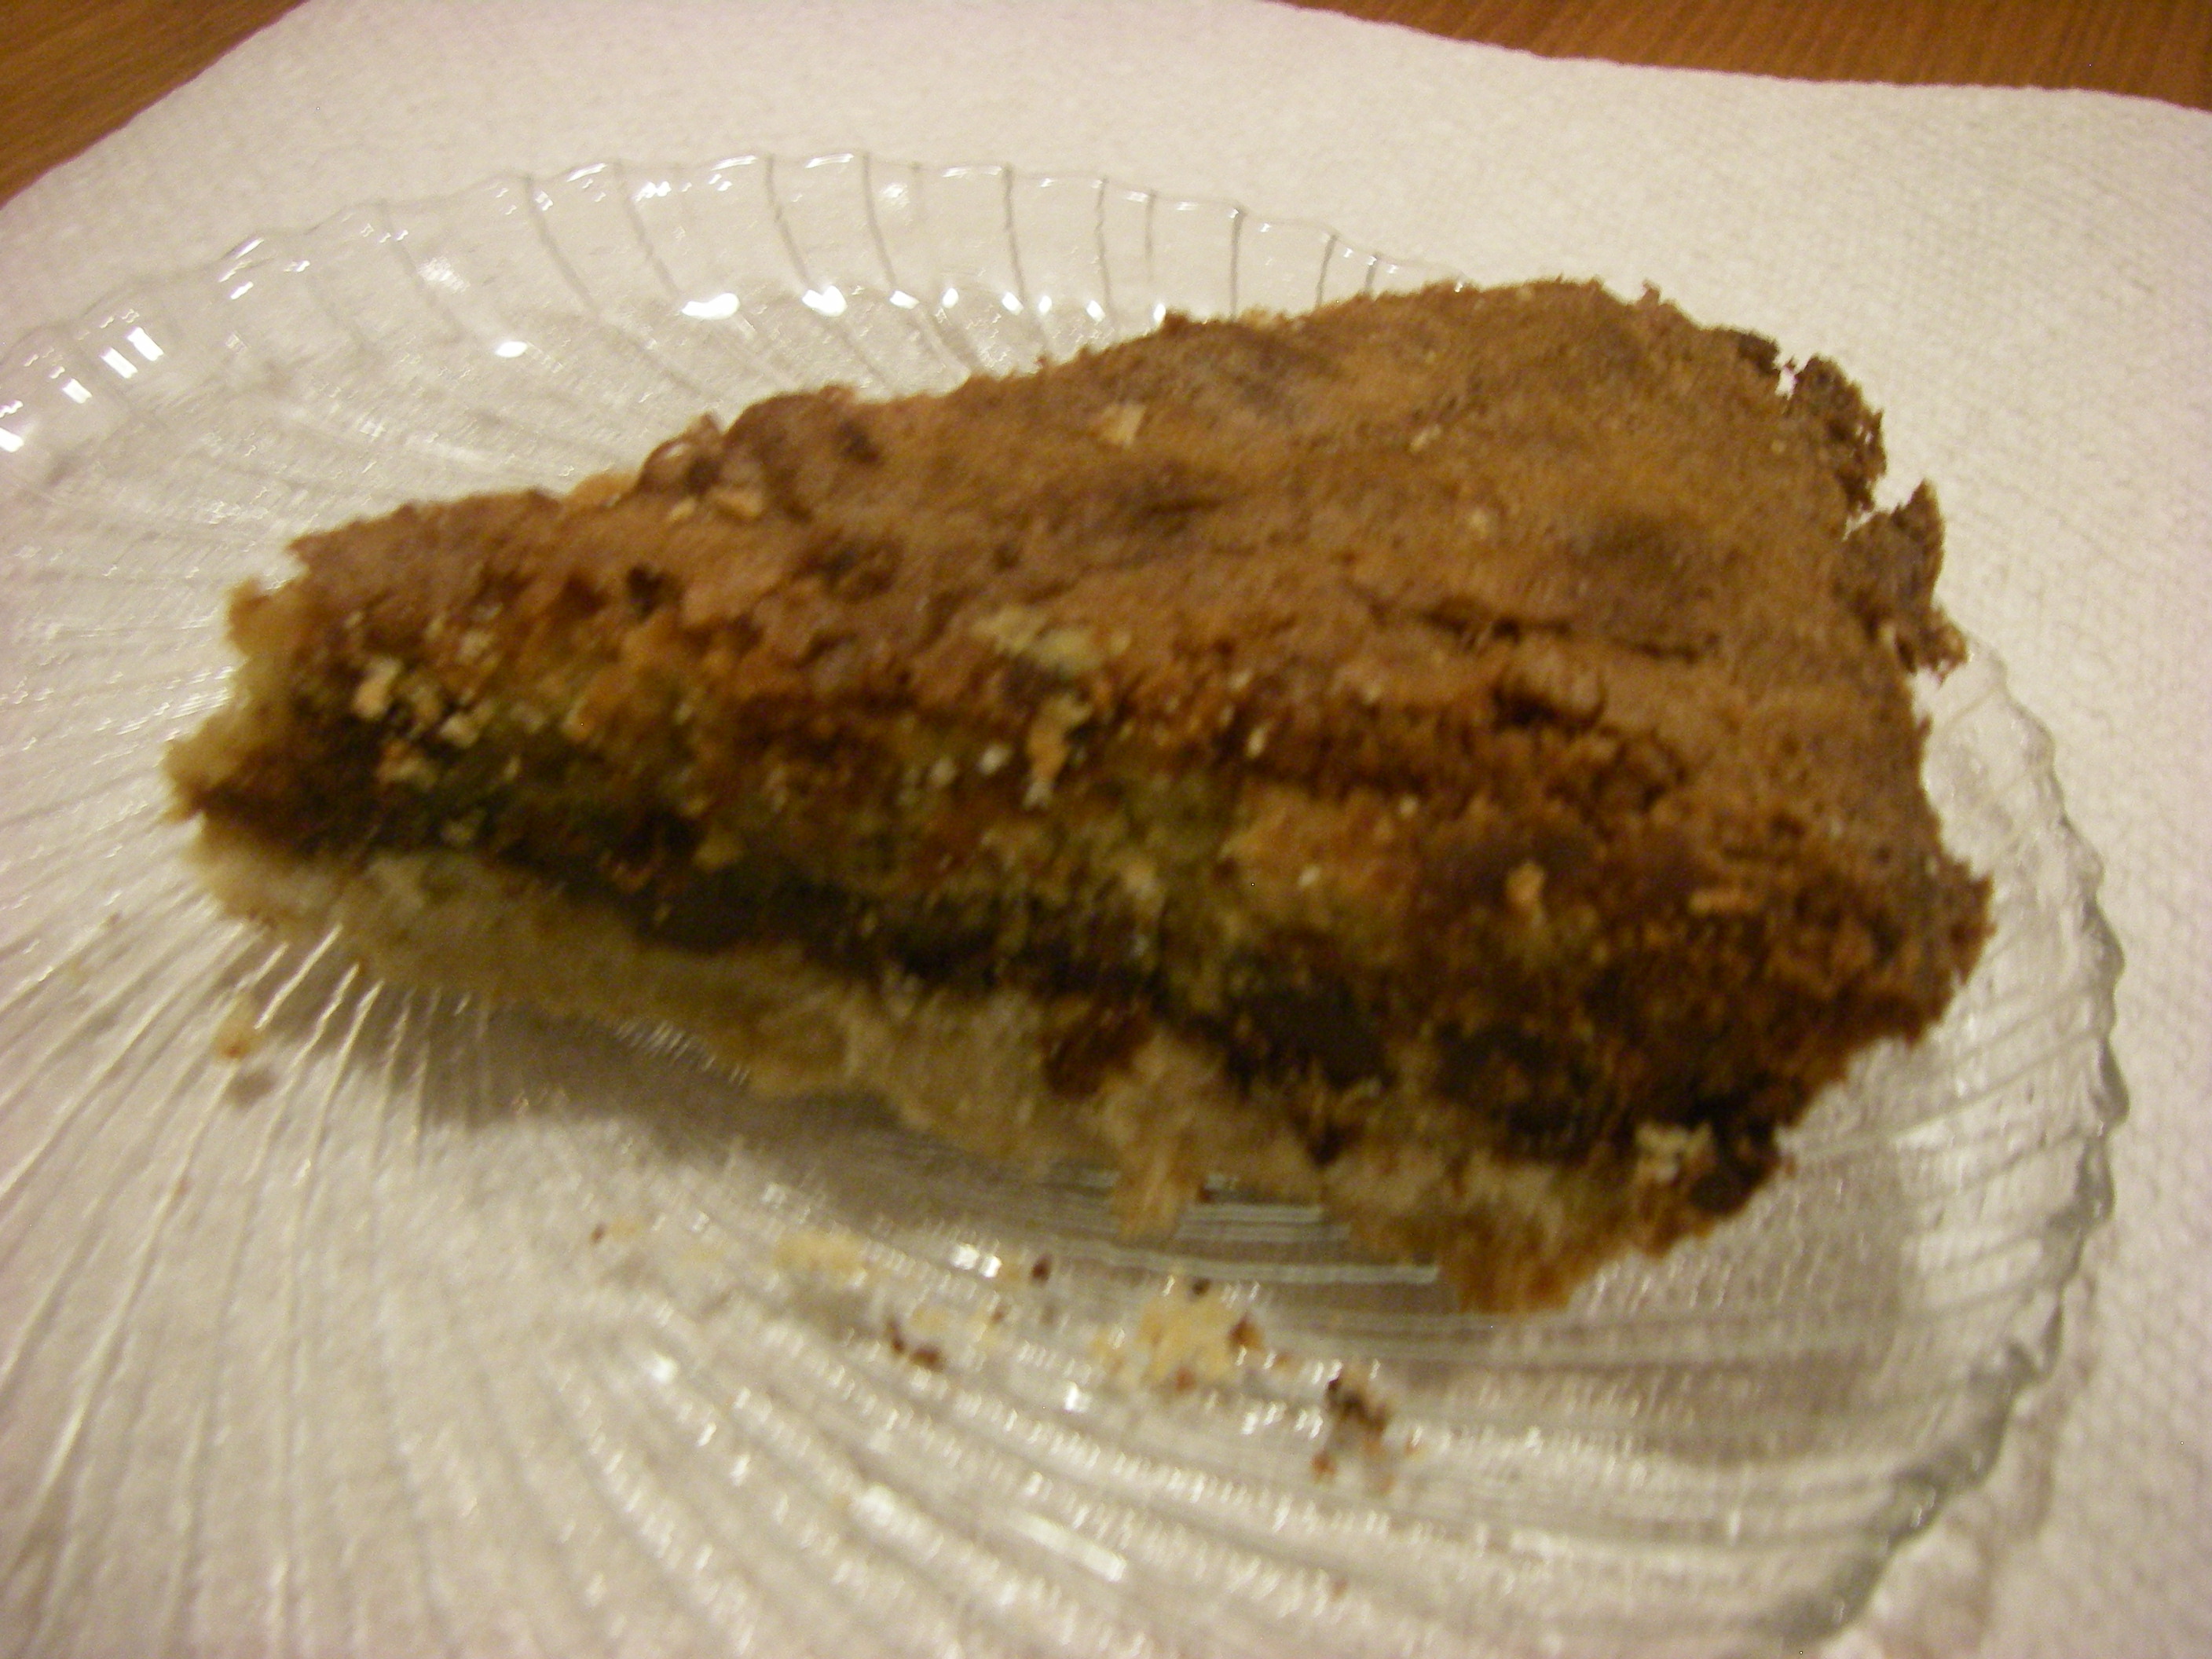
Now I’ll be perfectly honest and say that my cannoli cream was not as good as some of the better cannolis I’ve tasted in the area (and living in New Jersey, there are some establishments around here who do know how to make a mean cannoli). But, it was still pretty darn good.

canpies

Mini Cannoli Pies

Ingredients:
10 premade mini pie shells (or feel free to make your own)
15 ounces of part-skim ricotta cheese, drained
2 tablespoons heavy cream
1 and ¼ cups confectioners sugar
1/2 teaspoon ground cinnamon
1 and 1/2 teaspoons vanilla
1 tablespoon orange juice
1 tablespoon cornstarch
½ cup semisweet chocolate chips

Method:
1. Preheat your oven to 350 degrees.
2. Strain the ricotta cheese to the best of your ability.
3. Using a stand or electric mixer, beat the strained ricotta until it’s nice and creamy.
4. Add in the heavy cream, confectioners sugar, cinnamon, vanilla, orange juice, and cornstarch; beat until the mixture is smooth and somewhat thickened.
5. Stir in the chocolate chips.
6. Place the mini pie shells on a baking sheet and pour the cannoli cream filling into the pie shells.
7. Bake for 20-25 minutes, or until the tops of the pies start to brown just slightly.
8. Remove the pies from the oven, transfer to a wire rack, and let cool at room temperate for about 20 minutes.
9. Place the pies in the fridge for two hours to allow them to set. If you’re so inclined, you can drizzle a little chocolate syrup over them right before serving. Or not. They’re certainly sweet enough on their own.

Cookie Dough Truffles

Yesterday was just one of those days. You know, those days.

I won’t bore you all with the details, but let’s just say that every minor thing that could’ve gone wrong went wrong. In other words, nothing particularly terrible—just enough tiny doses of annoyance whose sum total rendered me frustrated and aggravated by the time I was able to finally put the baby to bed and call it a day.

Okay, vent over. See, that wasn’t so bad. And now I can talk about the cookie dough truffles I made myself to compensate for the above-referenced aggravation.

These truffles are tasty and super easy to whip up. But, you need some time to allow them to set, so if you’re craving something sweet in an instant, you’ll probably want to opt for something that doesn’t require you to wait three hours (though you could, ahem, always eat some of the cookie dough along the way…as long as nobody’s watching, your secret is safe).

cdough

Cookie Dough Truffles
Recipe from Sweet Pea’s Kitchen

Ingredients:

For the cookie dough:
1 and 1/2 sticks of butter
3/4 cup light brown sugar
3/4 cup granulated sugar
3 tablespoons milk (I used whole)
1 1/2 teaspoons vanilla
1 1/2 cups AP flour
1 1/2 cups mini semisweet chocolate chips

For the dipping chocolate:
6 ounces semisweet chocolate
2 tablespoons shortening

Method:

1. Line a baking sheet with waxed paper and set aside.
2. Beat the butter, brown sugar, and white sugar until light and fluffy, about 3 minutes. Beat in milk and vanilla until combined, about 1 minute. Mix in flour just until combined. Stir in chocolate chips.
3. Shape the cookie dough into balls, using about 2 teaspoons of dough for each ball. (I started out doing this with a spoon and after a couple of tries found that it was easier to just use my hands.)
4. Place the cookie dough balls on your lined baking sheet and refrigerate for at least an hour (I left mine in for about 90 minutes, and that did the trick).
5. Once the cookie dough balls have hardened up, melt the shortening and chocolate. I did this in the microwave on 50% power for 30-second intervals, stirring in between each.
6. Dip the cookie dough balls in the melted chocolate and return them to the baking sheet (or, do what I did and prepare a second waxed paper-lined baking sheet).
7. Let the coated cookie dough balls set in the fridge for 1-2 hours before serving.

White Chocolate Blueberry Blondies

After having achieved success with the white chocolate blondies I whipped up not so long ago, I decided to take that same recipe but incorporate one of my favorite summertime fruits: blueberries. I love the contrast of the sweet white chocolate and slightly tart, tangy blueberries. These babies were absolutely amazing. I actually got impatient and dug into them when they hadn’t fully cooled, which made them kind of gooey—but in a good way. In fact, you could just as easily serve these warm in a bowl, call your concoction a white chocolate blueberry pudding, and top it off with vanilla ice cream for contrast. Yum.

whitchocblueber

White Chocolate Blueberry Blondies

Ingredients:
1 cup AP flour
½ teaspoon baking powder
½ teaspoon salt
5 tablespoons butter
2 eggs
1 cup granulated sugar
3 teaspoons vanilla
1 cup white chocolate chips or chopped white chocolate
1 cup blueberries (I used fresh but feel free to try frozen)

Method:
1. Preheat your oven to 350 degrees and lightly grease an 8×8 baking pan.
2. In a small bowl, whisk together the flour, baking powder, and salt. Set aside.
3. Using either your stovetop or microwave, combine the butter and white chocolate to melt. If using your stovetop, put butter and white chocolate in either a double boiler or heavy duty saucepan and melt on low heat while stirring frequently. If using the microwave, put butter and white chocolate in a small bowl and melt on 50% power for 30-second increments until butter is melted and white chocolate is mostly melted. Use a fork or whisk to get the chocolate nice and smooth.
4. In a large bowl, whisk together your eggs, sugar, and vanilla. Add in the white chocolate mixture and whisk until smooth and well-combined.
5. Whisk or stir in the flour mixture until incorporated.
6. Stir in blueberries. (Quick note: If you’re washing your blueberries on the spot, make sure to pat them dry before adding to batter. You’ll want to eliminate as much moisture as possible; otherwise, your blondies may not bake up as well.)
7. Pour batter into prepared pan and bake for 35-40 minutes, or until an inserted toothpick comes out clean. Let the blondies cool completely in the pan before cutting into bars. I recommend waiting a good 90 minutes to make sure they’re nice and firm. Worst case, if you’re impatient like me, you’ll get a gooier “blueberry blondie pudding” if you choose to dig in earlier. And trust me, that’s not such a bad thing.

Strawberry Shortcake Crumble

I’m definitely known as the resident baker among my family members, friends, and coworkers. But when the weather heats up, baking tends to take a backseat to frozen treats and ice cream-related indulgences. And since it’s been super hot and humid these past bunch of days, I haven’t exactly been in the mood to spend more time than necessary near a warm oven. But this past Sunday I made an exception on the occasion of my mother’s birthday.

My mom is awesome. She’s everything you could ever ask for in a mother, and as busy as I am, she always seems to be busier—yet somehow she manages to do her job, cook, maintain a household, and take care of her often-needy adult children. (Yep, I’ll admit it. Even in my 30s, I still need my mother on a regular basis). So when I found out she’d be coming over to hang out with her grandson (’cause there’s really no better way to celebrate your birthday than to chase a 17-month-old around), I decided I had to whip up her favorite dessert: strawberry shortcake.

In the past, I’ve attempted grand versions of this dessert that have included multiple layers of cake, a rich strawberry filling, and lots and lots of whipped cream. But considering that the last strawberry shortcake I made could’ve fed a small army, I thought I’d try something simpler since we were a pretty small crowd. And let me tell you, I’m so glad I did, because this version of strawberry shortcake just might be my favorite yet.

You start with a buttery base, layer on some strawberry goodness, and throw a crumbly layer on top to finish it off. In fact, you could say this is more of a strawberry crumble than a strawberry shortcake, and you wouldn’t be wrong. I’m certainly not one to argue over semantics when we’re talking about something this good.

The original recipe suggests serving this warm, which I did. To make it a bit more decadent and complete, I topped my fresh-from-the-oven cake with some homemade whipped cream and vanilla ice cream. My mom absolutely loved it, as did everybody else at the table. In fact, we basically devoured close to the entire cake in a single sitting. Don’t judge us.

strawshortcake

Strawberry Shortcake Crumble
Recipe from Serious Eats

Ingredients:
For the strawberry filling:
1 quart fresh strawberries, washed, hulled, and sliced
2 tablespoons lemon juice
2 tablespoons granulated sugar

For the cake:
2 cups AP flour
4 teaspoons baking powder
3/4 teaspoon salt
1/4 teaspoon nutmeg (I omitted this because my mom doesn’t like nutmeg, and we didn’t miss it)
6 tablespoons granulated sugar
5 1/3 tablespoons unsalted butter
1 large egg
2/3 cup buttermilk
2 teaspoon vanilla

For the topping:
4 tablespoons unsalted butter
2 tablespoons brown sugar (the original recipe calls for light, and I used dark; either should work)
2 tablespoons granulated sugar
6 tablespoons all purpose flour

Method:
1. Preheat your oven to 400 degrees and lightly grease an 8×12 baking pan (or 9×13 if you don’t have the 8×12 size). Pour sliced strawberries into a medium bowl. Sprinkle with lemon juice and toss with sugar. Set aside.
2. In a medium bowl, whisk together the flour, baking powder, salt, and nutmeg. Set aside.
3. In a large mixing bowl or using the bowl of a stand mixer, cream together the sugar and butter. Beat in the egg. Add flour mixture alternately with buttermilk. Stir in vanilla until just incorporated.
4. Spread out the dough in the bottom of your baking pan.
5. Pour the strawberries and juice on top of the dough.
6. Cream together the butter, sugars and flour for the topping and sprinkle over the strawberries.
7. Bake for 35-40 minutes, or until the top turns golden brown and an inserted toothpick comes out clean.
8. Serve warm, ideally with whipped cream and/or ice cream – though the cake is also fabulous on its own.

White Chocolate Coconut Brownies

Sometimes, if you’re me, you find yourself in the mood for something insanely sweet yet easy to whip up. These brownies totally fit the bill. They took almost no time to throw together and didn’t require me to bust out the gadgets.

Now I will warn that the sweetness factor is intense. You’ll probably want to cut these into bites more so than bars or squares…unless you’re me, in which case you’ll want to stuff your face with way too large a piece for your own good.

I got the recipe from Brown Eyed Baker. If you haven’t visited this site yet, stop what you’re doing and check it out. This is definitely one of my go-to sources when I need a new dessert idea. Take a look and you’ll see why.

badpicbrownies

White Chocolate Coconut Brownies
Ingredients:
1 and 1/3 cups all-purpose flour
1 teaspoon salt
11 ounces white chocolate, chopped
2 sticks unsalted butter, cut into 1-inch pieces
1 and ½ cups white sugar
½ cup light brown sugar
5 eggs, at room temperature
2 teaspoons vanilla extract
1 cup shredded sweetened coconut

Method:
1. Preheat the oven to 350 degrees. Line a 9×13 pan with parchment paper and set aside.
2. Whisk the flour and salt together.
3. Melt the white chocolate and butter. Since I didn’t have a ton of time, I cheated and did this by putting the mixture in a glass bowl and microwaving it for 30-second increments at 50% power until it was ready. The original recipe suggests setting the white chocolate and butter mixture over a saucepan of simmering water to melt it properly.
4. Whisk in the white and brown sugars.
5. Whisk in the eggs one at a time
6. Stir in the vanilla extract.
7. Stir in the flour mixture and coconut using a rubber spatula—not a whisk.
8. Pour the batter into the prepared pan and use the spatula to smooth the top.
9. Bake for 30 minutes until a toothpick inserted comes out clean and the top looks nice and crispy.
10. Cool in the pan on a wire rack. Once cooled completely, you can lift the brownies out using the parchment paper and then cut them into small bites or squares.


Chocolate Chip Cookie Pie

It seems like every year around this time, I start to get a little stir crazy…and more than a little tired of winter. I’m just one of those people who really, really doesn’t like being cold. Now I can deal with December. For some reason, I’m a total sucker for all that holiday spirit jazz, and it helps keep my mind off the dropping temps. And I’m usually okay with January, mostly ‘cause at that point we haven’t been dealing with winter for too long. But come February, I’m usually ready to either escape to someplace warm (which is not going to happen with a baby) or otherwise resign myself to hibernation until the cold subsides.

This weekend, I opted for the latter and decided to spend as much time as possible curled up on the couch with a warm blanket and a book. Of course, a night much like the one I had planned for Saturday (when the forecast warned of a winter weather advisory complete with ample amounts of snow) wouldn’t be complete without some killer dessert to accompany the couch-blanket-book extravaganza, and so I decided to make a chocolate chip cookie pie.

Now I’m not usually the biggest fan of chocolate chip cookies. Sure, they’re a classic dessert, but they’re also kind of on the boring side. But take the chocolate chip cookie and serve it up to me in pie form, and I’m golden.

This pie is exceptionally delectable when served warm, though room temperature also works. I especially love the way the chocolate chips form their own gooey layer of deliciousness. For those of you who are just as tired of winter as I am, I recommend baking this super easy pie, carving out a nice, fresh-out-of-the-oven slice, scooping up a generous serving of vanilla ice cream on the side, curling up on the couch with your favorite book/movie/form of entertainment, and letting each sweet bite help whisk away those winter blues.

IMGP1631

Chocolate Chip Cookie Pie
Slightly adapted from Serious Eats

Ingredients:

For The Crust:
1 and 1/2 cups AP flour
1/2 cup light brown sugar
1/4 cup granulated sugar
1/2 teaspoon salt
1 stick of unsalted butter, melted

For The Filling:
2/3 cup light brown sugar
1/4 cup granulated sugar
1/4 teaspoon salt
3/4 cup unsalted butter, melted
2 large eggs
1 large egg yolk
1 and ½ teaspoons vanilla extract
1/2 cup (2 1/2 ounces) AP flour
1/4 plus 1/8 teaspoon baking soda
1 and ¼ cup semisweet chocolate chips

Method:
1. Preheat your oven to 375 degrees. Butter 9-inch pie or tart plate.
2. Make the crust by combining your flour, brown sugar, granulated sugar, and salt in a large bowl. Stir in the melted butter until moist crumbs form. Press the mixture into bottom and sides of the pan.
3. Make the filling by whisking together your brown sugar, sugar, salt, and butter. Once combined, whisk in the eggs, egg yolk, and vanilla.
4. In a separate bowl, stir together the flour and baking soda until combined. Then stir the flour mixture into the egg/sugar mixture until well-combined.
5. Stir in chocolate chips, and pour the mixture into the crust.
6. Bake for 40-45 minutes, or until the top of the pie turns a nice golden brown. Cool for 45 minutes on a wire rack before serving—the pie will still be nice and warm, but it’ll be a lot easier to slice. Serve with vanilla ice cream if desired, and try not to eat the whole in one sitting.