
I have a confession to make: I’m a sucker for processed, packaged baked goods. Sure, I’ve made my fair share of delicious cakes, pies, brownies, and more. But there’s just something about classic store-bought snack cakes that really takes me back to my childhood and makes me, on occasion, want to forego a baking session in favor of buying treats that are premade.
Growing up, one of my favorite packaged snack cakes was none other than the Yodel. But when I found myself craving one the other day, I discovered, much to my disappointment, that apparently they’re no longer in production. I was bummed, but not ready to give up. And I think you all know where this is going.
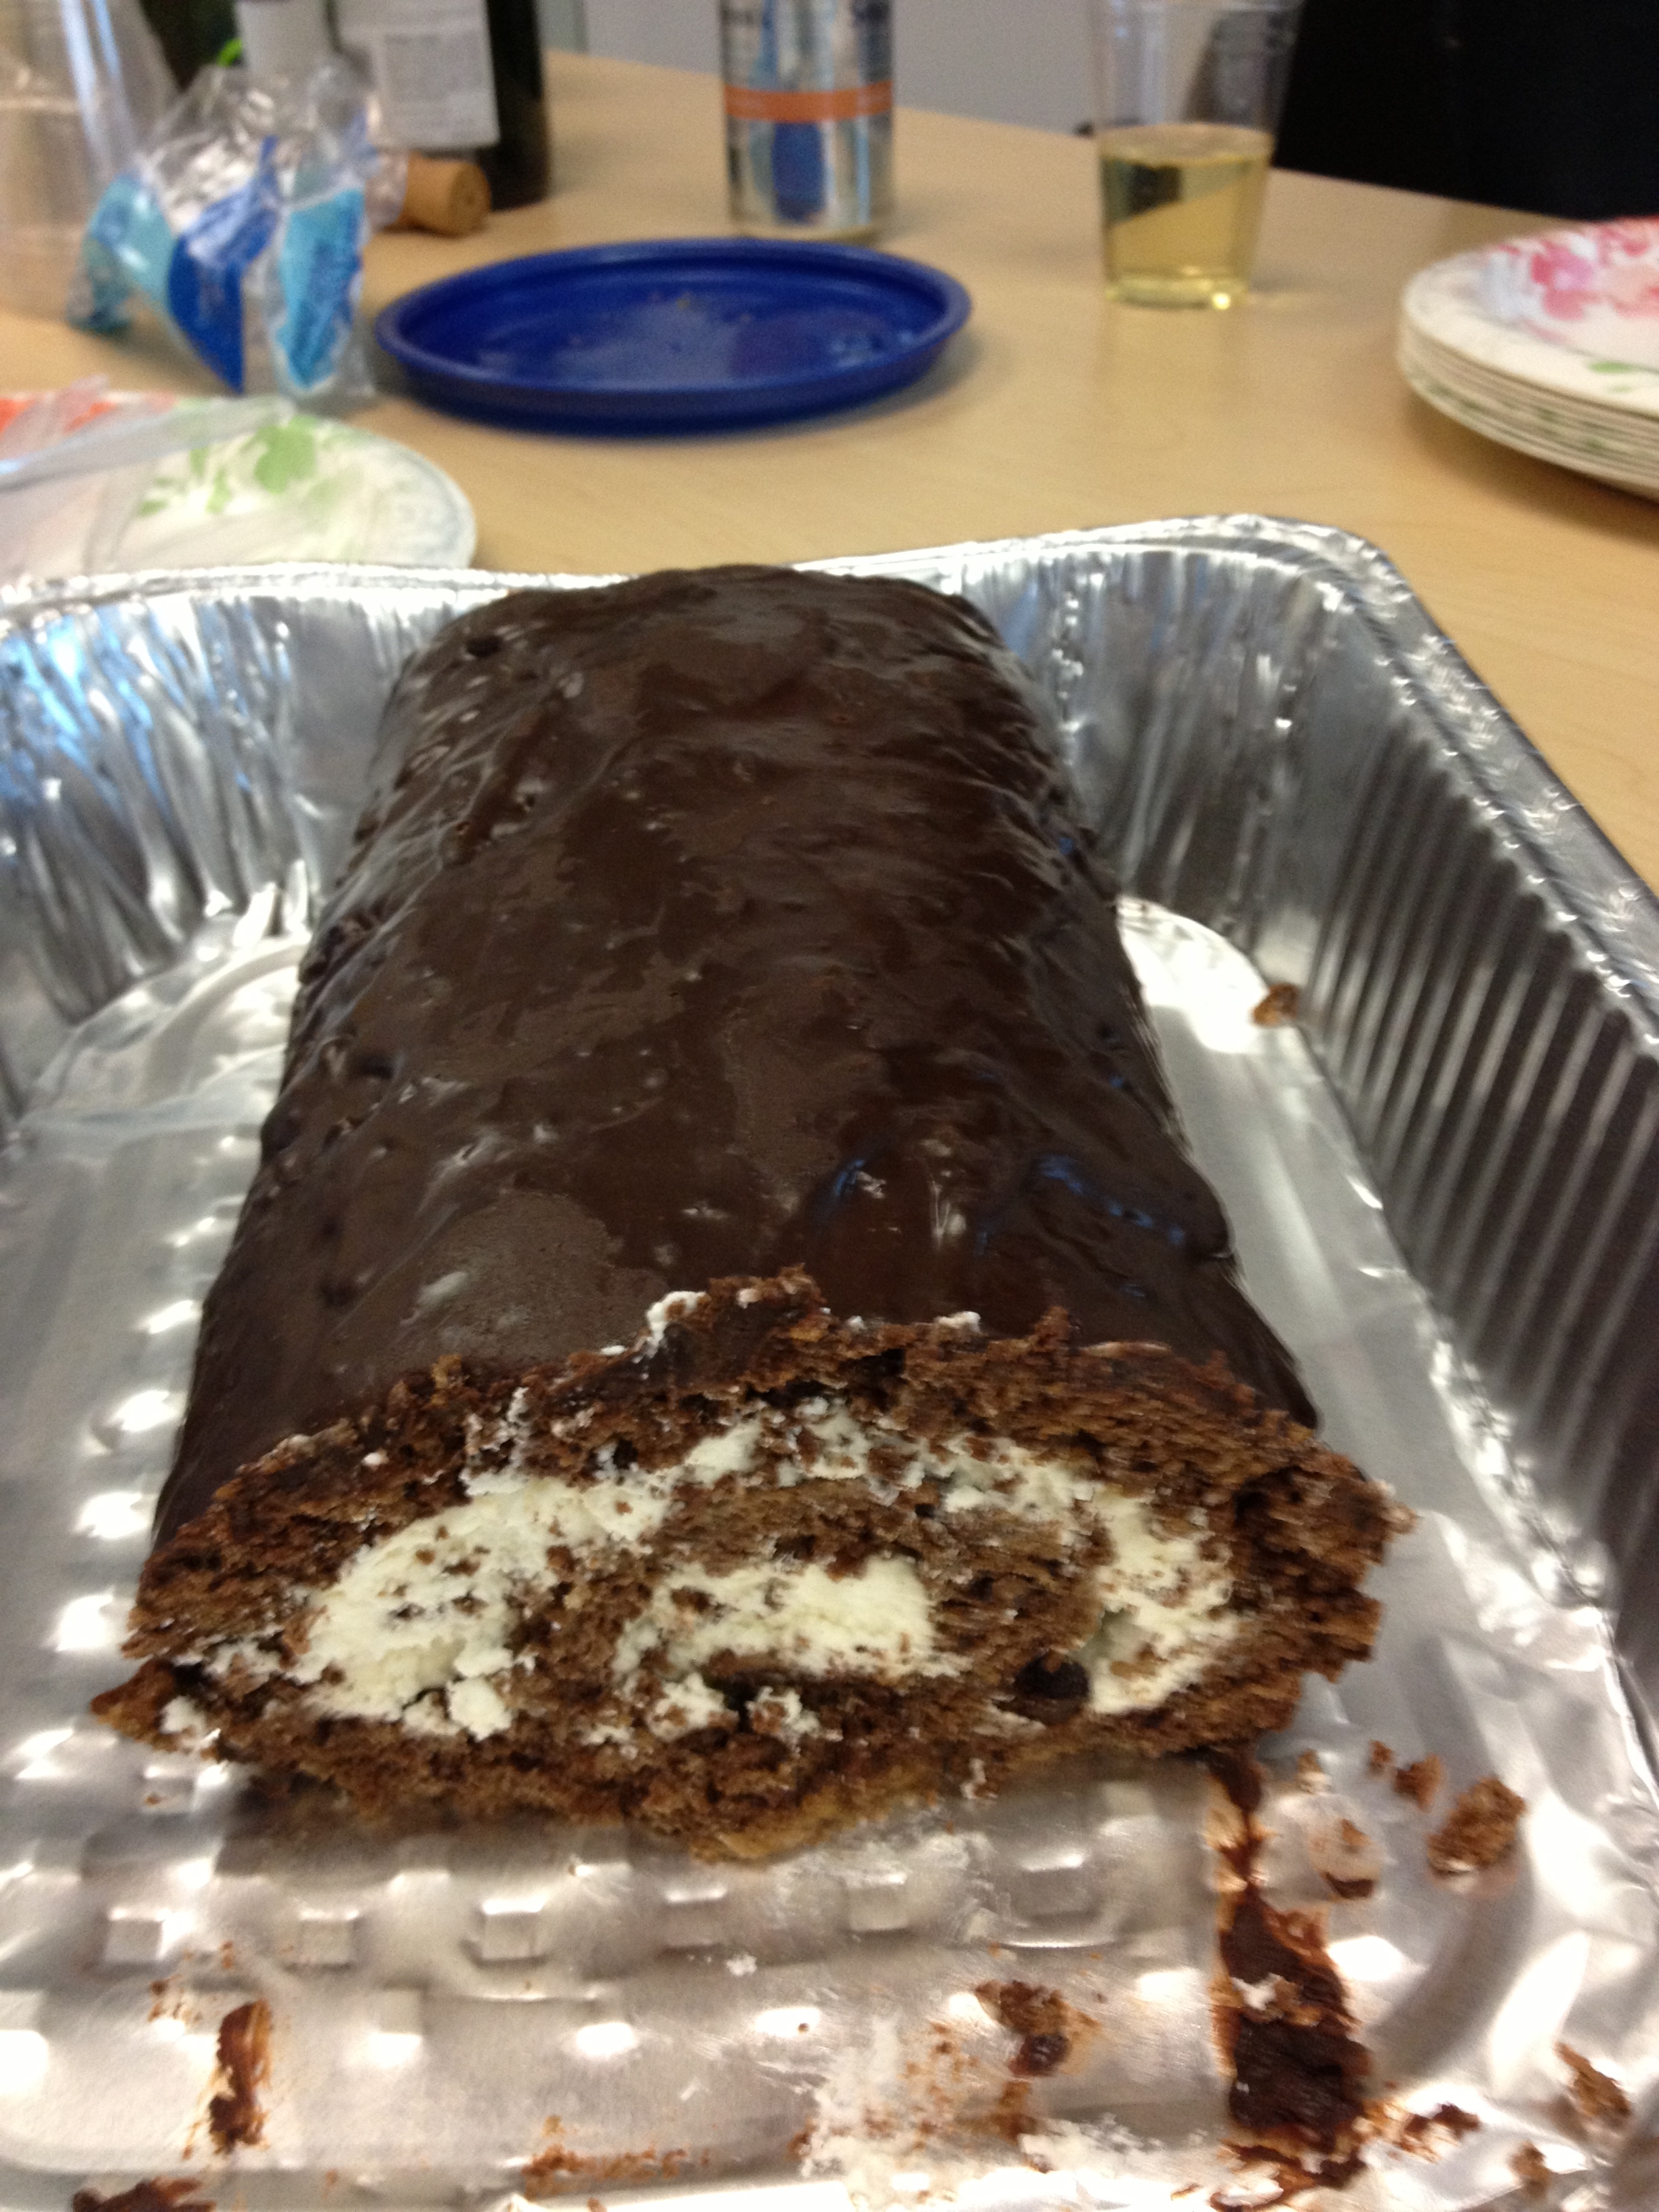
I decided to attempt my own version of Yodels, but in the form of a cake. Part of this was done out of laziness—I figured it would be easier to glaze a single cake than have to deal with glazing a bunch of smaller ones. But also, I thought it would be kind of cool to create a giant Yodel. And since I found a recipe for a chocolate roll cake online that seemed to be just what I was looking for, I decided to go for the cake.
Now before we go any further, I do have to tell you: This cake wasn’t so easy. In fact, the first version of this cake is sitting in my freezer in scraps until I figure out what to do with it. (Cake ball truffles, maybe?) The reason? I didn’t follow instructions and decided to roll it initially without using a kitchen towel. Why? I don’t know. The idea of rolling a cake in a kitchen towel seemed strange and unappealing. But it was a mistake not to do it, because when I tried it the second time around, it was much easier. So, lesson learned (though I suppose there are worse things than having extra chocolate cake lying around).
I’ll also say that even after having used the towel method, I still found this cake fairly tricky to re-roll once I added the filling. I was convinced that the darn thing was going to break on me, but somehow, it didn’t. And once I made it to the ganache stage, I knew I had a winner.
Now I’m sure you’re wondering: Did this cake end up tasting like a Yodel? It’s hard to say. I don’t think I’ve had a Yodel in well over a decade at least. But what I will say is that it turned out absolutely delicious. The chocolate cake was perfectly moist, the whipped cream filling was far tastier and fresher than I remember the classic filling being, and the chocolate ganache was utterly divine. In fact, I can say with relative confidence that my version wound up tasting far better than any mass-produced chocolate roll cake you’d find in a box…though if any of you out there know of a way to get your hands on some classic Yodels, I’d be super grateful if you could hook me up.
Chocolate Roll Cake, a/k/a Giant Yodel Cake
Recipe from Serious Eats
Ingredients:
For the cake:
1 cup AP flour
1/4 cup unsweetened cocoa powder
2 teaspoons baking powder
4 ounces of bittersweet chocolate, finely chopped
1 stick of unsalted butter
3/4 cup granulated sugar
4 large eggs
1/4 teaspoon salt
1/3 cup hot water
For the whipped cream filling:
1 and 1/2 cups heavy cream
2 tablespoons granulated sugar
1 and 1/2 teaspoons vanilla extract (the original recipe called for only 1, but I wanted a bit more of a vanilla flavor)
For the ganache:
4 ounces bittersweet chocolate, finely chopped
1/2 cup heavy cream
Method:
1. Preheat your oven to 350 degrees. Line a 10×15 jelly roll pan with parchment paper.
2. Sift flour, cocoa, and baking powder into a small bowl; set aside.
3. Place the chocolate and butter in a microwave-safe bowl and microwave in 15-second increments, stopping to stir with a rubber spatula until the mixture is completely melted and smooth. Set aside to cool slightly.
4. Using a stand mixer, whip the sugar with the eggs and salt on medium-high speed until the mixture is light and thick (about 5 minutes).
5. Fold in the chocolate mixture with a rubber spatula. Then, fold in the flour mixture and then water until just-combined.
6. Spread the batter into your prepared pan and bake the cake for 10-15 minutes, or until just-firm.
7. Let the cake cool for about 10 minutes; then run a knife along the pan edge to loosen it.
8. Place a clean kitchen towel over the cake. Starting with the short end, carefully roll the cake up with the towel (with the parchment paper attached).
9. Let the cake cool until just-cooled (anywhere from 20-40 minutes should do the trick, but keep checking the cake – you don’t want to leave it for too long). While the cake is cooling, make the filling.
10. Using a stand mixer, whip the cream with the sugar and vanilla on medium-high speed until the mixture can hold medium peaks. (Try not to keep sneaking little tastes of the whipped cream as you wait for the cake to cool…)
11. Once the cake is cool, gently unroll it, removing the towel but leaving the very end rolled to ensure a good grip.
12. Spread the cream over the exposed surface of cake.
13. Carefully re-roll cake into a log, removing the parchment paper as you go along.
14. Wrap the cake tightly with plastic wrap to retain its log shape as you prepare the ganache.
15. In a heat-proof bowl, heat the chocolate with the cream, stirring frequently, until the chocolate is melted and the mixture is smooth. I used a microwave at 50% power to do this.
16. Chill the ganache until thickened slightly, about 10 minutes.
17. Remove the plastic wrap from the cake and place the cake on wire rack set over a rimmed baking sheet. Spoon the ganache over the cake.
18. Using an off-set spatula, smooth the ganache over the sides and ends of the cake.
19. Place the cake in the fridge to allow the ganache to set for at least an hour. Store the cake in the fridge and serve within a day or two for optimal freshness.