Chocolate Roll Cake, a/k/a Giant Yodel Cake

I have a confession to make: I’m a sucker for processed, packaged baked goods. Sure, I’ve made my fair share of delicious cakes, pies, brownies, and more. But there’s just something about classic store-bought snack cakes that really takes me back to my childhood and makes me, on occasion, want to forego a baking session in favor of buying treats that are premade.

Growing up, one of my favorite packaged snack cakes was none other than the Yodel. But when I found myself craving one the other day, I discovered, much to my disappointment, that apparently they’re no longer in production. I was bummed, but not ready to give up. And I think you all know where this is going.

I decided to attempt my own version of Yodels, but in the form of a cake. Part of this was done out of laziness—I figured it would be easier to glaze a single cake than have to deal with glazing a bunch of smaller ones. But also, I thought it would be kind of cool to create a giant Yodel. And since I found a recipe for a chocolate roll cake online that seemed to be just what I was looking for, I decided to go for the cake.

Now before we go any further, I do have to tell you: This cake wasn’t so easy. In fact, the first version of this cake is sitting in my freezer in scraps until I figure out what to do with it. (Cake ball truffles, maybe?) The reason? I didn’t follow instructions and decided to roll it initially without using a kitchen towel. Why? I don’t know. The idea of rolling a cake in a kitchen towel seemed strange and unappealing. But it was a mistake not to do it, because when I tried it the second time around, it was much easier. So, lesson learned (though I suppose there are worse things than having extra chocolate cake lying around).

I’ll also say that even after having used the towel method, I still found this cake fairly tricky to re-roll once I added the filling. I was convinced that the darn thing was going to break on me, but somehow, it didn’t. And once I made it to the ganache stage, I knew I had a winner.

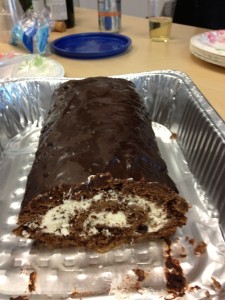
Now I’m sure you’re wondering: Did this cake end up tasting like a Yodel? It’s hard to say. I don’t think I’ve had a Yodel in well over a decade at least. But what I will say is that it turned out absolutely delicious. The chocolate cake was perfectly moist, the whipped cream filling was far tastier and fresher than I remember the classic filling being, and the chocolate ganache was utterly divine. In fact, I can say with relative confidence that my version wound up tasting far better than any mass-produced chocolate roll cake you’d find in a box…though if any of you out there know of a way to get your hands on some classic Yodels, I’d be super grateful if you could hook me up.

yodel

Chocolate Roll Cake, a/k/a Giant Yodel Cake
Recipe from Serious Eats

Ingredients:

For the cake:
1 cup AP flour
1/4 cup unsweetened cocoa powder
2 teaspoons baking powder
4 ounces of bittersweet chocolate, finely chopped
1 stick of unsalted butter
3/4 cup granulated sugar
4 large eggs
1/4 teaspoon salt
1/3 cup hot water

For the whipped cream filling:
1 and 1/2 cups heavy cream
2 tablespoons granulated sugar
1 and 1/2 teaspoons vanilla extract (the original recipe called for only 1, but I wanted a bit more of a vanilla flavor)

For the ganache:
4 ounces bittersweet chocolate, finely chopped
1/2 cup heavy cream

Method:

1. Preheat your oven to 350 degrees. Line a 10×15 jelly roll pan with parchment paper.
2. Sift flour, cocoa, and baking powder into a small bowl; set aside.
3. Place the chocolate and butter in a microwave-safe bowl and microwave in 15-second increments, stopping to stir with a rubber spatula until the mixture is completely melted and smooth. Set aside to cool slightly.
4. Using a stand mixer, whip the sugar with the eggs and salt on medium-high speed until the mixture is light and thick (about 5 minutes).
5. Fold in the chocolate mixture with a rubber spatula. Then, fold in the flour mixture and then water until just-combined.
6. Spread the batter into your prepared pan and bake the cake for 10-15 minutes, or until just-firm.
7. Let the cake cool for about 10 minutes; then run a knife along the pan edge to loosen it.
8. Place a clean kitchen towel over the cake. Starting with the short end, carefully roll the cake up with the towel (with the parchment paper attached).
9. Let the cake cool until just-cooled (anywhere from 20-40 minutes should do the trick, but keep checking the cake – you don’t want to leave it for too long). While the cake is cooling, make the filling.
10. Using a stand mixer, whip the cream with the sugar and vanilla on medium-high speed until the mixture can hold medium peaks. (Try not to keep sneaking little tastes of the whipped cream as you wait for the cake to cool…)
11. Once the cake is cool, gently unroll it, removing the towel but leaving the very end rolled to ensure a good grip.
12. Spread the cream over the exposed surface of cake.
13. Carefully re-roll cake into a log, removing the parchment paper as you go along.
14. Wrap the cake tightly with plastic wrap to retain its log shape as you prepare the ganache.
15. In a heat-proof bowl, heat the chocolate with the cream, stirring frequently, until the chocolate is melted and the mixture is smooth. I used a microwave at 50% power to do this.
16. Chill the ganache until thickened slightly, about 10 minutes.
17. Remove the plastic wrap from the cake and place the cake on wire rack set over a rimmed baking sheet. Spoon the ganache over the cake.
18. Using an off-set spatula, smooth the ganache over the sides and ends of the cake.
19. Place the cake in the fridge to allow the ganache to set for at least an hour. Store the cake in the fridge and serve within a day or two for optimal freshness.

 

Coconut Carrot Cookies

Something wonderful but dangerous happened last week: My Girls Scouts cookies were delivered. This means that for the past five days or so, I’ve been stuffing my face with Thin Mints and Samoas galore—to the point where I decided I need to take a break from my boxed delights and add a new kind of cookie to the mix.

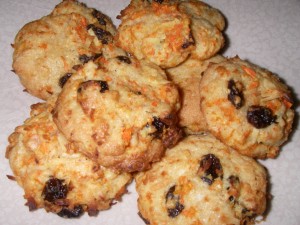
I decided to make these coconut carrot cookies, and I’m really glad I did. The cookies have a moist, almost cake-like consistency, and since they’re not overly sweet, you can easily get away with eating them for breakfast. (Try doing that with Girls Scouts cookies—somehow it’s just harder to get away with.)

IMGP1729

Coconut Carrot Cookies

Recipe from Needful Things

Ingredients:
2 cups AP flour
1 tsp baking powder
1/2 tsp salt
1 tsp ground ginger
1/4 teaspoon nutmeg
1.5 sticks (12 tablespoons) unsalted butter, at room temperature
2/3 cup granulated sugar
1/3 cup light brown sugar
1 large egg
1/2 tsp vanilla
1 cup shredded carrots
1 cup sweetened shredded coconut
1 cup raisins (dark or golden)
1/2 cup chopped pecans, preferably toasted (I left these out to keep the cookies nut-free and didn’t miss them)

Method:
1. Preheat your oven to 375 degrees. Line 3-4 baking sheets with parchment.
2. Whisk together the flour, baking powder, salt, ginger, and nutmeg. Set aside.
3. Beat the butter on medium speed until it gets smooth and creamy. Add the sugars and beat on medium for 2 minutes; then add the egg and beat for another minute.
4. Reduce your mixer speed to low and beat in the vanilla.
5. Continuing on low speed, add the dry ingredients in 2-3 batches. Beat only till they just disappear into the mix.
6. Mix in the carrots, coconut, raisins, and pecans.
7. Spoon the dough onto baking sheets in heaped tablespoonfuls, leaving an inch of space between them. (I found that these didn’t spread very much.)
8. Bake for 16-18 minutes until the cookies are light brown and just firm on top.
9. Let cookies cool on a wire rack.

Chocolate Guinness Cake

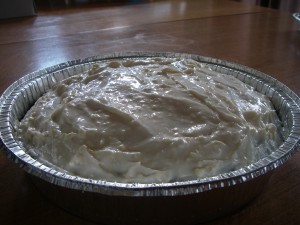
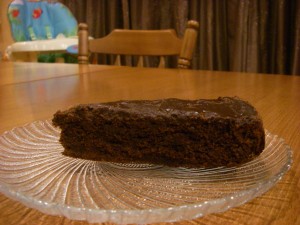
I’ve slowed down a little on the baking front lately, mostly because life and its various priorities have gotten in the way. But in honor of my brother-in-law’s birthday, which happens to be St. Patrick’s Day, I had to squeeze in a quick baking session to whip up a deliciously moist chocolate cake. I decided to try something I’ve wanted to do for awhile: Make a chocolate cake with stout. I chose to use Guinness since we already had some in the house, and I have to say, the cake turned out wonderful. It was incredibly rich and moist, and although you could taste a hint of the Guinness in it, it wasn’t overly strong.

I topped my cake off with a cream cheese frosting, but you could easily swap that for a simple chocolate glaze, confectioners sugar, or nothing at all. The best part? This cake took practically no time to make…or eat, which is a testament to how good it is.

IMGP1737

Chocolate Guinness Cake
Cake recipe from A Whisk and a Spoon

Ingredients:

For the cake:
1 and 1/2 cups AP flour
1 cup granulated sugar
7 tablespoons unsweetened cocoa powder (I used 3 regular and 4 dark)
1/2 teaspoon baking soda
1/2 teaspoon salt
1/2 cup Guinness (or other stout of your choice)
1/2 cup espresso or strong coffee
1/4 cup water
2 teaspoons vanilla
1 teaspoon apple cider or white vinegar
1/2 cup vegetable oil

For the frosting:
1 stick of butter at room temperate
8 oz cream cheese at room temperature
2 cups confectioners sugar
1 teaspoon vanilla extract

Method:

For the cake:
1. Preheat your oven to 350 degrees. Grease an 8-inch cake pan with cooking spray, then line with parchment and lightly spray the parchment.
2. Whisk together the flour, sugar, cocoa, baking soda, and salt in a medium bowl.
3. In a measuring cup, mix together your stout, coffee, water, vanilla and vinegar. Stir gently into the flour mixture.
4. Add oil and stir gently until you have a smooth batter.
5. Pour the batter into your prepared pan and bake for 30-35 minutes, or until an inserted toothpick comes out clean.
6. Let the cake cool on a rack before peeling off the parchment paper. Top with frosting, glaze, or confectioners sugar. Or, just let this fudgy masterpiece stand on its own.

For the frosting:
1. Using an electric mixer, beat the butter and cream cheese until smooth (about 3 minutes at medium speed).
2. Add the vanilla and then the confectioners sugar; mix on low-medium speed until well-combined. Depending on how thick you want your frosting, you may want to add extra confectioners sugar by the tablespoon to reach your desired consistency.


White Chocolate Macadamia Nut Blondies

A lot of people I know don’t like white chocolate. “It’s too sweet,” they’ll insist. Well that’s fine, but I think white chocolate is utterly delicious. (And since when did “too sweet” become a problem?)

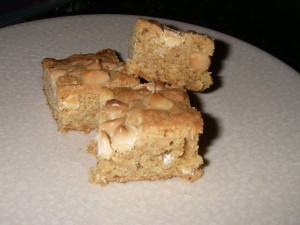
For those of you who find white chocolate to be a bit too sweet on its own, consider these fabulous blondies. The rich, chewy cake captures that classic blondie flavor, and the addition of the macadamia nuts helps offset the sweetness of the white chocolate by introducing just the right amount of saltiness.

Best of all, these blondies are quick and easy. The most time-consuming part of the process for me was chopping the macadamia nuts, and even that didn’t take very long (plus, I got to snack on some as sort of a pre-blondie treat).

Enjoy these blondies on their own, or go crazy and drizzle a little bittersweet chocolate sauce over them to jazz ‘em up even more.

IMGP1709

White Chocolate Macadamia Nut Blondies
Recipe very slightly adapted from Beantown Baker

Ingredients:
3/4 cup butter
1 and 1/2 cups brown sugar (I used half dark and half light)
1 tbsp plus 1 tsp vanilla
2 eggs
2 cups AP flour
1 and 1/2 tsp baking powder
1 cup coarsely chopped macadamia nuts, divided
1 cup white chocolate chips, divided

Method:
1. Preheat your oven to 350 degrees and grease a 9×13 baking pan.
2. Heat the butter and brown sugar in a saucepan over low heat or in your microwave on low power until melted. Let cool to room temperature before continuing.
3. Beat the vanilla and eggs into your sugar mixture.
4. Beat in flour and baking powder on low speed.
5. Stir in half of the macadamia nuts and white chocolate chips.
6. Pour the mixture into your prepared pan, and then sprinkle with remaining nuts and white chocolate chips.
7. Bake 30-35 minutes, or until an inserted toothpick comes out clean. The tops of the blondies should be slightly browned—but not too brown—before you remove them from the oven.
8. Let the blondies cool completely in their pan before cutting into them.


Chewy Dark Chocolate Cookie Bars With Peanut Butter Chips

There’s just something about the marriage of chocolate and peanut butter that works wonders for my taste buds. I’ve made countless desserts featuring this classic combination, and I have to say, these bar cookies are definitely among my favorite.

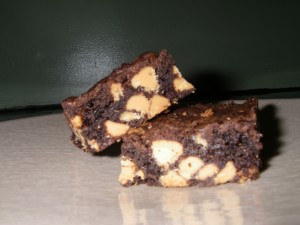
First of all, they’re just so incredibly easy to prepare, and you get a lot of bars for not a lot of work. Second, they’re chewy and flavorful without being overwhelmingly sweet or rich. The original recipe calls for regular unsweetened cocoa, but I’ve been on a dark chocolate kick, so I decided to use mostly dark cocoa for my batch.

If you have about 15 spare minutes tonight (which, trust me, I know some of you don’t), go ahead and make these. Then pour yourself a tall glass of cold milk and enjoy each wonderful bite.

IMGP1704

Chewy Dark Chocolate Cookie Bars With Peanut Butter Chips
Recipe from Hershey’s

Ingredients:
2 and 1/2 sticks butter, softened
2 cups sugar
2 eggs
2 tsp vanilla extract
2 cups AP flour
3/4 cup unsweetened cocoa (I used about 1/3 cup regular and Hershey’s Special Dark for the rest)
1 tsp baking soda
1/2 tsp salt
1 and 2/3 cups peanut butter chips

Method:
1. Preheat your oven to 350 degrees and grease a 9 x 13 baking pan.
2. Beat the butter and sugar until light and fluffy.
3. Add eggs and vanilla; beat well.
4. Stir together your flour, cocoa, baking soda and salt; gradually blend into butter mixture.
5. Stir in peanut butter chips.
6. Spread the batter into the prepared pan (it will be somewhat stiff).
7. Bake for 25-30 minutes, or until an inserted toothpick comes out clean.
8. Cool the bars completely in their pan on a wire rack before cutting into them.

Heath Bar Blondies

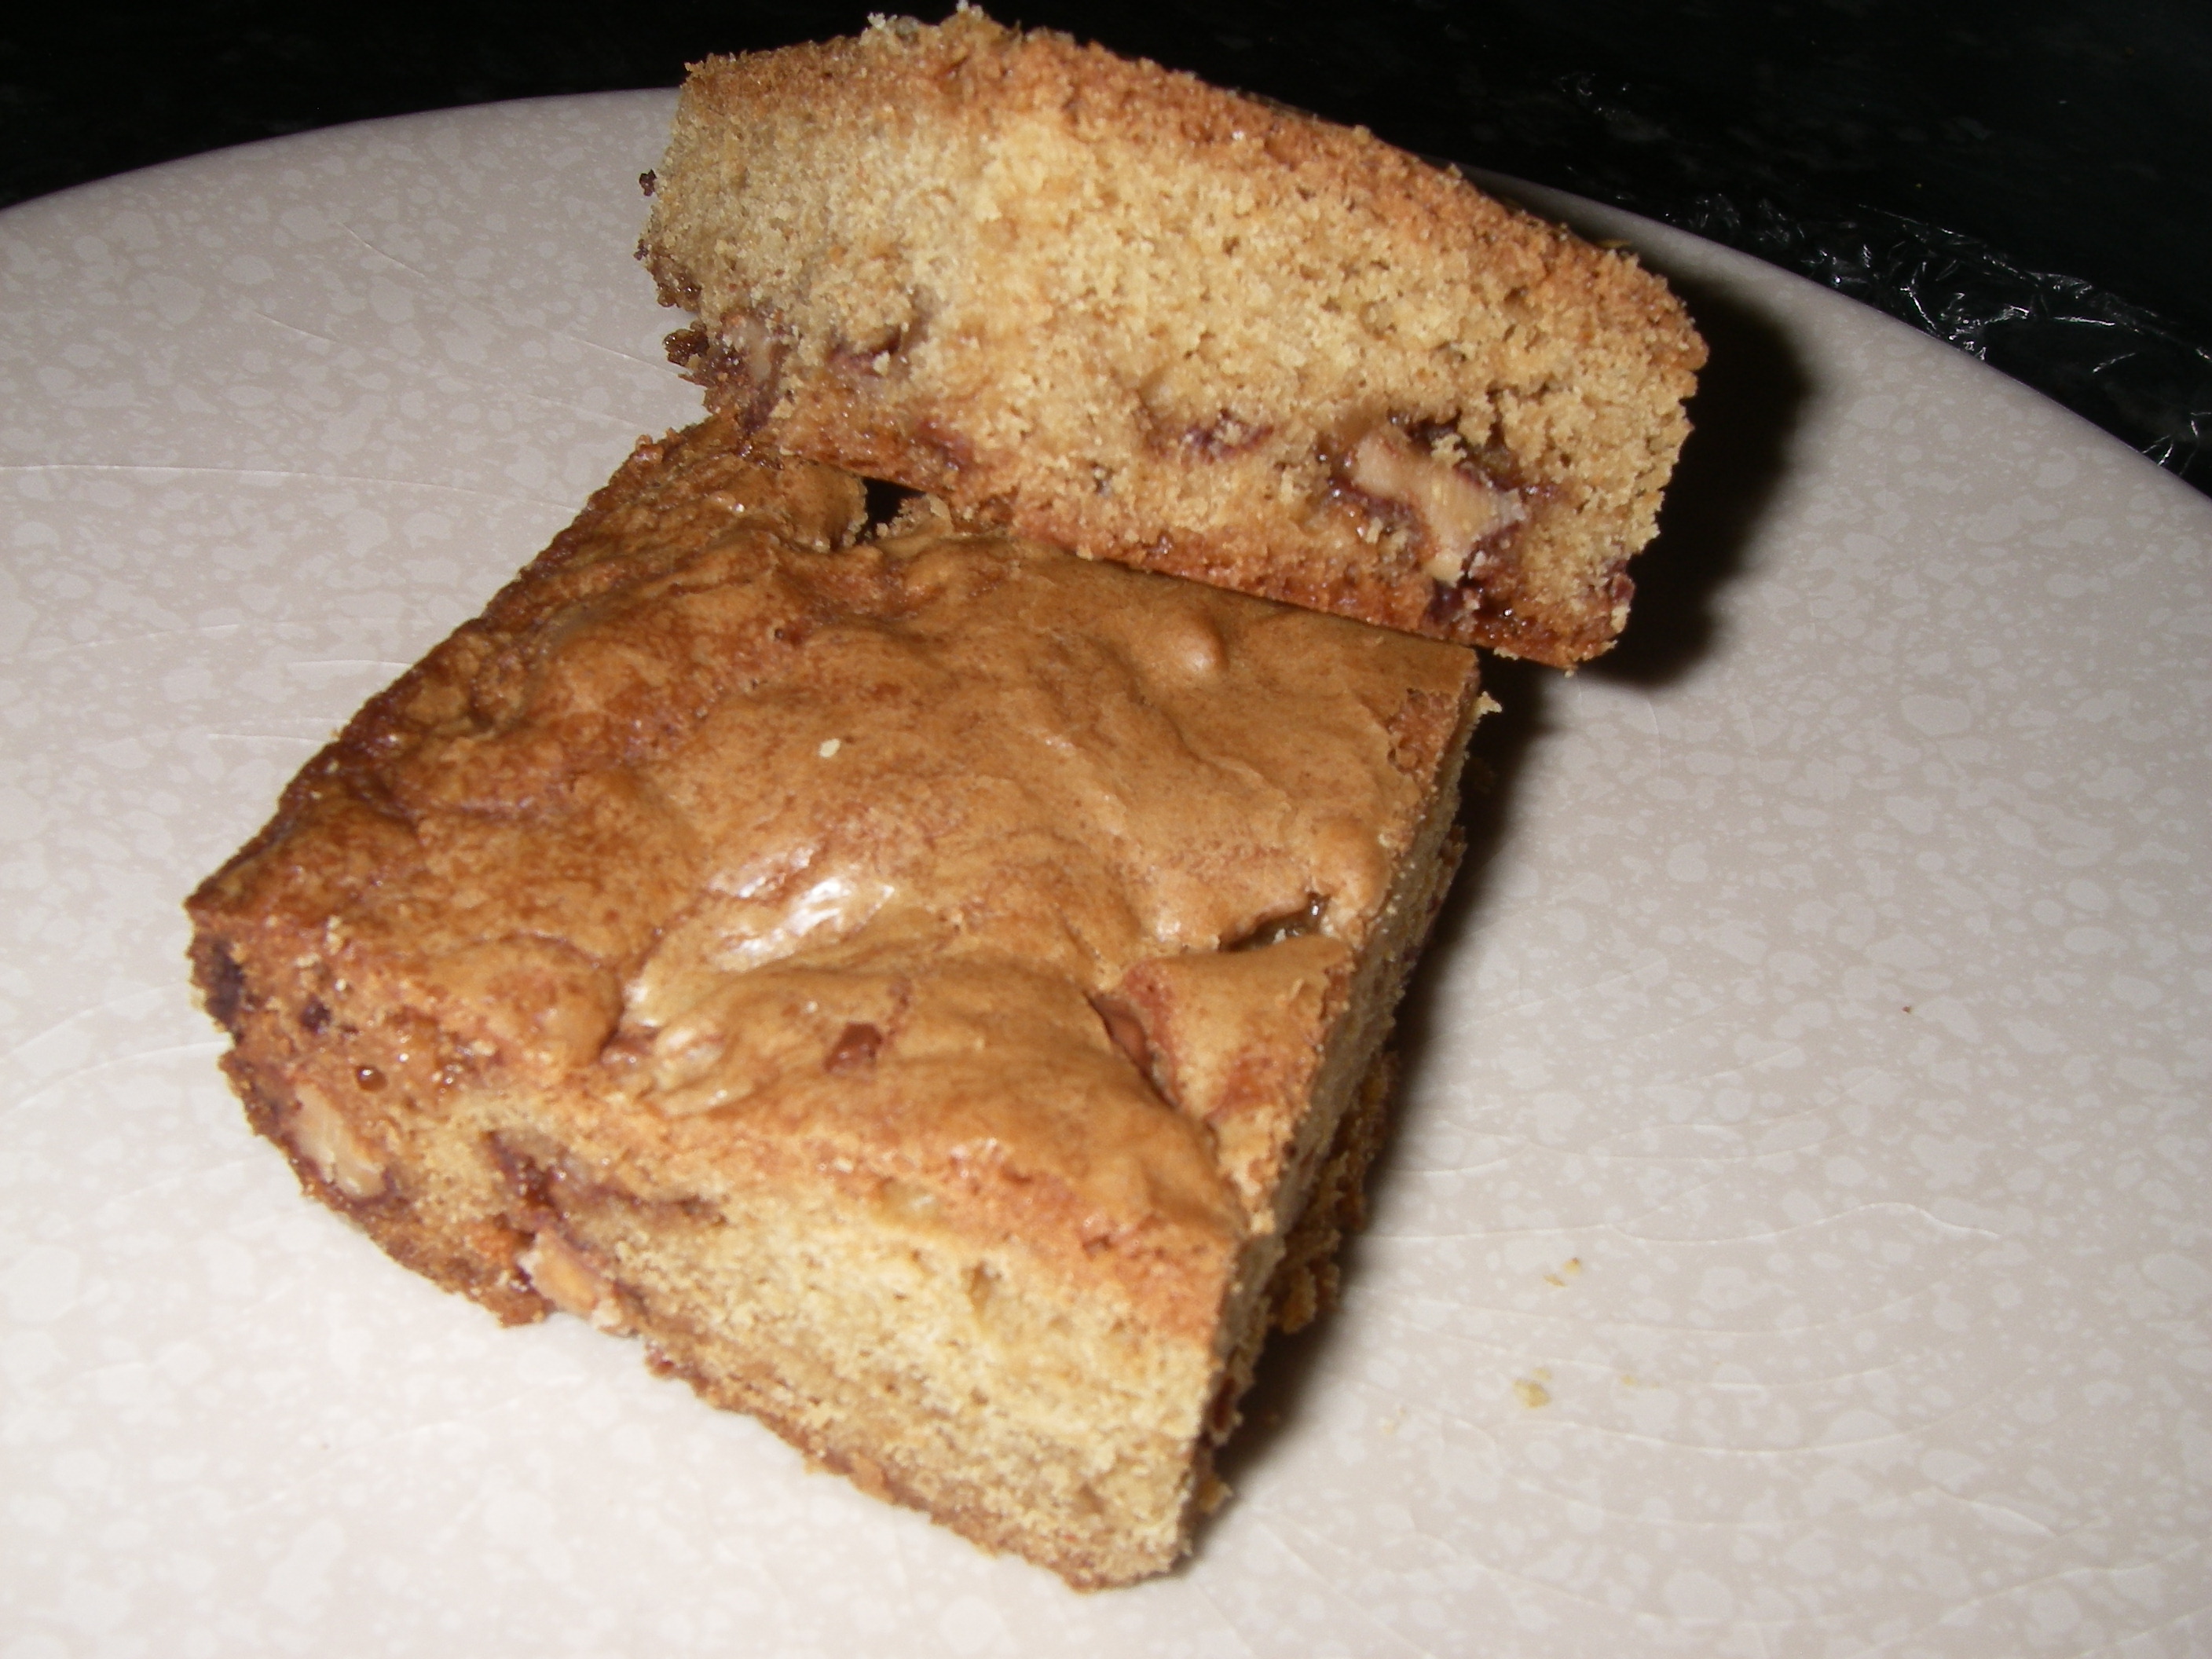
I’m a firm believer that yummy desserts don’t have to be time-consuming or complicated. Case in point: these Heath bar blondies. They took me almost no time to whip up, and the end result was just insanely good—crispy toffee and chocolate pieces scattered amidst dense, chewy blondie goodness. Does it really get better than that?

IMGP1711

Heath Bar Blondies
Recipe from Lovin From The Oven (a great site, by the way – check it out)

Ingredients:
1 cup AP flour
1/2 tsp baking powder
1/8 tsp baking soda
1/2 tsp salt
1 cup brown sugar
1/2 cup melted butter
1 large egg
1 tsp vanilla
1 cup coarsely chopped Heath Bars

Method:
1. Preheat your oven to 350 degrees and grease an 8×8 baking pan.
2. Mix or whisk together the brown sugar and melted butter until well-combined.
3. Whisk in the egg and vanilla.
4. Add the dry ingredients to the batter and mix until well-blended.
5. Stir in the chopped-up Heath pieces.
6. Bake for 30-35 minutes, or until an inserted toothpick comes out clean.
7. Let the blondies cool completely in their pan before cutting into them.


Almost-Fudge Gateau

I’m definitely much more of a vanilla person than a chocolate person. Take me to a bakery, and I’ll almost always order a vanilla cake or something vanilla-based. And when it comes to ice cream, I’m a vanilla girl all the way. But sometimes, depending on my mood, my hormones (yeah, I went there), or the season, I find myself suddenly craving chocolate. And when I do, it’s gotta be a rich, dense, full-on chocolate assault. So when my latest chocolate urge crept up on me out of nowhere, I decided it was time to try a recipe I had bookmarked some time ago.

A lot of food bloggers have tried this fudge cake recipe and raved about it. It’s from the famous Baking: From My Home to Yours cookbook by Dorie Greenspan, which I actually don’t have but need to get my hands on.

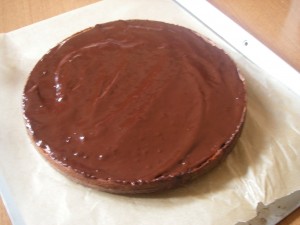
The great thing about this cake is that it’s not super complicated but incredibly decadent. The “almost-fudge” description is pretty accurate, only whereas classic fudge can take sweetness to an insane level, this cake strikes the perfect balance of intense chocolate flavor without that cloying sweetness factor. If you’re craving chocolate, this cake will definitely hit the spot. And if you have guests coming over, you’ll be sure to impress them by whipping it up. I ate a giant piece with a touch of whipped cream and a small scoop of vanilla ice cream on the side—because even when I need my chocolate, I’m still a vanilla girl at heart.

IMGP1613

Almost-Fudge Gateau

Recipe can also be found here

Ingredients:

For the cake:
5 large eggs
9 ounces of bittersweet chocolate, coarsely chopped
1 cup of granulated sugar
5 tablespoons unsalted butter, cut into chunks
2 tablespoons coffee or water
1/3 cup AP flour
Pinch of salt

For the glaze:
4 ounces of bittersweet chocolate, coarsely chopped
1/2 cup heavy cream
2 teaspoons light corn syrup

Method:

For the cake:
1. Preheat your oven to 350 degrees. Butter a 9-inch springform pan, line the bottom with parchment paper, butter the paper, dust the inside of the pan with flour, and tap out the excess. Place the pan on a baking sheet lined with parchment paper or a silicone mat.
2. Separate the eggs.
3. Set a heatproof bowl over a saucepan of simmering water and add the chocolate, sugar, butter, and coffee. Stir occasionally until the chocolate and butter are melted; the sugar may still be grainy, and that’s okay. Transfer the bowl to the counter and let the mixture sit for a few minutes.
4. Using a rubber spatula, stir in the egg yolks one by one, then fold in the flour.
5. Working with the whisk attachment of a stand mixer (or, if you don’t have one, a hand mixer will have to do), beat the egg whites with the pinch of salt until they hold firm, glossy peaks.
6. Use a spatula to stir about a quarter of the beaten egg whites into the batter; then gently fold in the rest.
7. Pour the batter into your prepared pan and gently jiggle the pan from side to side a couple of times to even it out.
8. Bake for 35 to 45 minutes, or until the cake has risen evenly (it may rise around the edges and you’ll think it’s done, but give it a few minutes more, and the center will puff too) and the top has firmed (it will probably be cracked); a thin knife inserted into the center should come out just slightly streaked with chocolate.
9. Transfer the pan to a cooling rack and let the cake rest for 5 to 10 minutes.
10. Run a knife gently around the edges of the cake and remove the sides of the pan. Carefully turn the cake over onto a rack and remove the pan bottom and the parchment paper. Invert the cake onto another rack and cool to room temperature right side up. Warning: The cake may sink a bit as it cools. Don’t worry if it does.

For the glaze:
1. Place your chocolate in a small heatproof bowl and melt over a pan of simmering water or in your microwave. The chocolate should be just-melted and not too hot.
2. Meanwhile, bring the cream to a boil in a small saucepan. Pour the hot cream over the chocolate and stir very gently with a rubber spatula until the mixture is smooth and shiny.
3. Stir in the corn syrup and let the glaze sit for a few minutes.
4. Gently place the cake on a wax paper-lined baking sheet, or on a wire rack with wax paper underneath. This will prevent excess glaze from getting all over your kitchen counter or work surface.
5. Pour the glaze over the cake and smooth the top. It’s easiest to do this using a long metal icing spatula.
6. Allow the glaze to set at room temperature or, if you’re impatient, you can stick the cake into the refrigerator for about 20 minutes. I let mine set for a couple of hours on the counter, and it was perfect.

IMGP1615