Tres Leches Cake

It was my husband’s birthday this past weekend. And while I’m not really a birthday person, he usually enjoys a bit of extra attention when his birthday rolls around. So I did what any good wife who couldn’t find a babysitter would do: cooked up his favorite dinner and made not one, but two birthday cakes. Now since it’s just us plus a 16-month-old at home, that may seem a bit excessive. And it was. But it was also oh so delicious.

The first cake I made was a classic tres leches cake, partly because I know my husband likes it, and partly because his birthday is right before Cinco de Mayo, and, well, I thought it would be both cute and appropriate.

This cake is really easy to make if you have a stand mixer. If you don’t, it’ll take some effort to whip up your eggs and your cream. But it’s so worth it, because this cake is amazing. It’s fluffy, moist, and light—which actually makes it kind of dangerous if you lack self-control, which we all know I do. Even my husband couldn’t help but go back for seconds. And although I’m usually the world’s biggest hypocrite when it comes to letting my son eat sweets (as in, I can stuff my face with cake but he can’t have any), I decided to let him have some of this cake to celebrate the occasion. I tried to get a picture of him enjoying Daddy’s birthday cake, but my child is a vulture when it comes to food, and by the time I was able to bust out the camera, his cake was long gone.
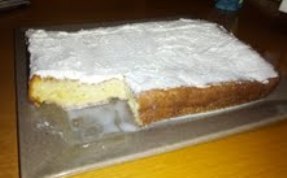
treslechcake

Tres Leches Cake
Recipe from The Pioneer Woman

Ingredients:

For the cake:
1 cup AP flour
1 and 1/2 teaspoons baking powder
1/4 teaspoon salt
5 eggs, separated
1 cup granulated sugar, divided into 3/4 cup and 1/4 cup
1 teaspoon vanilla
1/3 cup whole milk

For the milk mixture:
1 can (12 ounces) evaporated milk
1 can (14 ounces) sweetened condensed milk
1/4 cup heavy cream

For the frosting:
2 cups heavy cream
3 tablespoons granulated sugar

Method:

For the cake:
1. Preheat your oven to 350 degrees. Spray a 9 x 13 inch pan liberally until coated.
2. Combine flour, baking powder, and salt in a large bowl and set aside.
3. Separate your eggs.
4. Beat egg yolks with 3/4 cup sugar on high speed until the yolks turn pale yellow.
5. Stir in milk and vanilla.
6. Pour egg yolk mixture over the flour mixture and stir very gently until combined.
7. Beat egg whites on high speed until soft peaks form. With the mixer on, pour in the remaining 1/4 cup sugar and beat until the egg whites are stiff but not dry.
8. Fold egg white mixture into the batter very gently until just combined.
9. Pour into prepared pan and spread to even out the surface.
10. Bake for 35 to 45 minutes, or until an inserted toothpick comes out clean. Turn cake out onto a rimmed platter and let cool.

For the milk mixture:
1. Combine the condensed milk, evaporated milk, and heavy cream in a small pitcher.
2. Once your cake is cool, pierce the surface with a fork several times. Slowly drizzle all but about 1 cup of the milk mixture over the cake (you can discard the rest, or get creative and save it for a future recipe). Try to get as much around the edges as you can. Allow the cake to absorb the milk mixture for 30 minutes.

For the frosting:
1. Whip the heavy cream and sugar until the mixture thickens.
2. Spread over the surface of the cake.
treslechslice

Caramel Cookie Dough Shortbread Bars

The other day, my 16-month-old locked me in my pantry. No, I’m not kidding.

I was standing in the doorway of my walk-in pantry, whose knob was set as locked to prevent my sneaky child from busting into my closed pantry behind my back and helping himself to whatever goodies he can reach. As I was combing the shelves looking for some caramel candies, the baby decided to sneak up behind me and start pushing the door into me. Now in all fairness, I didn’t try very hard to resist, thinking there was no way my little 16-month-old could possibly exert enough force to shove my body all the way into the pantry via the door. But lo and behold, I was wrong, ‘cause about eight seconds later, the child managed to push me all the way into the pantry, thus locking me in.

My husband, who was on hand for most of this scene, found it extraordinarily funny. Me, not so much. Actually, that’s not true. I laughed about it after the fact, but was also quite thankful that my husband was on hand to immediately bust me out.

Of course, this incident has caused me to rethink my strategy of keeping the child out of the pantry, and so going forward, I will not lock the door, but rather will use one of those annoying but necessary baby-proof knobs that makes opening things unbelievably difficult (for me) but will most likely do the job of keeping my junk food stash safe and out of my child’s mouth.

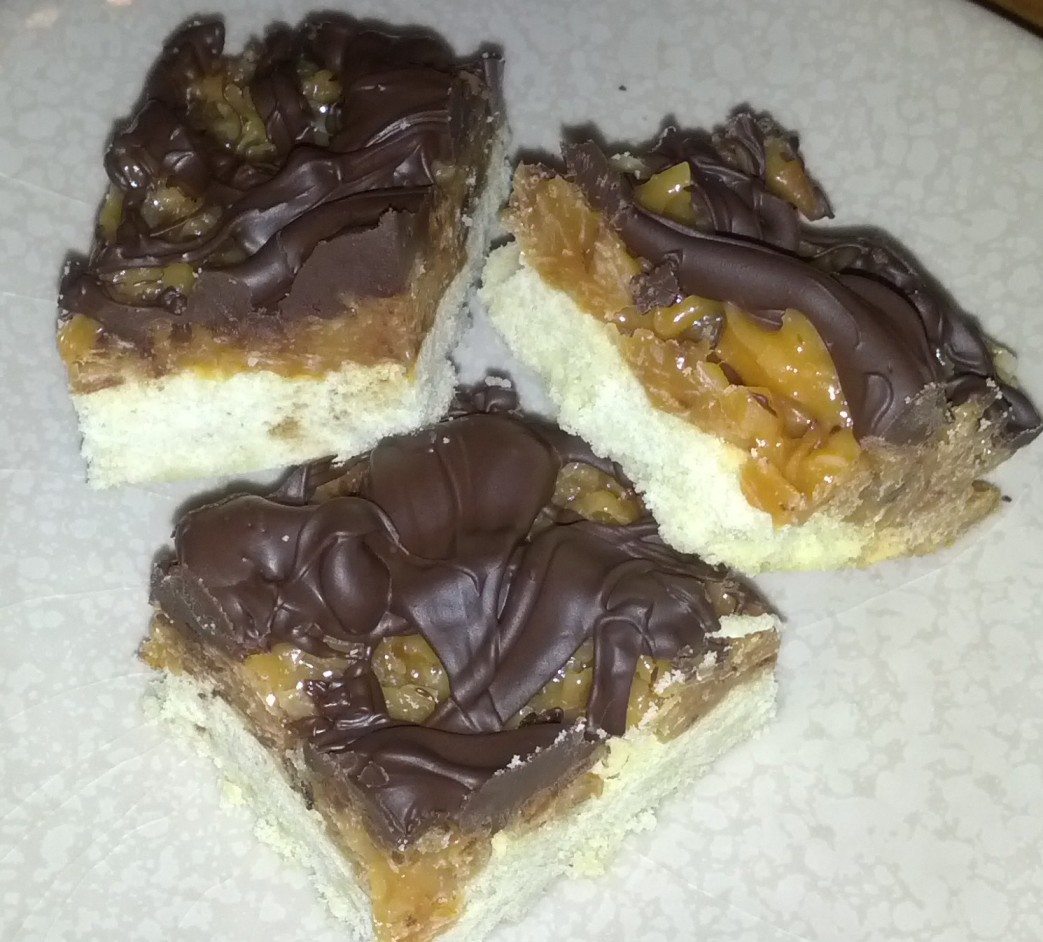
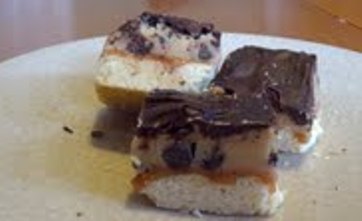
Anyway, once I recovered from my very brief moment of pantry incarceration, I got to work making these amazing shortbread cookie bars. I’ve done something similar in the past along the lines of classic Millionaires’ Shortbread, which is basically a shortbread base, caramel center, and chocolate glaze. But when I saw this recipe on Brown Eyed Baker, one of my absolute favorite baking blogs, I decided I had to go for it.

These bars are nothing short of amazing. I was actually worried that the cookie dough layer would make them a bit too sweet, but they turned out perfectly. The original recipe is enough for an 8×8 pan, but I wanted extra to bring in to work, so I made one and a half times the recipe to fill a 9×13. In hindsight, I could’ve stuck with the 8×8. These bars are wonderful, but they’re also incredibly rich, and believe it or not, you really only need a small piece to come away satisfied.

Although you do have the option of storing these beauties at room temperature, I decided to keep mine in the fridge and found that I enjoyed them cold—so much so, that my once-ample supply is now rapidly dwindling.

bilbarsjpg

Caramel Cookie Dough Shortbread Bars
Original recipe from Brown Eyed Baker

Ingredients:

For the shortbread base:
1/3 cup unsalted butter, at room temperature
1/3 cup granulated sugar
1/2 teaspoon vanilla extract (I used a little more to bring out the vanilla flavor)
1/4 teaspoon salt
1 cup AP flour

For the caramel layer:
7 ounces soft caramel candies (about 25 candies), unwrapped (I used Kraft caramels)
2 tablespoons heavy cream

For the cookie dough layer:
1/2 cup unsalted butter, at room temperature
1/2 cup light brown sugar
1/4 cup granulated sugar
2 tablespoons heavy cream
1/2 teaspoon vanilla extract
3/4 cup AP flour
Pinch of salt
1/2 cup semisweet chocolate chips

For the chocolate glaze:
4 ounces semisweet chocolate, chopped
1 tablespoon unsalted butter

Method:

To make the shortbread:
1. Preheat your oven to 350 degrees. Line an 8×8 inch baking pan with parchment paper, leaving some overhang on two sides.
2. Beat the butter and sugar with an electric mixer on medium speed until the mixture is light and fluffy, about 2-3 minutes.
3. Add the vanilla and salt, and beat until combined.
4. Add the flour and mix until just incorporated; the dough may appear slightly crumbly.
5. Firmly press the dough into your prepared pan. Bake for 18 to 22 minutes (22 to 25 minutes if you’re making enough for a 9×13 pan), or until the edges are lightly golden.
6. Remove pan from the oven and set on a wire rack to cool slightly.

To make the caramel layer:
1. Place the caramel candies in a small saucepan over medium heat. Add the heavy cream and stir until completely melted. (Disclaimer: I totally cheated and melted these together in the microwave. It turned out just fine, but I made sure to watch it carefully.)
2. Pour the caramel mixture over the shortbread crust and spread into an even layer.
3. Refrigerate until set, about one hour.

To make the cookie dough:
1. Combine the butter and sugars in a large mixing bowl and beat on medium speed until light and fluffy, about 2 to 3 minutes.
2. Add the heavy cream and vanilla and mix well.
3. Add the flour and salt, and mix on low until incorporated.
4. Stir in the chocolate chips.
5. Spread the cookie dough on top of the set caramel layer, using a spatula to smooth the dough into an even layer.
6. Refrigerate the pan while you prepare your glaze.

To make the chocolate glaze:
1. Combine the chocolate and butter in a microwave-safe bowl. Heat the mixture on 50% power in 30-second increments, stirring well after each, until it’s completely melted and smooth.
2. Spread the glaze over the cookie dough layer and chill in the fridge until set, about one hour.

To remove the bars from the pan, grasp the edges of the parchment paper and lift out the entire block. Place on a cutting board and use a sharp knife to cut into squares.

The original recipe says that these can be stored at room temp in an airtight container for up to three days. As I said, I opted to keep mine in the fridge. Don’t struggle with the decision too much; they’re delicious either way.

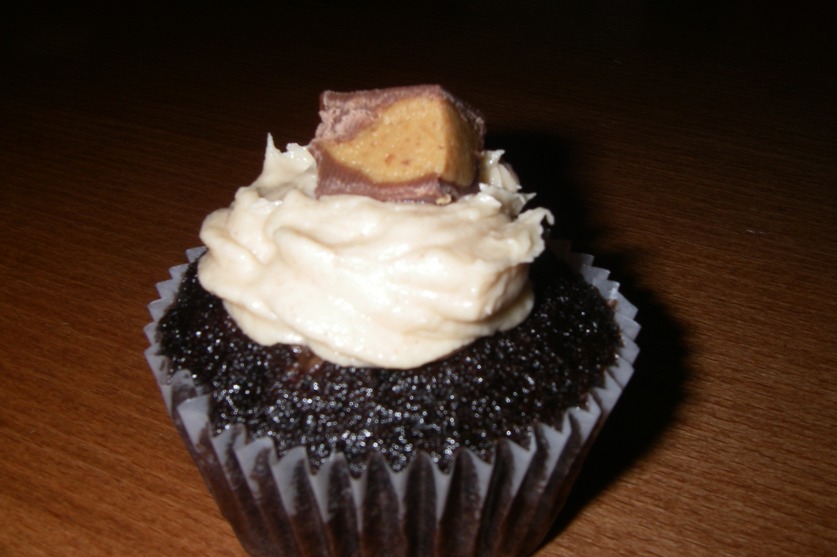
Dark Chocolate Peanut Butter Cupcakes with Peanut Butter Buttercream

I’ve said it before, and I’ll say it again: I just adore chocolate and peanut butter together. Whoever first came up with the idea to marry the two in dessert form deserves some of medal or prize. And since I needed something to bring to a potluck dinner this past weekend, I decided to whip up some super-rich, ultra-decadent chocolate peanut butter cupcakes.

Now let me warn you: These cupcakes aren’t for the faint of heart. There’s a lot of chocolate and a lot of peanut butter in there, which means these babies are in no way, shape, or form even remotely healthy. But they’re so delicious it almost doesn’t (shouldn’t) bother you.

Putting these cupcakes together takes a bit of time—time I really didn’t have but managed to come up with in the form of foregone sleep. (Again, worth it. ) Each of the steps involved is fairly easy, but the batter can be a bit tricky to work with (see below), and of course it just plain takes time to individually frost 24 cupcakes. (It takes even longer when you keep stopping to sample the frosting while refilling your piping bag.) But the end result is a pretty, indulgent treat that’s the perfect reward for all that hard work.

chocpbcup

Dark Chocolate Peanut Butter Cupcakes with Peanut Butter Buttercream
Cupcake recipe slightly adapted from Alida’s Kitchen

Ingredients:

For the cake:
2 cups granulated sugar
1 3/4 cups AP flour
1/2 cup unsweetened dark cocoa powder (I used Hershey’s Special Dark)
1 1/2 teaspoons baking powder
1 teaspoon salt
1/4 teaspoon baking soda
2 eggs
1 cup water
1 cup skim milk
1/2 cup canola oil
2 teaspoons vanilla extract

For the filling:
6 ounces cream cheese, at room temperature (the original recipe offers a lighter option, but I decided to go all in)
1/2 cup peanut butter
1/4 cup granulated sugar
2 tablespoons whole milk (the original recipe calls for skim, and I’m sure that would be fine as well)

For the frosting:
1 and 1/2 sticks of butter, at room temperature
3/4 cup peanut butter
2 and 3/4 cup confectioners sugar
1 tablespoon milk (I used whole)

Method:

To make the cake:
1. Preheat your oven to 350 degrees. Line 24 muffin cups with liners and set aside.
2. In a large bowl, whisk together the sugar, flour, cocoa, baking powder, salt, and baking soda.
3. In a separate bowl, whisk the eggs, water, milk, oil, and vanilla. Fold the wet imxture into the dry ingredients until just moistened. Note that the batter will be pretty thin.
4. Fill prepared muffin cups halfway with batter and set remaining batter aside.

To make the filling:
1. Using a hand or stand mixer, beat the cream cheese, peanut butter, sugar, and milk until combined. Divide the filling evenly amongst the 24 cups, dropping a spoonful of filling in the center of each.
2. Cover each cup with the remaining chocolate batter.
3. Bake for 25 minutes, or until a toothpick inserted into the cake comes out clean.
4. Cool for 10 minutes in the pan; then move the cupcakes to a wire rack to cool completely before adding the frosting.

To make the frosting:
1. In the bowl of your stand mixer, beat the butter and peanut butter together on medium speed until the mixture gets nice and smooth.
2. Add the confectioners sugar and beat on low for about one minute. Scrape down the sides of the bowl as necessary.
3. Add the tablespoon of milk and beat on medium for about another minute. If needed, add a little more confectioners sugar if you want your frosting to be thicker.
4. Use a spatula or piping bag to top your cupcakes once cooled.
5. Garnish with chopped miniature peanut butter cups if desired.

A few notes:
1. As mentioned above, the chocolate cupcake batter is pretty thin, which makes getting it cleanly into your muffin cups a bit of a challenge. I suggest using a batter/ice cream scoop but having a teaspoon ready underneath to catch stray drips.
2. I don’t tend to like tons of frosting on my cupcakes, and since these cupcakes are quite rich to begin with, I found that a small amount worked perfectly. But if you’re the type to pile on the frosting (and there’d be nothing wrong with that), you’ll probably want to make one and a half times the amount referenced above.


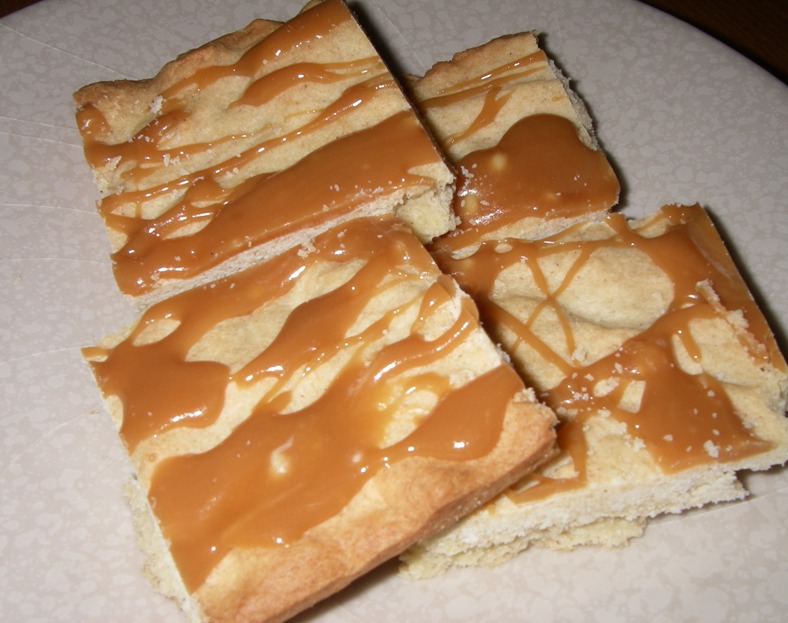
Vanilla Cardamom Shortbread Bars with White Chocolate Caramel Glaze

Just when it seemed like the weather was finally starting to get a bit warmer around here, bam—another cold front hit. Okay, it wasn’t exactly a cold front, but after several days of temps in the 60s and 70s (you know, actual spring weather), it went back down to the low 50s with a vengeance. Now I realize that 52 degrees isn’t actually freezing. But throw in cloudy, gray skies, a bout of rain, and, oh yeah, the fact that it’s late April, and all it took was a couple of cooler days to make me want to curl up in a blanket the moment I put the child to bed.

Of course, no couch potato moment would be truly complete without something freshly baked to accompany it, and so I decided to whip up some shortbread cookie bars. The base is very similar to that of the Samoa bars I made last week, only it incorporates a bunch of fall spices that jack up the flavor and work well with the caramel and white chocolate topping.

Now I have to say, I really love the way these babies turned out. But more so than that, they smelled absolutely amazing while they were baking up. Had I been able to somehow capture the smell and mass-produce a line of household products and candles to feature it, I would’ve found myself sitting on a goldmine. But alas, all I could do was enjoy the sweet aroma of vanilla, cinnamon, nutmeg, and cardamom wafting through the air as the rain kept rapping against my windows and the wind howled in protest of spring.

vanshortbread

Vanilla Cardamom Shortbread Bars with White Chocolate Caramel Glaze

Ingredients:

For the shortbread cookie base:
1/2 cup sugar
3/4 cup butter, softened
1 large egg
1 and 1/2 tsp vanilla
2 cups Ap flour
1/4 tsp salt
1/4 tsp cardamom
1/4 tsp cinnamon
1/4 tsp nutmeg

For the topping:
1/2 cup Kraft caramel bits (or a half cup’s worth Kraft caramel candies, unwrapped)
1 tbsp whole milk
1/2 cup white chocolate, melted

Method:

To make the shortbread cookie base:
1. Preheat your oven to 350 degrees. Lightly grease a 9×13-inch baking pan, or line with parchment paper.
2. Cream together sugar and butter until fluffy.
3. Beat in egg and vanilla extract.
4. Gradually beat in flour, salt, and spices at low speed until mixture is crumbly.
5. Pour crumbly dough into prepared pan and press into an even layer.
6. Bake for 20-25 minutes, until base is set and edges are lightly browned.
7. Cool completely on a wire rack before adding the topping.

To make the topping:
1. Combine caramel bits, milk, and white chocolate in a medium bowl.
2. Heat in the microwave for 30-second increments at 50% power, stirring the mixture in between. You’ll find that the caramel will melt before the white chocolate, so it’s important to keep stirring. When the white chocolate is mostly melted, vigorously whisk the mixture together to eliminate the lumps.
3. Drizzle the mixture over the shortbread base.
4. Allow to set in the fridge for an hour before cutting into bars.


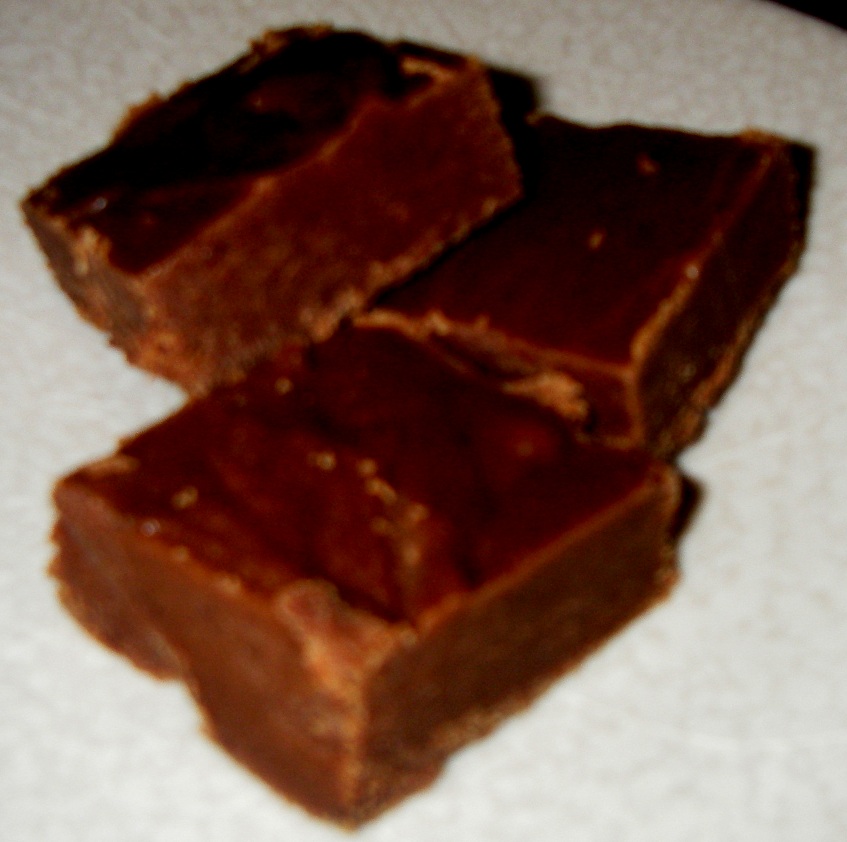
Chocolate Peanut Butter Fudge

Ah, chocolate and peanut butter. That classic combination draws me in every time. This week, I decided to unite my chocolate and peanut butter in fudge form. I saw this recipe on Brown Eyed Baker, one of my favorite blogs, and decided to give it a shot.

Now normally I’m not the biggest fudge fan. Well, I shouldn’t say that. I happen to think fudge is delicious, albeit kind of insanely sweet. But usually I’ll go for a brownie or cookie or (generous) slice of cake before opting for fudge. Still, something about this recipe called out to me, so I figured I’d mix things up a bit.

The fudge itself didn’t take long to prepare, but let me tell you, I got a bit of a workout while making it thanks to Step #5 below. But it was still totally worth it. And besides, this way I felt justified helping myself to an extra piece.

pbfudge

Chocolate Peanut Butter Fudge
Recipe from Brown Eyed Baker

Ingredients:

2½ cups granulated sugar
¼ cup cocoa powder
1 cup evaporated milk
1 tablespoon light corn syrup
½ cup unsalted butter, divided, with 2 tablespoons set aside
½ cup peanut butter
2 teaspoons vanilla extract

Method:
1. Butter an 8-inch square pan and line the pan with parchment paper.
2. Combine the sugar, cocoa powder, evaporated milk, and corn syrup in a saucepan over medium heat. Cook, stirring constantly, until all the sugar dissolves.
3. Add the 2 tablespoons of butter into the mixture and stir until the butter melts. Bring the mixture to a boil. Cover and boil for 3 minutes.
4. Remove the lid and continue to let the mixture cook, without stirring, until it reaches 234 degrees on a candy thermometer. Remove the mixture from the heat and, without stirring, add in the remaining butter, peanut butter, and vanilla. Let the mixture sit for 10 minutes.
5. Using a wooden spoon, beat the fudge until it thickens and begins to lose its gloss. This took me about 6-7 minutes, though the original recipe states that it can take up to 15. Um, yikes, considering that my arm felt like it was about to fall off at the 3-minute mark. You can also use a stand or hand mixture to tackle this step, but you have to be careful not to overbeat.
6. Pour the mixture into the prepared pan. Allow the fudge to come to room temperature and then cover the pan with plastic wrap and chill in the fridge until it sets (at least 2 hours).
7. Use the parchment paper to lift the fudge out of the pan. Slice and enjoy.

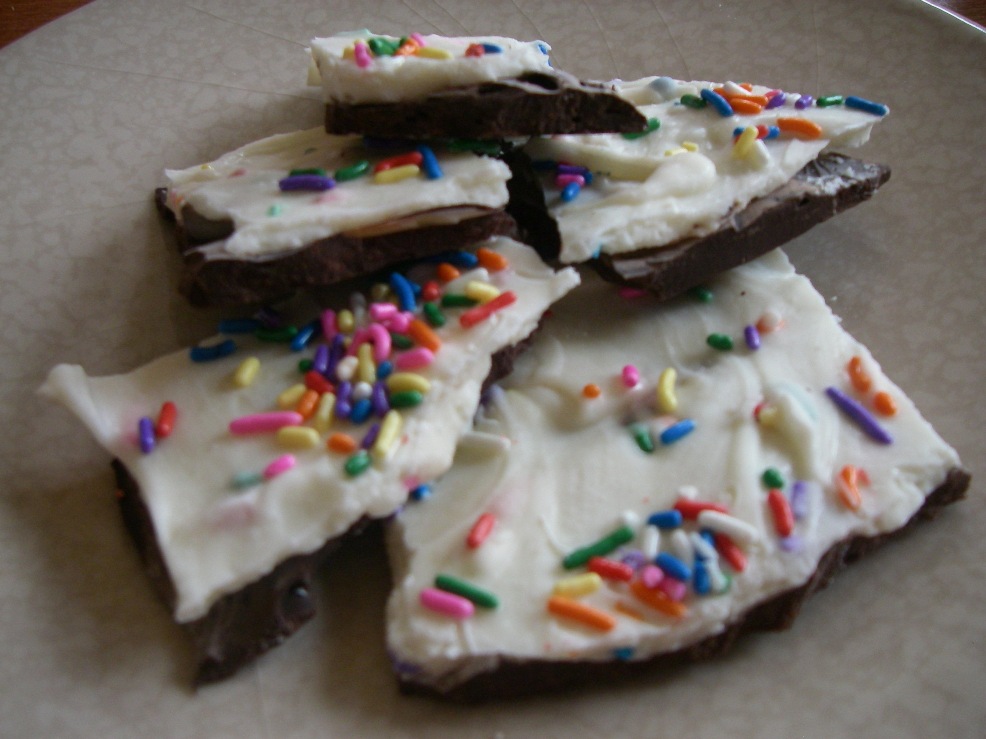
Funfetti Cake Batter Bark

When it comes to candy, I’m a total kid at heart. Sure, I can indulge in a box of sophisticated truffles. But sometimes I like my candy to be bright and fun. Case in point: cake batter bark. I was in the mood for something different and decided to whip up a batch of fun, sprinkle-infused candy.

This stuff is sweet and tasty, and it’s incredibly easy to make. The bad news is that it’s also incredibly easy to eat…

cakebatter

Funfetti Cake Batter Bark

Ingredients:

12 ounces semisweet chocolate
12 ounces white chocolate
3 teaspoons Funfetti cake mix
¼ cup rainbow sprinkles, plus more for topping

Method:

1. Line a baking sheet with parchment paper and set aside.
2. Melt the semisweet chocolate in the microwave at 50% power for 30-second intervals, stirring in between. Once melted, pour the chocolate onto the prepared baking sheet. Refrigerate until set (approximately one hour).
3. Once the semisweet chocolate has hardened, melt the white chocolate using the same method in the step above. Once melted, stir in the cake mix and ¼ cup rainbow sprinkles until well-combined.
4. Pour the white chocolate mixture over the semisweet chocolate. Use an offset spatula to spread the mixture evenly (or, if you don’t have one or get lazy, just use the back of a regular spoon).
5. Scatter additional sprinkles over the white chocolate layer as desired.
6. Return to fridge and let set for at least an hour before breaking up into individual pieces.

Samoa Bars

It’s been awhile since I’ve posted a recipe. That’s what happens when life gets in the way of baking. But this is a good one, promise.

Ever since my Girls Scouts cookies were delivered back in March, I’ve been indulging on a pretty much regular basis. But this year, I decided to be conservative and only order one box of Samoas—my favorite. So when it came to my attention that I was starting to run out of my beloved Samoas, I decided to take matters into my own hands by whipping up some homemade Samoa cookie bars.

I’ve seen a few different recipes for these bars, some of which involve dipping the bottoms in chocolate. Since I didn’t have a ton of time, I opted to skip that step and instead just drizzle chocolate on top of the bars—a little less Samoa-like, but delicious nonetheless.

Although this recipe is incredibly simple, there are several steps involved, and you need to wait for each layer to cool/set before moving on to the next. But as long as you leave yourself enough time, you should have no problem throwing these together over the course of an afternoon.

Samoabars

Samoa Bars
Recipe from Baking Bites

Ingredients:

For the shortbread cookie base:
1/2 cup sugar
3/4 cup butter, softened
1 large egg
1/2 tsp vanilla
2 cups Ap flour
1/4 tsp salt

For the topping:
3 cups shredded sweetened coconut
12 oz chewy caramels (I used Kraft)
1/4 tsp salt
3 tbsp milk (I used whole)
10 oz semisweet chocolate

Method:

To make the shortbread cookie base:
1. Preheat your oven to 350 degrees. Lightly grease a 9×13-inch baking pan, or line with parchment paper.
2. Cream together sugar and butter until fluffy.
3. Beat in egg and vanilla extract.
4. Gradually beat in flour and salt at low speed until mixture is crumbly.
5. Pour crumbly dough into prepared pan and press into an even layer.
6. Bake for 20-25 minutes, until base is set and edges are lightly browned.
7. Cool completely on a wire rack before adding the topping.

To make the topping:
1. Preheat your oven to 300 degrees.
2. Spread the coconut evenly on a parchment-lined baking sheet and toast for about 20 minutes, stirring every few minutes, until coconut is golden. Let cool and set aside.
3. Unwrap your caramels and place them in a microwave-safe bowl along with the milk and salt. Cook on high for about 3-4 minutes, stopping to stir a few times to help the caramel melt evenly. Once smooth, fold in toasted coconut with a spatula.
4. Pour dollops of the coconut-caramel topping over the cooled shortbread base. Using your spatula, spread the topping into an even layer.
5. Let topping set at room temperature until cooled, about 1 hour.
6. Melt your chocolate – I used the microwave method. Place chocolate in a microwave-safe bowl and cook on 50% power in 30-45 second intervals, stirring in between.
7. Once melted, drizzle chocolate over the tops of the bars (it won’t cover them completely).
8. Let the chocolate topping set before cutting the bars, either 2 hours at room temperature or 1 hour in the fridge. Once cooled, use a sharp knife to cut into individual bars.

Chocolate Roll Cake, a/k/a Giant Yodel Cake

I have a confession to make: I’m a sucker for processed, packaged baked goods. Sure, I’ve made my fair share of delicious cakes, pies, brownies, and more. But there’s just something about classic store-bought snack cakes that really takes me back to my childhood and makes me, on occasion, want to forego a baking session in favor of buying treats that are premade.

Growing up, one of my favorite packaged snack cakes was none other than the Yodel. But when I found myself craving one the other day, I discovered, much to my disappointment, that apparently they’re no longer in production. I was bummed, but not ready to give up. And I think you all know where this is going.

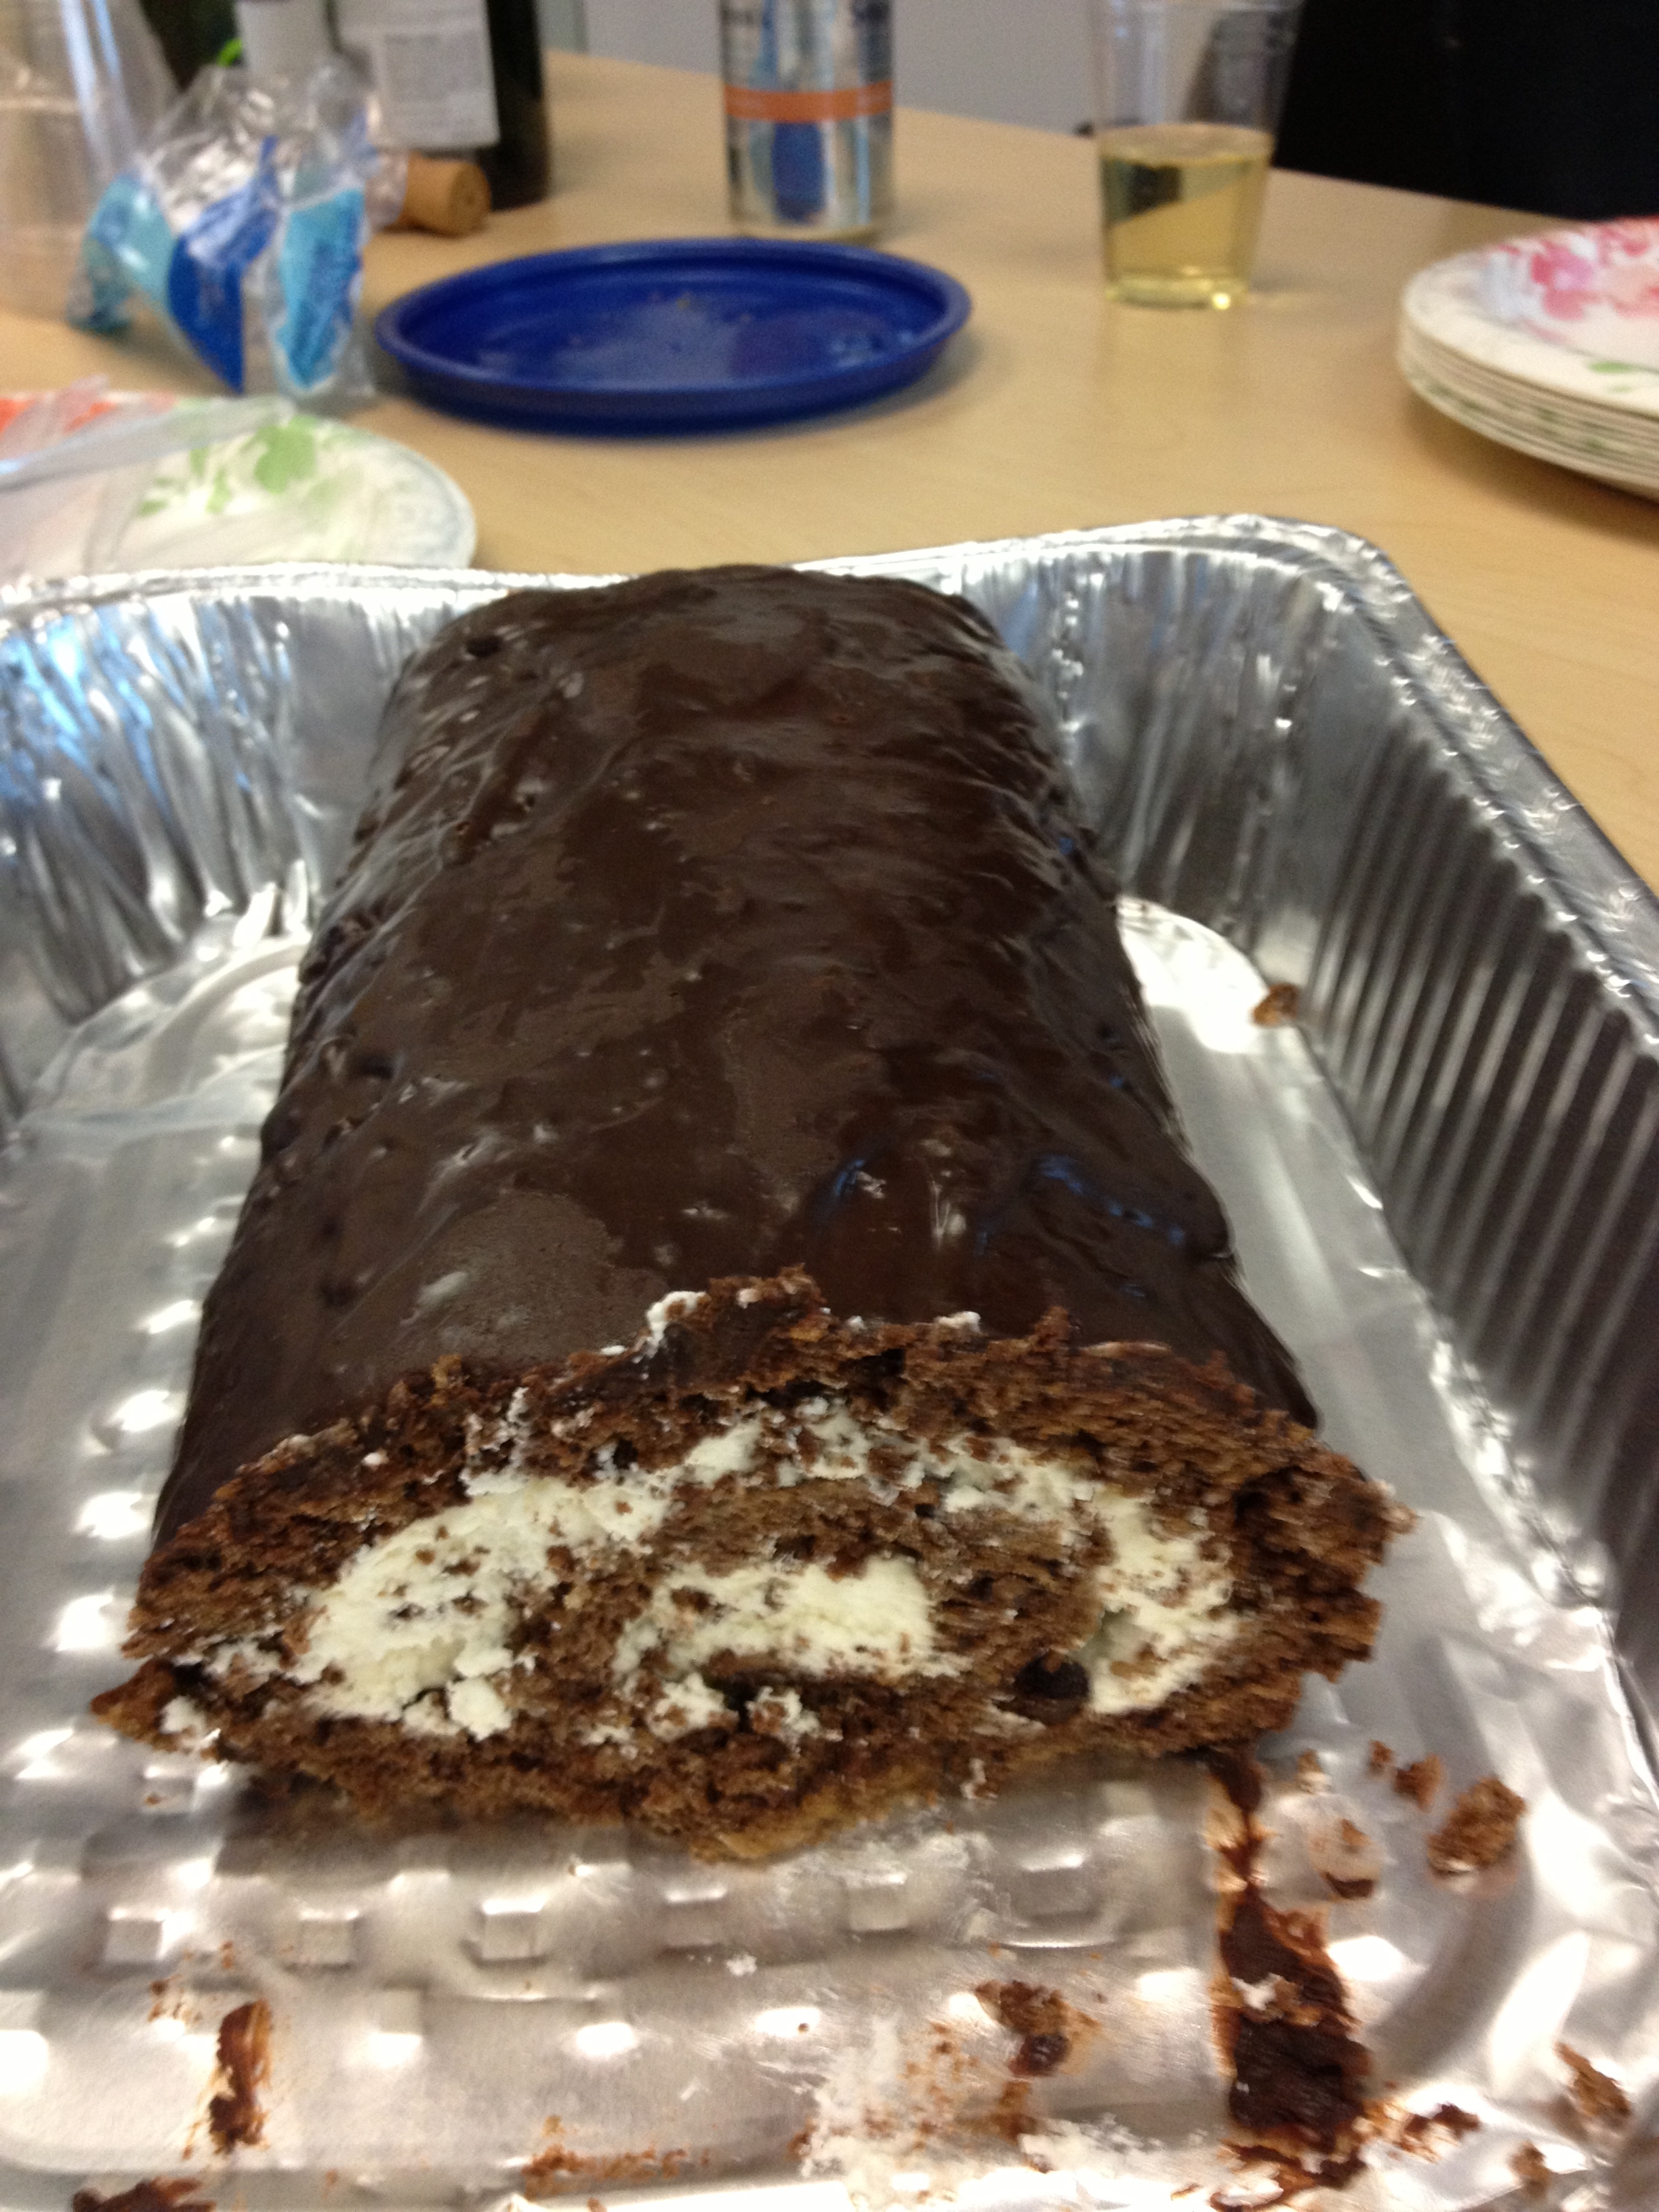
I decided to attempt my own version of Yodels, but in the form of a cake. Part of this was done out of laziness—I figured it would be easier to glaze a single cake than have to deal with glazing a bunch of smaller ones. But also, I thought it would be kind of cool to create a giant Yodel. And since I found a recipe for a chocolate roll cake online that seemed to be just what I was looking for, I decided to go for the cake.

Now before we go any further, I do have to tell you: This cake wasn’t so easy. In fact, the first version of this cake is sitting in my freezer in scraps until I figure out what to do with it. (Cake ball truffles, maybe?) The reason? I didn’t follow instructions and decided to roll it initially without using a kitchen towel. Why? I don’t know. The idea of rolling a cake in a kitchen towel seemed strange and unappealing. But it was a mistake not to do it, because when I tried it the second time around, it was much easier. So, lesson learned (though I suppose there are worse things than having extra chocolate cake lying around).

I’ll also say that even after having used the towel method, I still found this cake fairly tricky to re-roll once I added the filling. I was convinced that the darn thing was going to break on me, but somehow, it didn’t. And once I made it to the ganache stage, I knew I had a winner.

Now I’m sure you’re wondering: Did this cake end up tasting like a Yodel? It’s hard to say. I don’t think I’ve had a Yodel in well over a decade at least. But what I will say is that it turned out absolutely delicious. The chocolate cake was perfectly moist, the whipped cream filling was far tastier and fresher than I remember the classic filling being, and the chocolate ganache was utterly divine. In fact, I can say with relative confidence that my version wound up tasting far better than any mass-produced chocolate roll cake you’d find in a box…though if any of you out there know of a way to get your hands on some classic Yodels, I’d be super grateful if you could hook me up.

yodel

Chocolate Roll Cake, a/k/a Giant Yodel Cake
Recipe from Serious Eats

Ingredients:

For the cake:
1 cup AP flour
1/4 cup unsweetened cocoa powder
2 teaspoons baking powder
4 ounces of bittersweet chocolate, finely chopped
1 stick of unsalted butter
3/4 cup granulated sugar
4 large eggs
1/4 teaspoon salt
1/3 cup hot water

For the whipped cream filling:
1 and 1/2 cups heavy cream
2 tablespoons granulated sugar
1 and 1/2 teaspoons vanilla extract (the original recipe called for only 1, but I wanted a bit more of a vanilla flavor)

For the ganache:
4 ounces bittersweet chocolate, finely chopped
1/2 cup heavy cream

Method:

1. Preheat your oven to 350 degrees. Line a 10×15 jelly roll pan with parchment paper.
2. Sift flour, cocoa, and baking powder into a small bowl; set aside.
3. Place the chocolate and butter in a microwave-safe bowl and microwave in 15-second increments, stopping to stir with a rubber spatula until the mixture is completely melted and smooth. Set aside to cool slightly.
4. Using a stand mixer, whip the sugar with the eggs and salt on medium-high speed until the mixture is light and thick (about 5 minutes).
5. Fold in the chocolate mixture with a rubber spatula. Then, fold in the flour mixture and then water until just-combined.
6. Spread the batter into your prepared pan and bake the cake for 10-15 minutes, or until just-firm.
7. Let the cake cool for about 10 minutes; then run a knife along the pan edge to loosen it.
8. Place a clean kitchen towel over the cake. Starting with the short end, carefully roll the cake up with the towel (with the parchment paper attached).
9. Let the cake cool until just-cooled (anywhere from 20-40 minutes should do the trick, but keep checking the cake – you don’t want to leave it for too long). While the cake is cooling, make the filling.
10. Using a stand mixer, whip the cream with the sugar and vanilla on medium-high speed until the mixture can hold medium peaks. (Try not to keep sneaking little tastes of the whipped cream as you wait for the cake to cool…)
11. Once the cake is cool, gently unroll it, removing the towel but leaving the very end rolled to ensure a good grip.
12. Spread the cream over the exposed surface of cake.
13. Carefully re-roll cake into a log, removing the parchment paper as you go along.
14. Wrap the cake tightly with plastic wrap to retain its log shape as you prepare the ganache.
15. In a heat-proof bowl, heat the chocolate with the cream, stirring frequently, until the chocolate is melted and the mixture is smooth. I used a microwave at 50% power to do this.
16. Chill the ganache until thickened slightly, about 10 minutes.
17. Remove the plastic wrap from the cake and place the cake on wire rack set over a rimmed baking sheet. Spoon the ganache over the cake.
18. Using an off-set spatula, smooth the ganache over the sides and ends of the cake.
19. Place the cake in the fridge to allow the ganache to set for at least an hour. Store the cake in the fridge and serve within a day or two for optimal freshness.


Coconut Carrot Cookies

Something wonderful but dangerous happened last week: My Girls Scouts cookies were delivered. This means that for the past five days or so, I’ve been stuffing my face with Thin Mints and Samoas galore—to the point where I decided I need to take a break from my boxed delights and add a new kind of cookie to the mix.

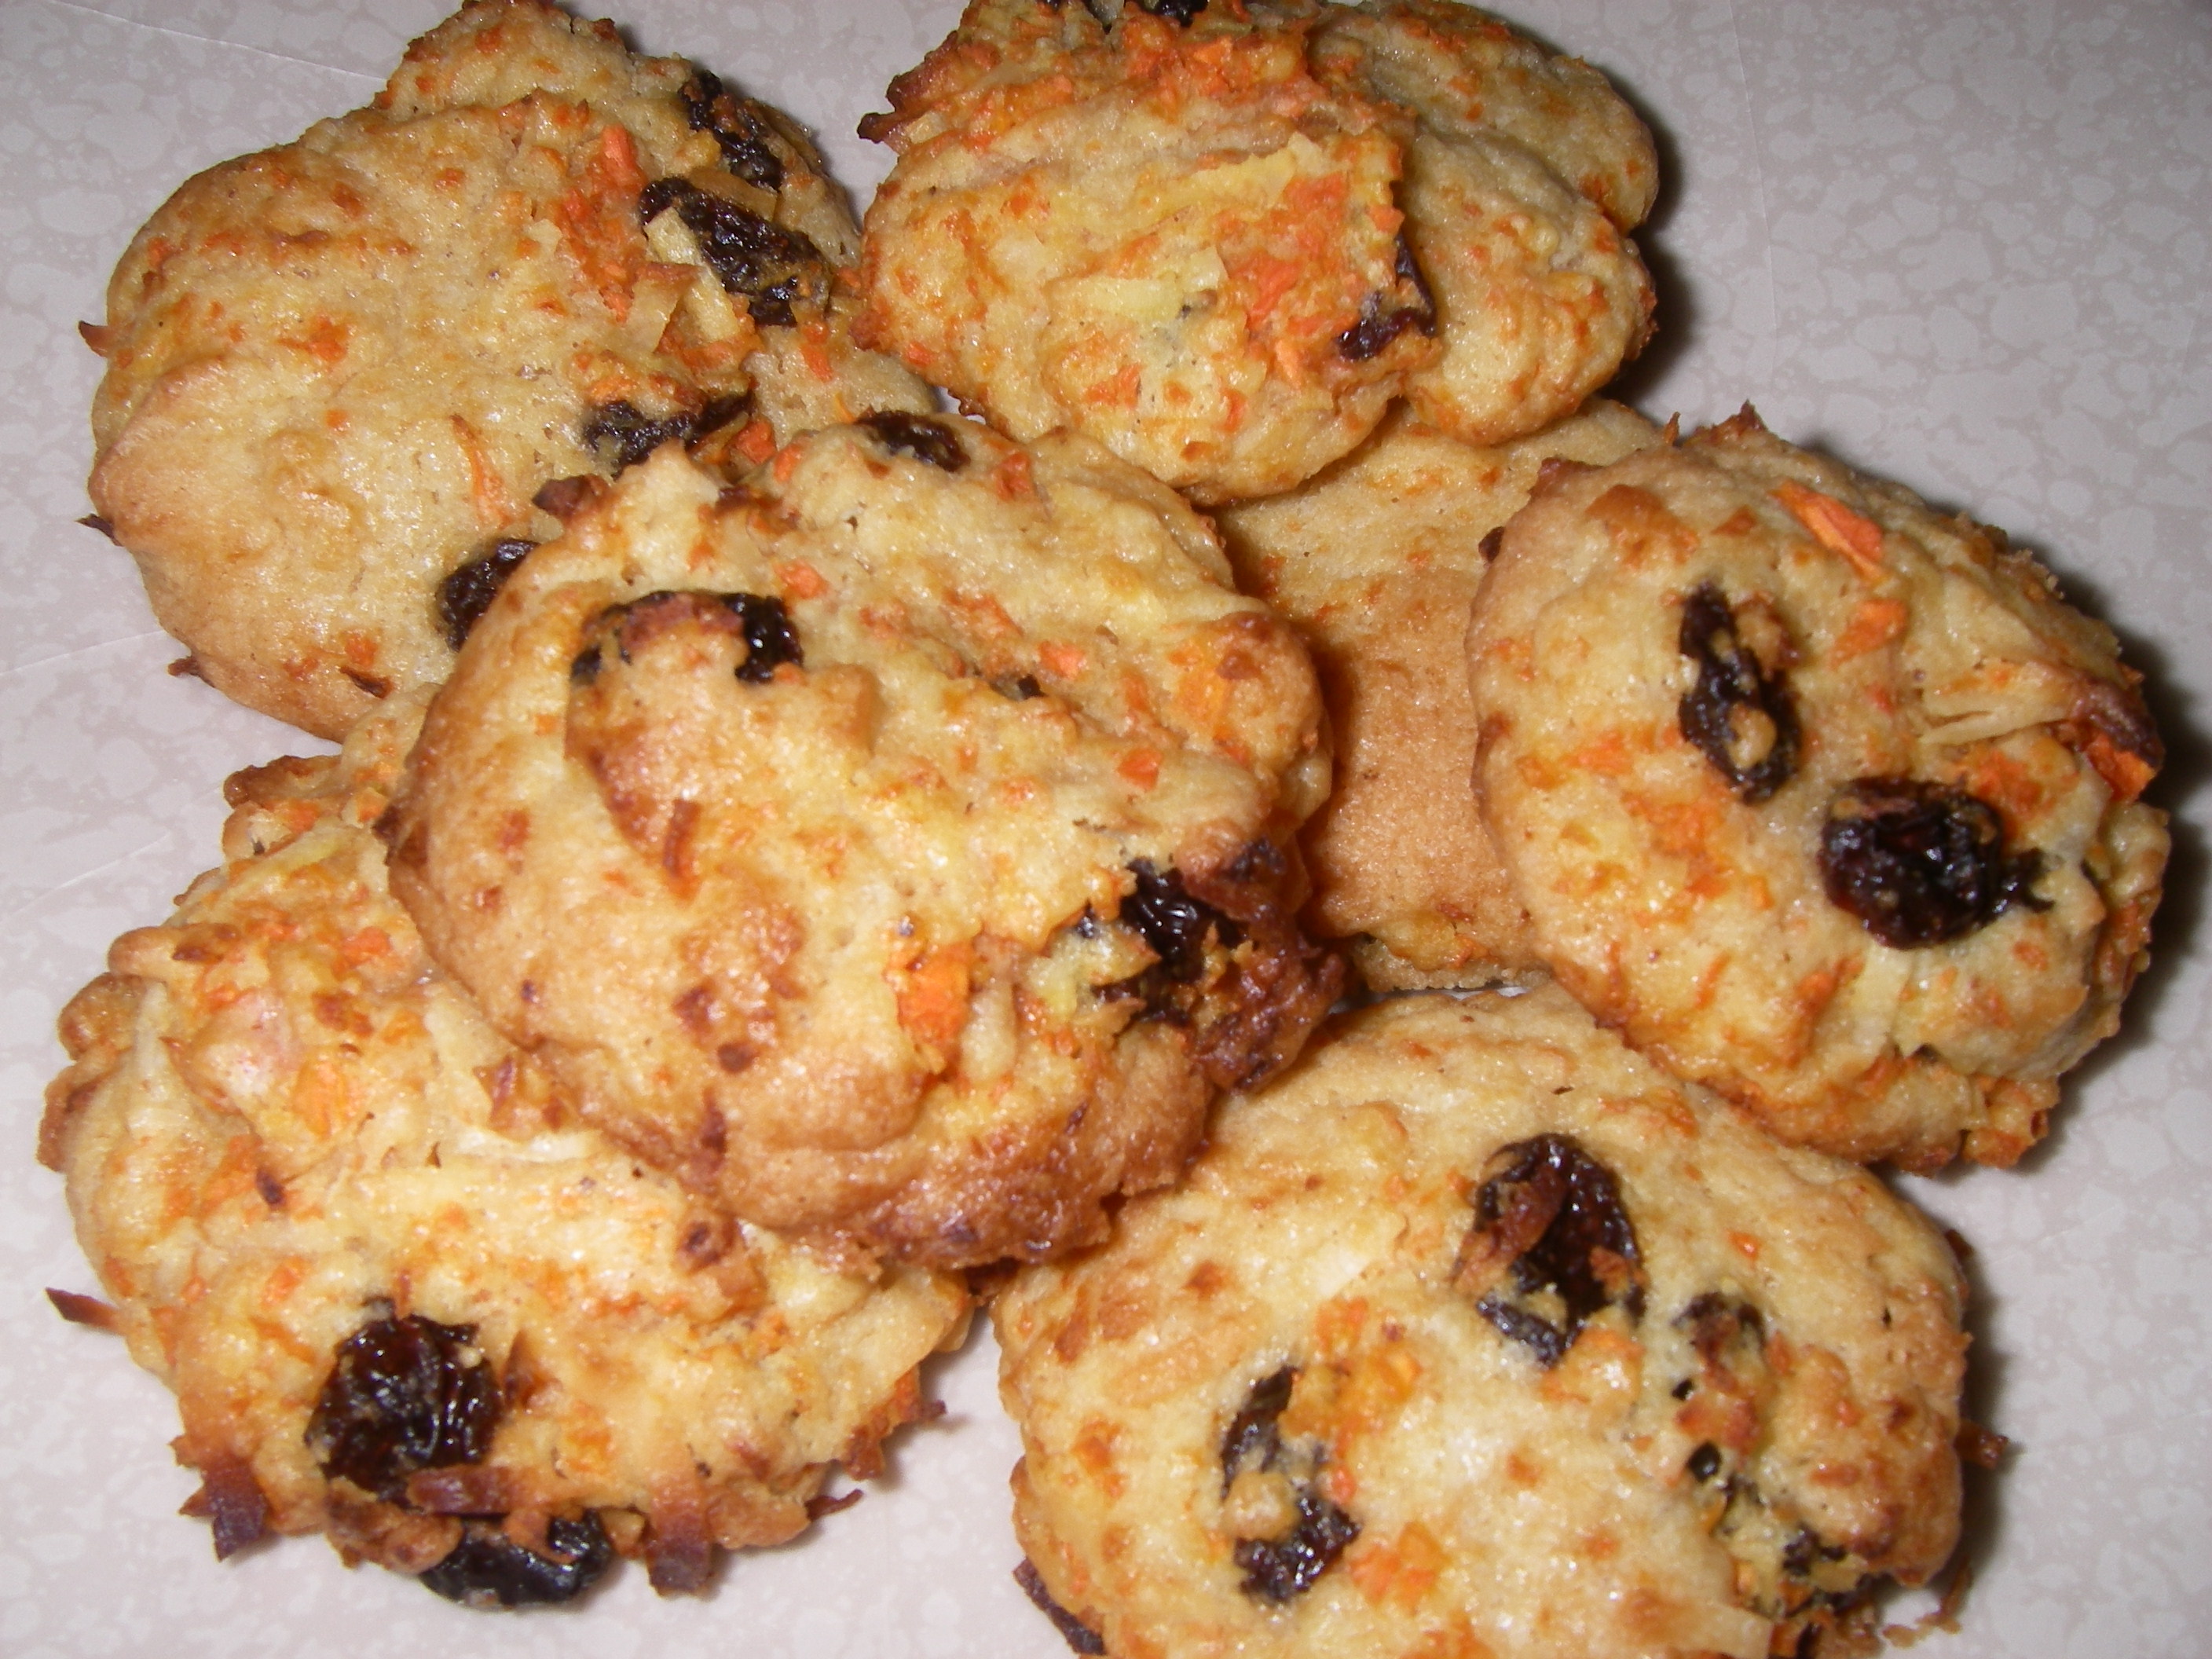
I decided to make these coconut carrot cookies, and I’m really glad I did. The cookies have a moist, almost cake-like consistency, and since they’re not overly sweet, you can easily get away with eating them for breakfast. (Try doing that with Girls Scouts cookies—somehow it’s just harder to get away with.)

IMGP1729

Coconut Carrot Cookies

Recipe from Needful Things

Ingredients:
2 cups AP flour
1 tsp baking powder
1/2 tsp salt
1 tsp ground ginger
1/4 teaspoon nutmeg
1.5 sticks (12 tablespoons) unsalted butter, at room temperature
2/3 cup granulated sugar
1/3 cup light brown sugar
1 large egg
1/2 tsp vanilla
1 cup shredded carrots
1 cup sweetened shredded coconut
1 cup raisins (dark or golden)
1/2 cup chopped pecans, preferably toasted (I left these out to keep the cookies nut-free and didn’t miss them)

Method:
1. Preheat your oven to 375 degrees. Line 3-4 baking sheets with parchment.
2. Whisk together the flour, baking powder, salt, ginger, and nutmeg. Set aside.
3. Beat the butter on medium speed until it gets smooth and creamy. Add the sugars and beat on medium for 2 minutes; then add the egg and beat for another minute.
4. Reduce your mixer speed to low and beat in the vanilla.
5. Continuing on low speed, add the dry ingredients in 2-3 batches. Beat only till they just disappear into the mix.
6. Mix in the carrots, coconut, raisins, and pecans.
7. Spoon the dough onto baking sheets in heaped tablespoonfuls, leaving an inch of space between them. (I found that these didn’t spread very much.)
8. Bake for 16-18 minutes until the cookies are light brown and just firm on top.
9. Let cookies cool on a wire rack.

Chocolate Guinness Cake

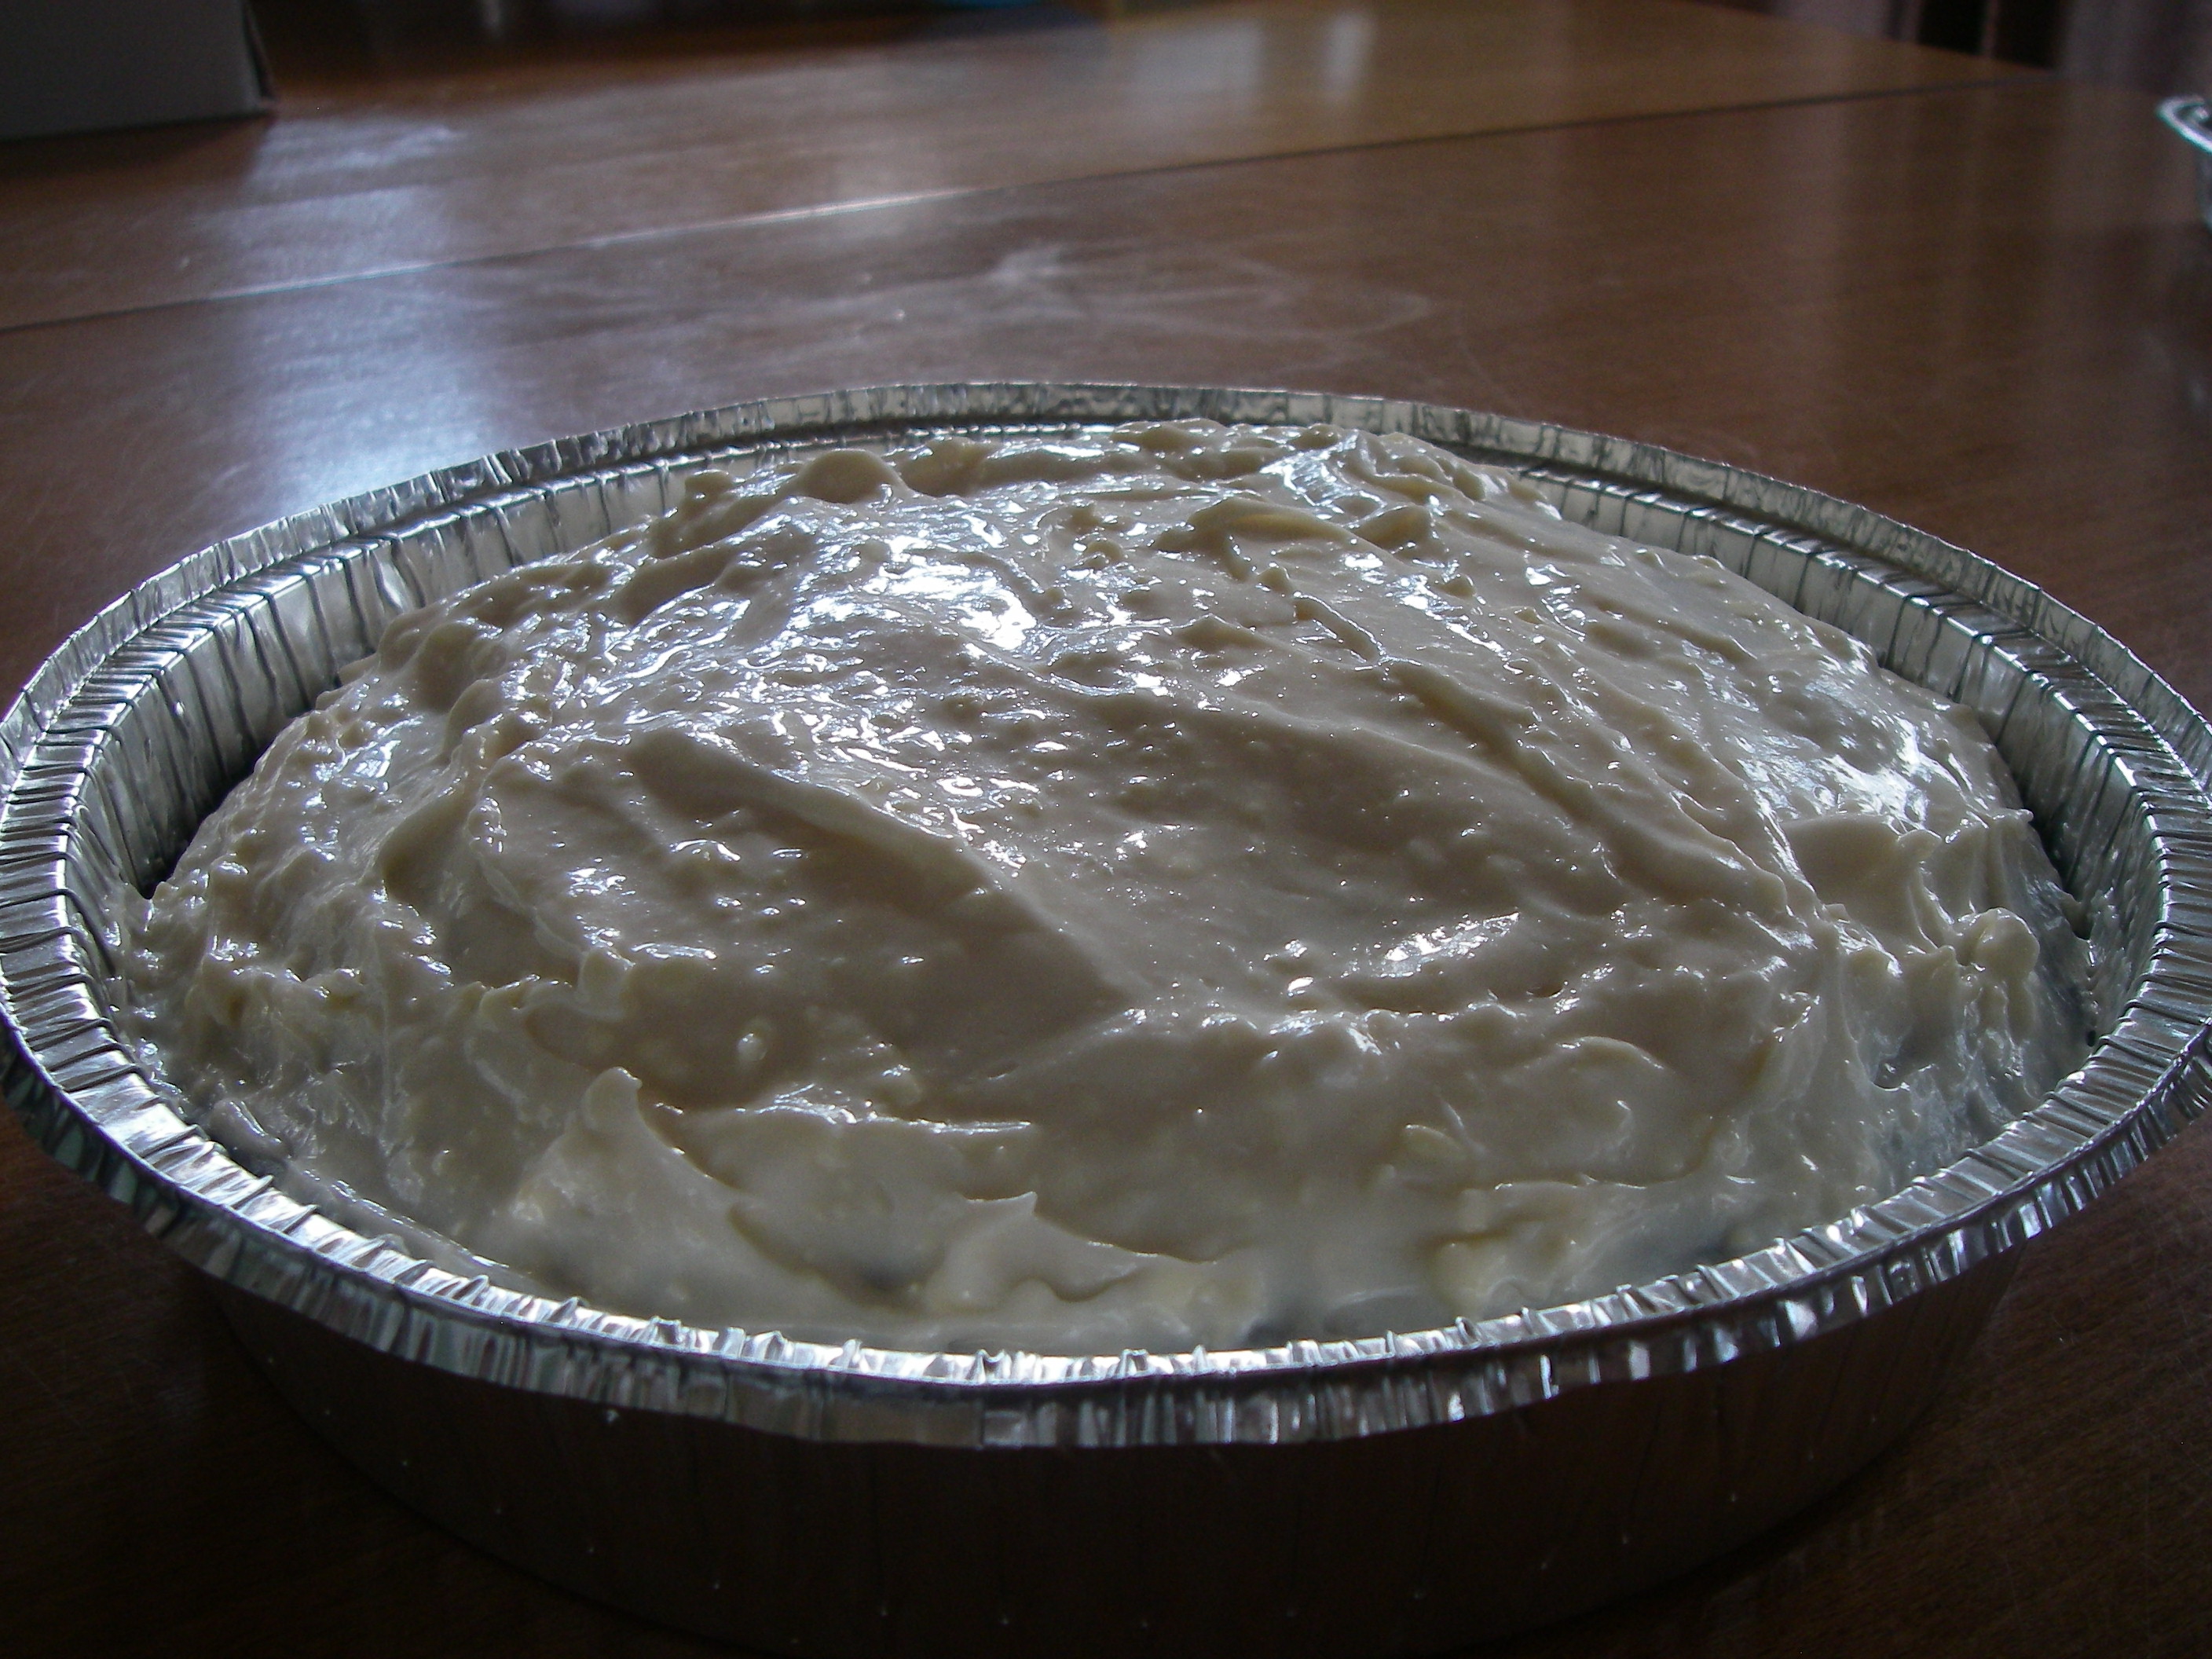
I’ve slowed down a little on the baking front lately, mostly because life and its various priorities have gotten in the way. But in honor of my brother-in-law’s birthday, which happens to be St. Patrick’s Day, I had to squeeze in a quick baking session to whip up a deliciously moist chocolate cake. I decided to try something I’ve wanted to do for awhile: Make a chocolate cake with stout. I chose to use Guinness since we already had some in the house, and I have to say, the cake turned out wonderful. It was incredibly rich and moist, and although you could taste a hint of the Guinness in it, it wasn’t overly strong.

I topped my cake off with a cream cheese frosting, but you could easily swap that for a simple chocolate glaze, confectioners sugar, or nothing at all. The best part? This cake took practically no time to make…or eat, which is a testament to how good it is.

IMGP1737

Chocolate Guinness Cake
Cake recipe from A Whisk and a Spoon

Ingredients:

For the cake:
1 and 1/2 cups AP flour
1 cup granulated sugar
7 tablespoons unsweetened cocoa powder (I used 3 regular and 4 dark)
1/2 teaspoon baking soda
1/2 teaspoon salt
1/2 cup Guinness (or other stout of your choice)
1/2 cup espresso or strong coffee
1/4 cup water
2 teaspoons vanilla
1 teaspoon apple cider or white vinegar
1/2 cup vegetable oil

For the frosting:
1 stick of butter at room temperate
8 oz cream cheese at room temperature
2 cups confectioners sugar
1 teaspoon vanilla extract

Method:

For the cake:
1. Preheat your oven to 350 degrees. Grease an 8-inch cake pan with cooking spray, then line with parchment and lightly spray the parchment.
2. Whisk together the flour, sugar, cocoa, baking soda, and salt in a medium bowl.
3. In a measuring cup, mix together your stout, coffee, water, vanilla and vinegar. Stir gently into the flour mixture.
4. Add oil and stir gently until you have a smooth batter.
5. Pour the batter into your prepared pan and bake for 30-35 minutes, or until an inserted toothpick comes out clean.
6. Let the cake cool on a rack before peeling off the parchment paper. Top with frosting, glaze, or confectioners sugar. Or, just let this fudgy masterpiece stand on its own.

For the frosting:
1. Using an electric mixer, beat the butter and cream cheese until smooth (about 3 minutes at medium speed).
2. Add the vanilla and then the confectioners sugar; mix on low-medium speed until well-combined. Depending on how thick you want your frosting, you may want to add extra confectioners sugar by the tablespoon to reach your desired consistency.