Oatmeal Chocolate Peanut Butter Bars

We’ve had a bit of a heat wave lately here in New Jersey. And for the record, I knew this was going to happen. See, most years we get at least a little taste of that wonderful season called “spring.” You know, when the sun comes out and the temps are warm enough for you to walk around outside in a t-shirt without being too hot or too cold. Well, this year we basically had cold, often-rainy weather up until a couple of days ago. Then it turned hot. Really hot. I’m talking 85-degree, smog in the air hot. It’s the type of weather where my naturally curly hair doesn’t stand a chance (not that I’m above pulling it back into a bun or slapping a baseball cap on top of my head, but there’s just something about massive, uncontrollable humidity-induced frizz that makes my self-esteem take a bit of a hit) and the simple act of walking down the street is enough to make you reach for a Gatorade.

In weather like this, all I ever really want to eat is yogurt, cereal, and ice cream. And the last thing I want to do is slave over a hot stove or even contemplate turning on my oven. But alas, my desire to put something in my stomach other than pure dairy got the better of me, and so I decided to bake up some quick oatmeal bars.

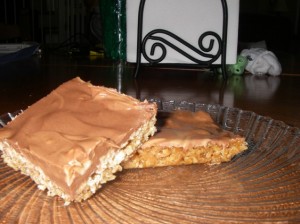
The good thing about this recipe is that it’s just about the easiest thing ever. You don’t need fancy equipment or a ton of ingredients, and your oven stays on for only a short amount of time. While some people might refer to these babies as oatmeal cookie bars, to me, they’re more like candy bars. The only downside to making them smack in the middle of a heat wave is that the tops have a tendency to melt if you’re cheap and stubborn like me and refuse to run your air conditioner (though I eventually caved). In fact, you’ll definitely want to store these in the fridge, no matter the season. But if you like chewy, chocolate peanut butter candy bars, you’ll definitely want to whip up a batch of these. Just be careful offering them up to neighbors, coworkers, and friends—you may be surprised at what little you have left for yourself.

oatmealcandybars

Oatmeal Chocolate Peanut Butter Bars

Ingredients:

For the base:
4 cups of quick-cooking oats
1 cup dark brown sugar
3/4 cup butter, melted
1/2 cup corn syrup

For the topping:
1 cup milk chocolate, chopped (it’s okay to use chocolate chips)
1 cup peanut butter
1/2 cup peanuts, chopped

Method:

For the base:
1. Preheat your oven to 350 degrees. Grease a 9×13 pan and set aside. Using a wooden spoon, combine the oats, brown sugar, butter, and corn syrup.
2. Press the mixture into your prepared pan and bake for 10-12 minutes.
3. Allow the base to cool completely (at least 30 minutes) before adding the topping.

For the topping:
1. Combine the chocolate and peanut butter in a small bowl and melt in the microwave at 50% power for 30-second increments, stirring in between each. Once the mixture is smooth, immediately stir in the peanuts and then use an offset spatula to spread the topping over the base.
2. Place the bars in the fridge to set, at least one hour.
Keep these bars stored in the fridge, not at room temp. They happen to taste really good cold, but if you’d prefer them a little warmer and chewier, just take them out about 15-30 minutes before you want to eat them. I don’t recommend microwaving them to warm them up, as the topping has a tendency to melt quickly.



Caramel Tres Leches Rice Krispies Treats, or What to Do With Leftover Tres Leches Mix

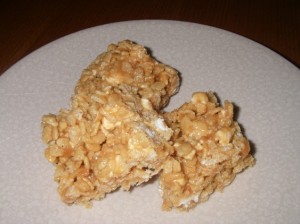
Remember that delicious tres leches cake I made recently? Well, the one annoying thing about the recipe is that it calls for about a cup of that yummy milk mixture to be discarded. Since I don’t like letting any type of food go to waste, I decided to get creative in finding a way to repurpose some of what I had leftover. And hence these caramel tres leches Rice Krispies treats were born.

This recipe is incredibly easy to whip up. It only takes a few minutes, and there’s no actual baking involved. The only thing is that the cleanup can be a little messy…and the bars themselves, though wonderfully tasty, did end up coming out a little sticky. But if you do what I did and cover them individually with plastic wrap, you’ll have a nice little snack supply on hand.

Incidentally, I still have some more of that milk mixture left over, so if anyone has any ideas on what to do with it before it goes bad in my fridge, I’m all ears.

rktreats

Caramel Tres Leches Rice Krispies Treat

Ingredients:
1 and ½ cups Rice Krispies cereal
1 cup miniature marshmallows
About 20 Kraft caramel candies, unwrapped
3 tablespoons tres leches mix (heavy cream, evaporated milk, and condensed milk combined)

Method:
1. Line an 8×8 baking pan with parchment paper.
2. Combine the caramel candies and tres leches mix and heat in the microwave or on the stovetop until the caramels have melted and the mixture starts to bubble slightly.
3. Stir in marshmallows and cereal, making sure to coat the cereal well.
4. Pour the mixture into your prepared pan and refrigerate until set, about one hour. Cut into squares and enjoy.

Caramel Cookie Dough Shortbread Bars

The other day, my 16-month-old locked me in my pantry. No, I’m not kidding.

I was standing in the doorway of my walk-in pantry, whose knob was set as locked to prevent my sneaky child from busting into my closed pantry behind my back and helping himself to whatever goodies he can reach. As I was combing the shelves looking for some caramel candies, the baby decided to sneak up behind me and start pushing the door into me. Now in all fairness, I didn’t try very hard to resist, thinking there was no way my little 16-month-old could possibly exert enough force to shove my body all the way into the pantry via the door. But lo and behold, I was wrong, ‘cause about eight seconds later, the child managed to push me all the way into the pantry, thus locking me in.

My husband, who was on hand for most of this scene, found it extraordinarily funny. Me, not so much. Actually, that’s not true. I laughed about it after the fact, but was also quite thankful that my husband was on hand to immediately bust me out.

Of course, this incident has caused me to rethink my strategy of keeping the child out of the pantry, and so going forward, I will not lock the door, but rather will use one of those annoying but necessary baby-proof knobs that makes opening things unbelievably difficult (for me) but will most likely do the job of keeping my junk food stash safe and out of my child’s mouth.

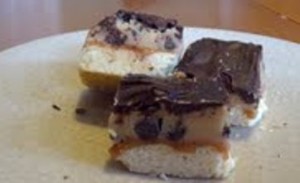
Anyway, once I recovered from my very brief moment of pantry incarceration, I got to work making these amazing shortbread cookie bars. I’ve done something similar in the past along the lines of classic Millionaires’ Shortbread, which is basically a shortbread base, caramel center, and chocolate glaze. But when I saw this recipe on Brown Eyed Baker, one of my absolute favorite baking blogs, I decided I had to go for it.

These bars are nothing short of amazing. I was actually worried that the cookie dough layer would make them a bit too sweet, but they turned out perfectly. The original recipe is enough for an 8×8 pan, but I wanted extra to bring in to work, so I made one and a half times the recipe to fill a 9×13. In hindsight, I could’ve stuck with the 8×8. These bars are wonderful, but they’re also incredibly rich, and believe it or not, you really only need a small piece to come away satisfied.

Although you do have the option of storing these beauties at room temperature, I decided to keep mine in the fridge and found that I enjoyed them cold—so much so, that my once-ample supply is now rapidly dwindling.

bilbarsjpg

Caramel Cookie Dough Shortbread Bars
Original recipe from Brown Eyed Baker

Ingredients:

For the shortbread base:
1/3 cup unsalted butter, at room temperature
1/3 cup granulated sugar
1/2 teaspoon vanilla extract (I used a little more to bring out the vanilla flavor)
1/4 teaspoon salt
1 cup AP flour

For the caramel layer:
7 ounces soft caramel candies (about 25 candies), unwrapped (I used Kraft caramels)
2 tablespoons heavy cream

For the cookie dough layer:
1/2 cup unsalted butter, at room temperature
1/2 cup light brown sugar
1/4 cup granulated sugar
2 tablespoons heavy cream
1/2 teaspoon vanilla extract
3/4 cup AP flour
Pinch of salt
1/2 cup semisweet chocolate chips

For the chocolate glaze:
4 ounces semisweet chocolate, chopped
1 tablespoon unsalted butter

Method:

To make the shortbread:
1. Preheat your oven to 350 degrees. Line an 8×8 inch baking pan with parchment paper, leaving some overhang on two sides.
2. Beat the butter and sugar with an electric mixer on medium speed until the mixture is light and fluffy, about 2-3 minutes.
3. Add the vanilla and salt, and beat until combined.
4. Add the flour and mix until just incorporated; the dough may appear slightly crumbly.
5. Firmly press the dough into your prepared pan. Bake for 18 to 22 minutes (22 to 25 minutes if you’re making enough for a 9×13 pan), or until the edges are lightly golden.
6. Remove pan from the oven and set on a wire rack to cool slightly.

To make the caramel layer:
1. Place the caramel candies in a small saucepan over medium heat. Add the heavy cream and stir until completely melted. (Disclaimer: I totally cheated and melted these together in the microwave. It turned out just fine, but I made sure to watch it carefully.)
2. Pour the caramel mixture over the shortbread crust and spread into an even layer.
3. Refrigerate until set, about one hour.

To make the cookie dough:
1. Combine the butter and sugars in a large mixing bowl and beat on medium speed until light and fluffy, about 2 to 3 minutes.
2. Add the heavy cream and vanilla and mix well.
3. Add the flour and salt, and mix on low until incorporated.
4. Stir in the chocolate chips.
5. Spread the cookie dough on top of the set caramel layer, using a spatula to smooth the dough into an even layer.
6. Refrigerate the pan while you prepare your glaze.

To make the chocolate glaze:
1. Combine the chocolate and butter in a microwave-safe bowl. Heat the mixture on 50% power in 30-second increments, stirring well after each, until it’s completely melted and smooth.
2. Spread the glaze over the cookie dough layer and chill in the fridge until set, about one hour.

To remove the bars from the pan, grasp the edges of the parchment paper and lift out the entire block. Place on a cutting board and use a sharp knife to cut into squares.

The original recipe says that these can be stored at room temp in an airtight container for up to three days. As I said, I opted to keep mine in the fridge. Don’t struggle with the decision too much; they’re delicious either way.

Vanilla Cardamom Shortbread Bars with White Chocolate Caramel Glaze

Just when it seemed like the weather was finally starting to get a bit warmer around here, bam—another cold front hit. Okay, it wasn’t exactly a cold front, but after several days of temps in the 60s and 70s (you know, actual spring weather), it went back down to the low 50s with a vengeance. Now I realize that 52 degrees isn’t actually freezing. But throw in cloudy, gray skies, a bout of rain, and, oh yeah, the fact that it’s late April, and all it took was a couple of cooler days to make me want to curl up in a blanket the moment I put the child to bed.

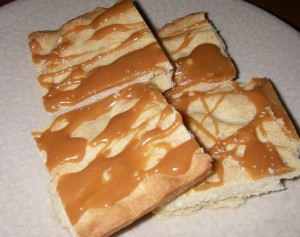
Of course, no couch potato moment would be truly complete without something freshly baked to accompany it, and so I decided to whip up some shortbread cookie bars. The base is very similar to that of the Samoa bars I made last week, only it incorporates a bunch of fall spices that jack up the flavor and work well with the caramel and white chocolate topping.

Now I have to say, I really love the way these babies turned out. But more so than that, they smelled absolutely amazing while they were baking up. Had I been able to somehow capture the smell and mass-produce a line of household products and candles to feature it, I would’ve found myself sitting on a goldmine. But alas, all I could do was enjoy the sweet aroma of vanilla, cinnamon, nutmeg, and cardamom wafting through the air as the rain kept rapping against my windows and the wind howled in protest of spring.

vanshortbread

Vanilla Cardamom Shortbread Bars with White Chocolate Caramel Glaze

Ingredients:

For the shortbread cookie base:
1/2 cup sugar
3/4 cup butter, softened
1 large egg
1 and 1/2 tsp vanilla
2 cups Ap flour
1/4 tsp salt
1/4 tsp cardamom
1/4 tsp cinnamon
1/4 tsp nutmeg

For the topping:
1/2 cup Kraft caramel bits (or a half cup’s worth Kraft caramel candies, unwrapped)
1 tbsp whole milk
1/2 cup white chocolate, melted

Method:

To make the shortbread cookie base:
1. Preheat your oven to 350 degrees. Lightly grease a 9×13-inch baking pan, or line with parchment paper.
2. Cream together sugar and butter until fluffy.
3. Beat in egg and vanilla extract.
4. Gradually beat in flour, salt, and spices at low speed until mixture is crumbly.
5. Pour crumbly dough into prepared pan and press into an even layer.
6. Bake for 20-25 minutes, until base is set and edges are lightly browned.
7. Cool completely on a wire rack before adding the topping.

To make the topping:
1. Combine caramel bits, milk, and white chocolate in a medium bowl.
2. Heat in the microwave for 30-second increments at 50% power, stirring the mixture in between. You’ll find that the caramel will melt before the white chocolate, so it’s important to keep stirring. When the white chocolate is mostly melted, vigorously whisk the mixture together to eliminate the lumps.
3. Drizzle the mixture over the shortbread base.
4. Allow to set in the fridge for an hour before cutting into bars.


Samoa Bars

It’s been awhile since I’ve posted a recipe. That’s what happens when life gets in the way of baking. But this is a good one, promise.

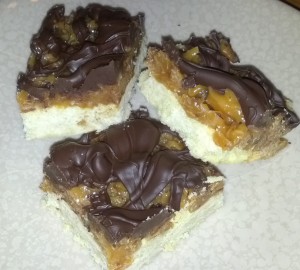
Ever since my Girls Scouts cookies were delivered back in March, I’ve been indulging on a pretty much regular basis. But this year, I decided to be conservative and only order one box of Samoas—my favorite. So when it came to my attention that I was starting to run out of my beloved Samoas, I decided to take matters into my own hands by whipping up some homemade Samoa cookie bars.

I’ve seen a few different recipes for these bars, some of which involve dipping the bottoms in chocolate. Since I didn’t have a ton of time, I opted to skip that step and instead just drizzle chocolate on top of the bars—a little less Samoa-like, but delicious nonetheless.

Although this recipe is incredibly simple, there are several steps involved, and you need to wait for each layer to cool/set before moving on to the next. But as long as you leave yourself enough time, you should have no problem throwing these together over the course of an afternoon.

Samoabars

Samoa Bars
Recipe from Baking Bites

Ingredients:

For the shortbread cookie base:
1/2 cup sugar
3/4 cup butter, softened
1 large egg
1/2 tsp vanilla
2 cups Ap flour
1/4 tsp salt

For the topping:
3 cups shredded sweetened coconut
12 oz chewy caramels (I used Kraft)
1/4 tsp salt
3 tbsp milk (I used whole)
10 oz semisweet chocolate

Method:

To make the shortbread cookie base:
1. Preheat your oven to 350 degrees. Lightly grease a 9×13-inch baking pan, or line with parchment paper.
2. Cream together sugar and butter until fluffy.
3. Beat in egg and vanilla extract.
4. Gradually beat in flour and salt at low speed until mixture is crumbly.
5. Pour crumbly dough into prepared pan and press into an even layer.
6. Bake for 20-25 minutes, until base is set and edges are lightly browned.
7. Cool completely on a wire rack before adding the topping.

To make the topping:
1. Preheat your oven to 300 degrees.
2. Spread the coconut evenly on a parchment-lined baking sheet and toast for about 20 minutes, stirring every few minutes, until coconut is golden. Let cool and set aside.
3. Unwrap your caramels and place them in a microwave-safe bowl along with the milk and salt. Cook on high for about 3-4 minutes, stopping to stir a few times to help the caramel melt evenly. Once smooth, fold in toasted coconut with a spatula.
4. Pour dollops of the coconut-caramel topping over the cooled shortbread base. Using your spatula, spread the topping into an even layer.
5. Let topping set at room temperature until cooled, about 1 hour.
6. Melt your chocolate – I used the microwave method. Place chocolate in a microwave-safe bowl and cook on 50% power in 30-45 second intervals, stirring in between.
7. Once melted, drizzle chocolate over the tops of the bars (it won’t cover them completely).
8. Let the chocolate topping set before cutting the bars, either 2 hours at room temperature or 1 hour in the fridge. Once cooled, use a sharp knife to cut into individual bars.

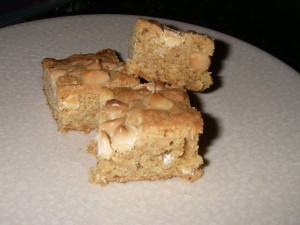
White Chocolate Macadamia Nut Blondies

A lot of people I know don’t like white chocolate. “It’s too sweet,” they’ll insist. Well that’s fine, but I think white chocolate is utterly delicious. (And since when did “too sweet” become a problem?)

For those of you who find white chocolate to be a bit too sweet on its own, consider these fabulous blondies. The rich, chewy cake captures that classic blondie flavor, and the addition of the macadamia nuts helps offset the sweetness of the white chocolate by introducing just the right amount of saltiness.

Best of all, these blondies are quick and easy. The most time-consuming part of the process for me was chopping the macadamia nuts, and even that didn’t take very long (plus, I got to snack on some as sort of a pre-blondie treat).

Enjoy these blondies on their own, or go crazy and drizzle a little bittersweet chocolate sauce over them to jazz ‘em up even more.

IMGP1709

White Chocolate Macadamia Nut Blondies
Recipe very slightly adapted from Beantown Baker

Ingredients:
3/4 cup butter
1 and 1/2 cups brown sugar (I used half dark and half light)
1 tbsp plus 1 tsp vanilla
2 eggs
2 cups AP flour
1 and 1/2 tsp baking powder
1 cup coarsely chopped macadamia nuts, divided
1 cup white chocolate chips, divided

Method:
1. Preheat your oven to 350 degrees and grease a 9×13 baking pan.
2. Heat the butter and brown sugar in a saucepan over low heat or in your microwave on low power until melted. Let cool to room temperature before continuing.
3. Beat the vanilla and eggs into your sugar mixture.
4. Beat in flour and baking powder on low speed.
5. Stir in half of the macadamia nuts and white chocolate chips.
6. Pour the mixture into your prepared pan, and then sprinkle with remaining nuts and white chocolate chips.
7. Bake 30-35 minutes, or until an inserted toothpick comes out clean. The tops of the blondies should be slightly browned—but not too brown—before you remove them from the oven.
8. Let the blondies cool completely in their pan before cutting into them.


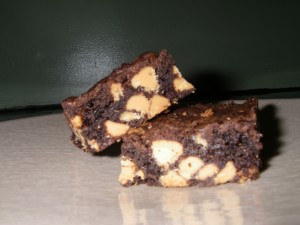
Chewy Dark Chocolate Cookie Bars With Peanut Butter Chips

There’s just something about the marriage of chocolate and peanut butter that works wonders for my taste buds. I’ve made countless desserts featuring this classic combination, and I have to say, these bar cookies are definitely among my favorite.

First of all, they’re just so incredibly easy to prepare, and you get a lot of bars for not a lot of work. Second, they’re chewy and flavorful without being overwhelmingly sweet or rich. The original recipe calls for regular unsweetened cocoa, but I’ve been on a dark chocolate kick, so I decided to use mostly dark cocoa for my batch.

If you have about 15 spare minutes tonight (which, trust me, I know some of you don’t), go ahead and make these. Then pour yourself a tall glass of cold milk and enjoy each wonderful bite.

IMGP1704

Chewy Dark Chocolate Cookie Bars With Peanut Butter Chips
Recipe from Hershey’s

Ingredients:
2 and 1/2 sticks butter, softened
2 cups sugar
2 eggs
2 tsp vanilla extract
2 cups AP flour
3/4 cup unsweetened cocoa (I used about 1/3 cup regular and Hershey’s Special Dark for the rest)
1 tsp baking soda
1/2 tsp salt
1 and 2/3 cups peanut butter chips

Method:
1. Preheat your oven to 350 degrees and grease a 9 x 13 baking pan.
2. Beat the butter and sugar until light and fluffy.
3. Add eggs and vanilla; beat well.
4. Stir together your flour, cocoa, baking soda and salt; gradually blend into butter mixture.
5. Stir in peanut butter chips.
6. Spread the batter into the prepared pan (it will be somewhat stiff).
7. Bake for 25-30 minutes, or until an inserted toothpick comes out clean.
8. Cool the bars completely in their pan on a wire rack before cutting into them.

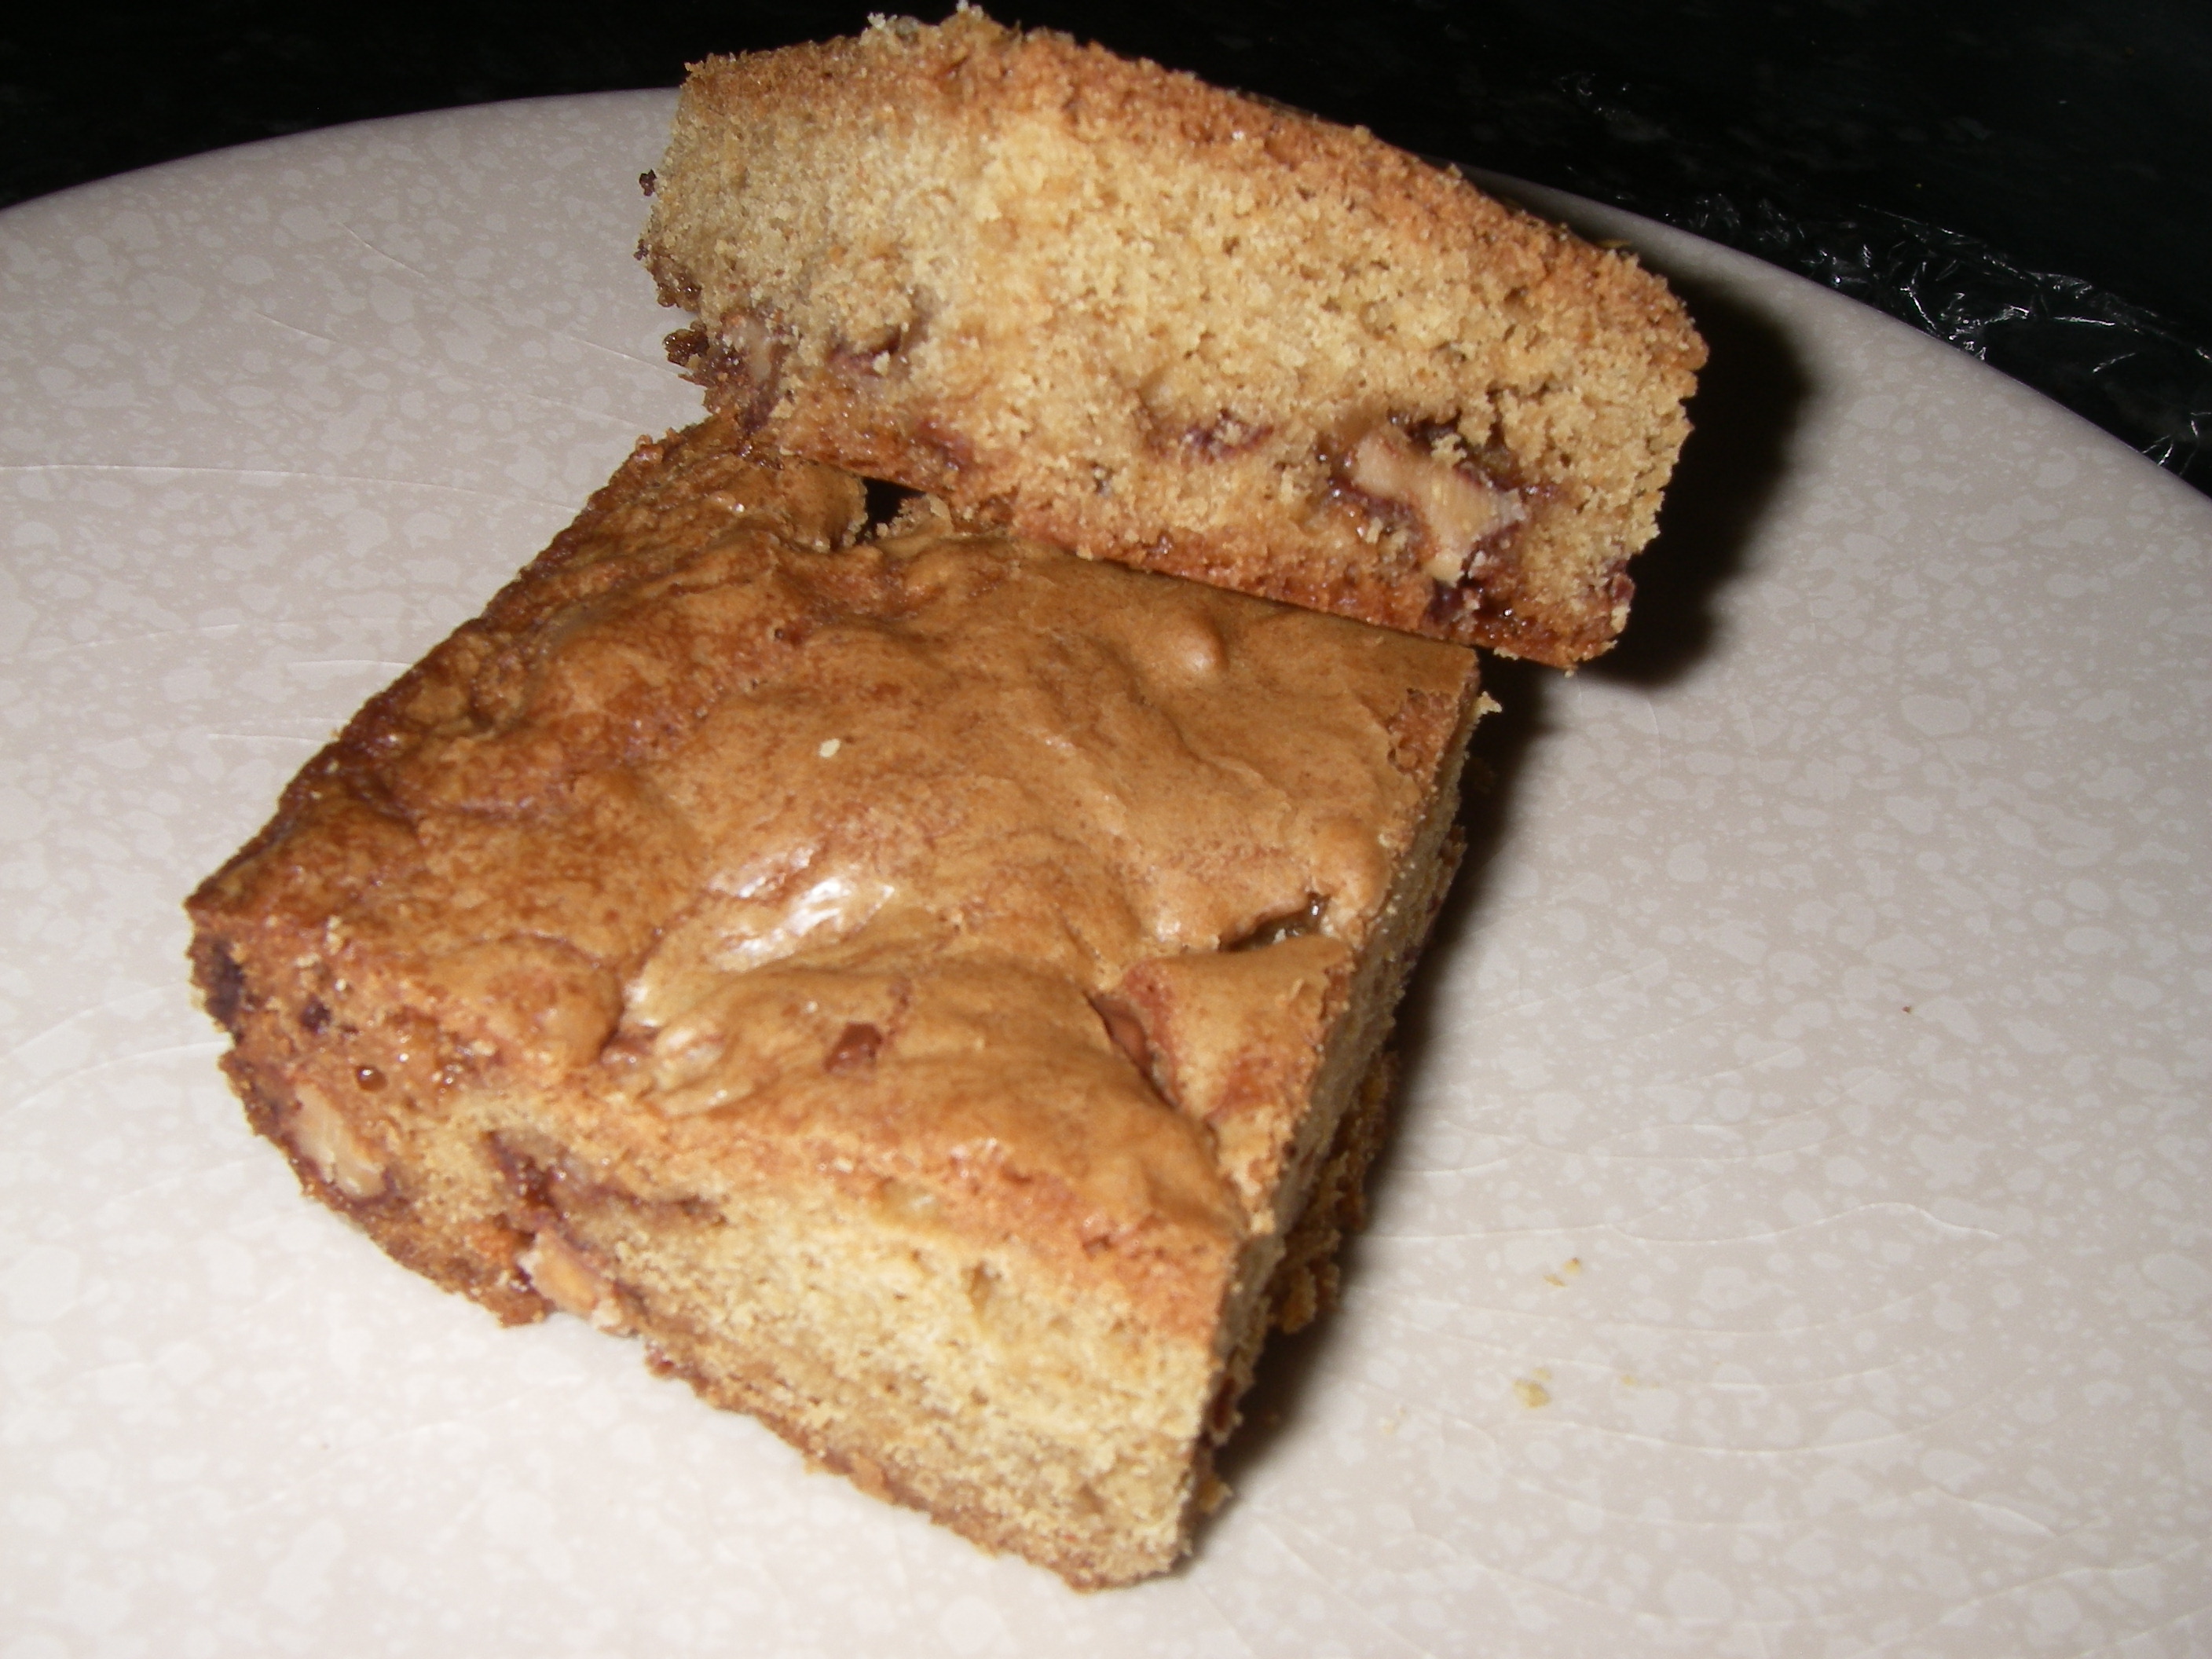
Heath Bar Blondies

I’m a firm believer that yummy desserts don’t have to be time-consuming or complicated. Case in point: these Heath bar blondies. They took me almost no time to whip up, and the end result was just insanely good—crispy toffee and chocolate pieces scattered amidst dense, chewy blondie goodness. Does it really get better than that?

IMGP1711

Heath Bar Blondies
Recipe from Lovin From The Oven (a great site, by the way – check it out)

Ingredients:
1 cup AP flour
1/2 tsp baking powder
1/8 tsp baking soda
1/2 tsp salt
1 cup brown sugar
1/2 cup melted butter
1 large egg
1 tsp vanilla
1 cup coarsely chopped Heath Bars

Method:
1. Preheat your oven to 350 degrees and grease an 8×8 baking pan.
2. Mix or whisk together the brown sugar and melted butter until well-combined.
3. Whisk in the egg and vanilla.
4. Add the dry ingredients to the batter and mix until well-blended.
5. Stir in the chopped-up Heath pieces.
6. Bake for 30-35 minutes, or until an inserted toothpick comes out clean.
7. Let the blondies cool completely in their pan before cutting into them.


White Chocolate Coconut Brownies

Sometimes, if you’re me, you find yourself in the mood for something insanely sweet yet easy to whip up. These brownies totally fit the bill. They took almost no time to throw together and didn’t require me to bust out the gadgets.

Now I will warn that the sweetness factor is intense. You’ll probably want to cut these into bites more so than bars or squares…unless you’re me, in which case you’ll want to stuff your face with way too large a piece for your own good.

I got the recipe from Brown Eyed Baker. If you haven’t visited this site yet, stop what you’re doing and check it out. This is definitely one of my go-to sources when I need a new dessert idea. Take a look and you’ll see why.

badpicbrownies

White Chocolate Coconut Brownies
Ingredients:
1 and 1/3 cups all-purpose flour
1 teaspoon salt
11 ounces white chocolate, chopped
2 sticks unsalted butter, cut into 1-inch pieces
1 and ½ cups white sugar
½ cup light brown sugar
5 eggs, at room temperature
2 teaspoons vanilla extract
1 cup shredded sweetened coconut

Method:
1. Preheat the oven to 350 degrees. Line a 9×13 pan with parchment paper and set aside.
2. Whisk the flour and salt together.
3. Melt the white chocolate and butter. Since I didn’t have a ton of time, I cheated and did this by putting the mixture in a glass bowl and microwaving it for 30-second increments at 50% power until it was ready. The original recipe suggests setting the white chocolate and butter mixture over a saucepan of simmering water to melt it properly.
4. Whisk in the white and brown sugars.
5. Whisk in the eggs one at a time
6. Stir in the vanilla extract.
7. Stir in the flour mixture and coconut using a rubber spatula—not a whisk.
8. Pour the batter into the prepared pan and use the spatula to smooth the top.
9. Bake for 30 minutes until a toothpick inserted comes out clean and the top looks nice and crispy.
10. Cool in the pan on a wire rack. Once cooled completely, you can lift the brownies out using the parchment paper and then cut them into small bites or squares.


Peanut Butter and Jelly Bars

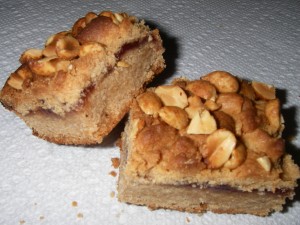
Sometimes it pays to keep things simple flavor-wise. Case in point: the classic peanut butter and jelly combination. Growing up, PB&J sandwiches were a steady part of my school lunch rotation; and while I suppose I enjoyed them, they certainly didn’t stand out at the time as anything particularly special. But as I got older, I began to develop a fondness for PB&J. Maybe it’s because your coworkers look at you funny when you’re sitting around the break room table and they’re all eating their tandoori chicken takeout while you’re eating something they haven’t tasted since 1987. Or perhaps it’s because there’s just something about the awesome flavor combination that simply brings back memories of being a carefree kid.

Either way, peanut butter and jelly is a winner in my book, so it was only natural take the concept one step further by turning it into dessert. I found this Martha Stewart recipe and decided to give it a go, and the result was a batch of peanut butter and jelly bars that are good enough to make any adult feel like a kid again.

For some reason, these bars took a little longer to make than I initially expected. The peanut butter dough was really thick, and so I had to keep scraping down the sides of my mixer bowl and adjusting the speed up and down. And then it took me awhile to chop up the peanuts and make the crumbly dough topping, but that’s partly because for some strange reason, I love the feeling of balled-up dough in between my fingers and probably wasn’t in a particular rush to get the process over with.

This recipe makes a nice amount of PB&J bars—which means you’ll probably have enough left over to divvy up among your coworkers in exchange for their promise to stop mocking you for your peanut butter and jelly lunches, at least for the foreseeable future.

IMGP1649

Peanut Butter and Jelly Bars
Recipe from Martha Stewart

Ingredients:
1 cup (2 sticks) of unsalted butter, room temperature, plus more to butter the pan
3 cups of AP flour, plus more for the pan
1 and 1/2 cups granulated sugar
2 large eggs
2 and 1/2 cups smooth peanut butter
1 and 1/2 teaspoons salt
1 teaspoon baking powder
1 teaspoon vanilla extract
1 and 1/2 cups of your favorite jam flavor (I used strawberry and classic grape—I’ll explain)
2/3 cup salted peanuts, roughly chopped

Method:
1. Preheat your oven to 350 degrees. Grease a 9-by-13-inch pan with butter, and line the bottom with parchment paper. Grease the parchment, and coat inside of the pan with flour; set aside.
2. Place the butter and sugar in the bowl of an electric mixer fitted with the paddle attachment. Beat the mixture on medium-high until fluffy, about 2 minutes. Add eggs and peanut butter; beat on medium until well-combined (this took me about 3-4 minutes; the original recipe estimates 2).
3. Whisk together the salt, baking powder, and flour. Add dry ingredients to mixture and beat on low-medium speed until well-combined (this took me another 3-4 minutes, alternating between speeds).
4. Add vanilla and mix until incorporated.
5. Transfer 2/3 of the mixture to your prepared pan, and spread evenly.
6. With a spatula, spread jam on top of peanut-butter mixture. **
7. Crumble remaining peanut butter mixture on top of the jam layer, and sprinkle with peanuts.
8. Bake until the tops turn golden, about 45-55 minutes. (The inserted toothpick test doesn’t really work here because the jelly layer is always going to be gooey.)
9. Transfer to a wire rack and make sure to cool these completely before cutting into them. I stuck them in the fridge to set for about an hour and then left them out on my counter for another hour before slicing them up—and that totally did the trick.

**I wanted to see what these would taste like with both strawberry and grape jelly, so I decided to put strawberry over half of the base and grape over the other half. While I don’t think the two versions taste remarkably different from one another, I do like the way the strawberry version gives you a touch of tanginess while the grape bars really take you back to that classic old-school flavor. I also wound up with a few hybrid bars as a result of the strawberry and grape jellies melting into each other in the middle of the pan during the baking process, but happily, those tasted just as good as their individual strawberry or grape counterparts.