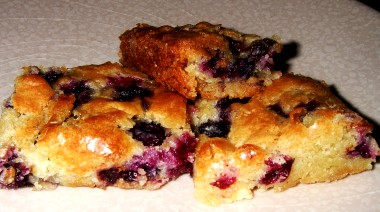
I’m clearly on a blueberry, strawberry, and white chocolate kick. Summertime just does that to me I guess. I used my go-to white chocolate blondie recipe as a base for these bars and added in the strawberries because, well, I’m in the midst of a love affair with strawberries and I might as well celebrate it.
I love the contrast of the slightly tart and tangy strawberries with the sweetness of the white chocolate. Even though I’m not one of those people who shuns white chocolate ’cause it’s too sweet, I definitely appreciate the balance of flavor the strawberries bring to the mix. Incidentally, you could substitute strawberries for another tart fruit, like raspberries, and get similarly delicious results.
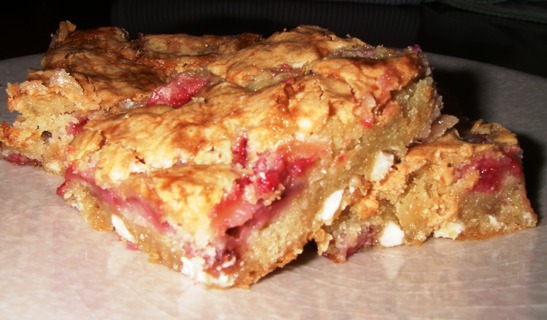
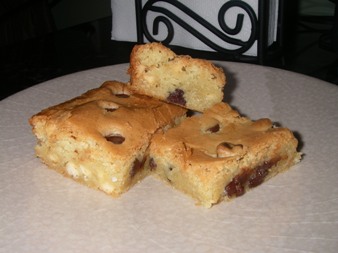
White Chocolate Strawberry Blondies
Ingredients:
1 cup AP flour
½ teaspoon baking powder
½ teaspoon salt
5 tablespoons butter
2 eggs
1 cup granulated sugar
3 teaspoons vanilla
1 cup white chocolate chips or chopped white chocolate
1 cup strawberries, chopped
Method:
1. Preheat your oven to 350 degrees and lightly grease an 8×8 baking pan.
2. In a small bowl, whisk together the flour, baking powder, and salt. Set aside.
3. Using either your stovetop or microwave, combine the butter and white chocolate to melt. If using your stovetop, put butter and white chocolate in either a double boiler or heavy duty saucepan and melt on low heat while stirring frequently. If using the microwave, put butter and white chocolate in a small bowl and melt on 50% power for 30-second increments until butter is melted and white chocolate is mostly melted. Use a fork or whisk to get the chocolate nice and smooth.
4. In a large bowl, whisk together your eggs, sugar, and vanilla. Add in the white chocolate mixture and whisk until smooth and well-combined.
5. Whisk or stir in the flour mixture until incorporated.
6. Stir in strawberries. (Quick note: If you’re washing your berries on the spot, make sure to pat them dry before adding to batter. You’ll want to eliminate as much moisture as possible before baking.)
7. Pour batter into prepared pan and bake for 35-40 minutes, or until an inserted toothpick comes out clean. Let the blondies cool completely (at least 90 minutes) in the pan before cutting into bars.