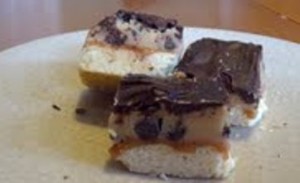
Caramel Cookie Dough Shortbread Bars

The other day, my 16-month-old locked me in my pantry. No, I’m not kidding.

I was standing in the doorway of my walk-in pantry, whose knob was set as locked to prevent my sneaky child from busting into my closed pantry behind my back and helping himself to whatever goodies he can reach. As I was combing the shelves looking for some caramel candies, the baby decided to sneak up behind me and start pushing the door into me. Now in all fairness, I didn’t try very hard to resist, thinking there was no way my little 16-month-old could possibly exert enough force to shove my body all the way into the pantry via the door. But lo and behold, I was wrong, ‘cause about eight seconds later, the child managed to push me all the way into the pantry, thus locking me in.

My husband, who was on hand for most of this scene, found it extraordinarily funny. Me, not so much. Actually, that’s not true. I laughed about it after the fact, but was also quite thankful that my husband was on hand to immediately bust me out.

Of course, this incident has caused me to rethink my strategy of keeping the child out of the pantry, and so going forward, I will not lock the door, but rather will use one of those annoying but necessary baby-proof knobs that makes opening things unbelievably difficult (for me) but will most likely do the job of keeping my junk food stash safe and out of my child’s mouth.

Anyway, once I recovered from my very brief moment of pantry incarceration, I got to work making these amazing shortbread cookie bars. I’ve done something similar in the past along the lines of classic Millionaires’ Shortbread, which is basically a shortbread base, caramel center, and chocolate glaze. But when I saw this recipe on Brown Eyed Baker, one of my absolute favorite baking blogs, I decided I had to go for it.

These bars are nothing short of amazing. I was actually worried that the cookie dough layer would make them a bit too sweet, but they turned out perfectly. The original recipe is enough for an 8×8 pan, but I wanted extra to bring in to work, so I made one and a half times the recipe to fill a 9×13. In hindsight, I could’ve stuck with the 8×8. These bars are wonderful, but they’re also incredibly rich, and believe it or not, you really only need a small piece to come away satisfied.

Although you do have the option of storing these beauties at room temperature, I decided to keep mine in the fridge and found that I enjoyed them cold—so much so, that my once-ample supply is now rapidly dwindling.

bilbarsjpg

Caramel Cookie Dough Shortbread Bars
Original recipe from Brown Eyed Baker

Ingredients:

For the shortbread base:
1/3 cup unsalted butter, at room temperature
1/3 cup granulated sugar
1/2 teaspoon vanilla extract (I used a little more to bring out the vanilla flavor)
1/4 teaspoon salt
1 cup AP flour

For the caramel layer:
7 ounces soft caramel candies (about 25 candies), unwrapped (I used Kraft caramels)
2 tablespoons heavy cream

For the cookie dough layer:
1/2 cup unsalted butter, at room temperature
1/2 cup light brown sugar
1/4 cup granulated sugar
2 tablespoons heavy cream
1/2 teaspoon vanilla extract
3/4 cup AP flour
Pinch of salt
1/2 cup semisweet chocolate chips

For the chocolate glaze:
4 ounces semisweet chocolate, chopped
1 tablespoon unsalted butter

Method:

To make the shortbread:
1. Preheat your oven to 350 degrees. Line an 8×8 inch baking pan with parchment paper, leaving some overhang on two sides.
2. Beat the butter and sugar with an electric mixer on medium speed until the mixture is light and fluffy, about 2-3 minutes.
3. Add the vanilla and salt, and beat until combined.
4. Add the flour and mix until just incorporated; the dough may appear slightly crumbly.
5. Firmly press the dough into your prepared pan. Bake for 18 to 22 minutes (22 to 25 minutes if you’re making enough for a 9×13 pan), or until the edges are lightly golden.
6. Remove pan from the oven and set on a wire rack to cool slightly.

To make the caramel layer:
1. Place the caramel candies in a small saucepan over medium heat. Add the heavy cream and stir until completely melted. (Disclaimer: I totally cheated and melted these together in the microwave. It turned out just fine, but I made sure to watch it carefully.)
2. Pour the caramel mixture over the shortbread crust and spread into an even layer.
3. Refrigerate until set, about one hour.

To make the cookie dough:
1. Combine the butter and sugars in a large mixing bowl and beat on medium speed until light and fluffy, about 2 to 3 minutes.
2. Add the heavy cream and vanilla and mix well.
3. Add the flour and salt, and mix on low until incorporated.
4. Stir in the chocolate chips.
5. Spread the cookie dough on top of the set caramel layer, using a spatula to smooth the dough into an even layer.
6. Refrigerate the pan while you prepare your glaze.

To make the chocolate glaze:
1. Combine the chocolate and butter in a microwave-safe bowl. Heat the mixture on 50% power in 30-second increments, stirring well after each, until it’s completely melted and smooth.
2. Spread the glaze over the cookie dough layer and chill in the fridge until set, about one hour.

To remove the bars from the pan, grasp the edges of the parchment paper and lift out the entire block. Place on a cutting board and use a sharp knife to cut into squares.

The original recipe says that these can be stored at room temp in an airtight container for up to three days. As I said, I opted to keep mine in the fridge. Don’t struggle with the decision too much; they’re delicious either way.

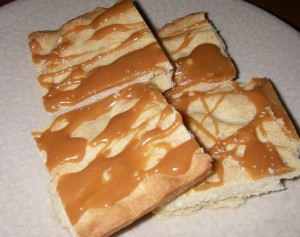
Vanilla Cardamom Shortbread Bars with White Chocolate Caramel Glaze

Just when it seemed like the weather was finally starting to get a bit warmer around here, bam—another cold front hit. Okay, it wasn’t exactly a cold front, but after several days of temps in the 60s and 70s (you know, actual spring weather), it went back down to the low 50s with a vengeance. Now I realize that 52 degrees isn’t actually freezing. But throw in cloudy, gray skies, a bout of rain, and, oh yeah, the fact that it’s late April, and all it took was a couple of cooler days to make me want to curl up in a blanket the moment I put the child to bed.

Of course, no couch potato moment would be truly complete without something freshly baked to accompany it, and so I decided to whip up some shortbread cookie bars. The base is very similar to that of the Samoa bars I made last week, only it incorporates a bunch of fall spices that jack up the flavor and work well with the caramel and white chocolate topping.

Now I have to say, I really love the way these babies turned out. But more so than that, they smelled absolutely amazing while they were baking up. Had I been able to somehow capture the smell and mass-produce a line of household products and candles to feature it, I would’ve found myself sitting on a goldmine. But alas, all I could do was enjoy the sweet aroma of vanilla, cinnamon, nutmeg, and cardamom wafting through the air as the rain kept rapping against my windows and the wind howled in protest of spring.

vanshortbread

Vanilla Cardamom Shortbread Bars with White Chocolate Caramel Glaze

Ingredients:

For the shortbread cookie base:
1/2 cup sugar
3/4 cup butter, softened
1 large egg
1 and 1/2 tsp vanilla
2 cups Ap flour
1/4 tsp salt
1/4 tsp cardamom
1/4 tsp cinnamon
1/4 tsp nutmeg

For the topping:
1/2 cup Kraft caramel bits (or a half cup’s worth Kraft caramel candies, unwrapped)
1 tbsp whole milk
1/2 cup white chocolate, melted

Method:

To make the shortbread cookie base:
1. Preheat your oven to 350 degrees. Lightly grease a 9×13-inch baking pan, or line with parchment paper.
2. Cream together sugar and butter until fluffy.
3. Beat in egg and vanilla extract.
4. Gradually beat in flour, salt, and spices at low speed until mixture is crumbly.
5. Pour crumbly dough into prepared pan and press into an even layer.
6. Bake for 20-25 minutes, until base is set and edges are lightly browned.
7. Cool completely on a wire rack before adding the topping.

To make the topping:
1. Combine caramel bits, milk, and white chocolate in a medium bowl.
2. Heat in the microwave for 30-second increments at 50% power, stirring the mixture in between. You’ll find that the caramel will melt before the white chocolate, so it’s important to keep stirring. When the white chocolate is mostly melted, vigorously whisk the mixture together to eliminate the lumps.
3. Drizzle the mixture over the shortbread base.
4. Allow to set in the fridge for an hour before cutting into bars.


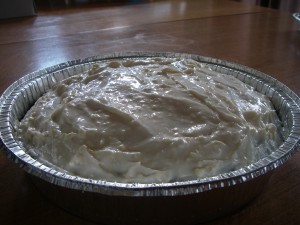
Chocolate Guinness Cake

I’ve slowed down a little on the baking front lately, mostly because life and its various priorities have gotten in the way. But in honor of my brother-in-law’s birthday, which happens to be St. Patrick’s Day, I had to squeeze in a quick baking session to whip up a deliciously moist chocolate cake. I decided to try something I’ve wanted to do for awhile: Make a chocolate cake with stout. I chose to use Guinness since we already had some in the house, and I have to say, the cake turned out wonderful. It was incredibly rich and moist, and although you could taste a hint of the Guinness in it, it wasn’t overly strong.

I topped my cake off with a cream cheese frosting, but you could easily swap that for a simple chocolate glaze, confectioners sugar, or nothing at all. The best part? This cake took practically no time to make…or eat, which is a testament to how good it is.

IMGP1737

Chocolate Guinness Cake
Cake recipe from A Whisk and a Spoon

Ingredients:

For the cake:
1 and 1/2 cups AP flour
1 cup granulated sugar
7 tablespoons unsweetened cocoa powder (I used 3 regular and 4 dark)
1/2 teaspoon baking soda
1/2 teaspoon salt
1/2 cup Guinness (or other stout of your choice)
1/2 cup espresso or strong coffee
1/4 cup water
2 teaspoons vanilla
1 teaspoon apple cider or white vinegar
1/2 cup vegetable oil

For the frosting:
1 stick of butter at room temperate
8 oz cream cheese at room temperature
2 cups confectioners sugar
1 teaspoon vanilla extract

Method:

For the cake:
1. Preheat your oven to 350 degrees. Grease an 8-inch cake pan with cooking spray, then line with parchment and lightly spray the parchment.
2. Whisk together the flour, sugar, cocoa, baking soda, and salt in a medium bowl.
3. In a measuring cup, mix together your stout, coffee, water, vanilla and vinegar. Stir gently into the flour mixture.
4. Add oil and stir gently until you have a smooth batter.
5. Pour the batter into your prepared pan and bake for 30-35 minutes, or until an inserted toothpick comes out clean.
6. Let the cake cool on a rack before peeling off the parchment paper. Top with frosting, glaze, or confectioners sugar. Or, just let this fudgy masterpiece stand on its own.

For the frosting:
1. Using an electric mixer, beat the butter and cream cheese until smooth (about 3 minutes at medium speed).
2. Add the vanilla and then the confectioners sugar; mix on low-medium speed until well-combined. Depending on how thick you want your frosting, you may want to add extra confectioners sugar by the tablespoon to reach your desired consistency.


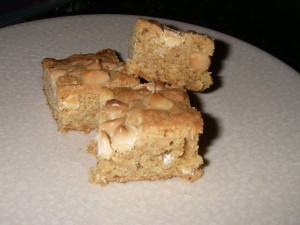
White Chocolate Macadamia Nut Blondies

A lot of people I know don’t like white chocolate. “It’s too sweet,” they’ll insist. Well that’s fine, but I think white chocolate is utterly delicious. (And since when did “too sweet” become a problem?)

For those of you who find white chocolate to be a bit too sweet on its own, consider these fabulous blondies. The rich, chewy cake captures that classic blondie flavor, and the addition of the macadamia nuts helps offset the sweetness of the white chocolate by introducing just the right amount of saltiness.

Best of all, these blondies are quick and easy. The most time-consuming part of the process for me was chopping the macadamia nuts, and even that didn’t take very long (plus, I got to snack on some as sort of a pre-blondie treat).

Enjoy these blondies on their own, or go crazy and drizzle a little bittersweet chocolate sauce over them to jazz ‘em up even more.

IMGP1709

White Chocolate Macadamia Nut Blondies
Recipe very slightly adapted from Beantown Baker

Ingredients:
3/4 cup butter
1 and 1/2 cups brown sugar (I used half dark and half light)
1 tbsp plus 1 tsp vanilla
2 eggs
2 cups AP flour
1 and 1/2 tsp baking powder
1 cup coarsely chopped macadamia nuts, divided
1 cup white chocolate chips, divided

Method:
1. Preheat your oven to 350 degrees and grease a 9×13 baking pan.
2. Heat the butter and brown sugar in a saucepan over low heat or in your microwave on low power until melted. Let cool to room temperature before continuing.
3. Beat the vanilla and eggs into your sugar mixture.
4. Beat in flour and baking powder on low speed.
5. Stir in half of the macadamia nuts and white chocolate chips.
6. Pour the mixture into your prepared pan, and then sprinkle with remaining nuts and white chocolate chips.
7. Bake 30-35 minutes, or until an inserted toothpick comes out clean. The tops of the blondies should be slightly browned—but not too brown—before you remove them from the oven.
8. Let the blondies cool completely in their pan before cutting into them.


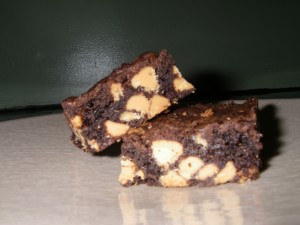
Chewy Dark Chocolate Cookie Bars With Peanut Butter Chips

There’s just something about the marriage of chocolate and peanut butter that works wonders for my taste buds. I’ve made countless desserts featuring this classic combination, and I have to say, these bar cookies are definitely among my favorite.

First of all, they’re just so incredibly easy to prepare, and you get a lot of bars for not a lot of work. Second, they’re chewy and flavorful without being overwhelmingly sweet or rich. The original recipe calls for regular unsweetened cocoa, but I’ve been on a dark chocolate kick, so I decided to use mostly dark cocoa for my batch.

If you have about 15 spare minutes tonight (which, trust me, I know some of you don’t), go ahead and make these. Then pour yourself a tall glass of cold milk and enjoy each wonderful bite.

IMGP1704

Chewy Dark Chocolate Cookie Bars With Peanut Butter Chips
Recipe from Hershey’s

Ingredients:
2 and 1/2 sticks butter, softened
2 cups sugar
2 eggs
2 tsp vanilla extract
2 cups AP flour
3/4 cup unsweetened cocoa (I used about 1/3 cup regular and Hershey’s Special Dark for the rest)
1 tsp baking soda
1/2 tsp salt
1 and 2/3 cups peanut butter chips

Method:
1. Preheat your oven to 350 degrees and grease a 9 x 13 baking pan.
2. Beat the butter and sugar until light and fluffy.
3. Add eggs and vanilla; beat well.
4. Stir together your flour, cocoa, baking soda and salt; gradually blend into butter mixture.
5. Stir in peanut butter chips.
6. Spread the batter into the prepared pan (it will be somewhat stiff).
7. Bake for 25-30 minutes, or until an inserted toothpick comes out clean.
8. Cool the bars completely in their pan on a wire rack before cutting into them.

Heath Bar Blondies

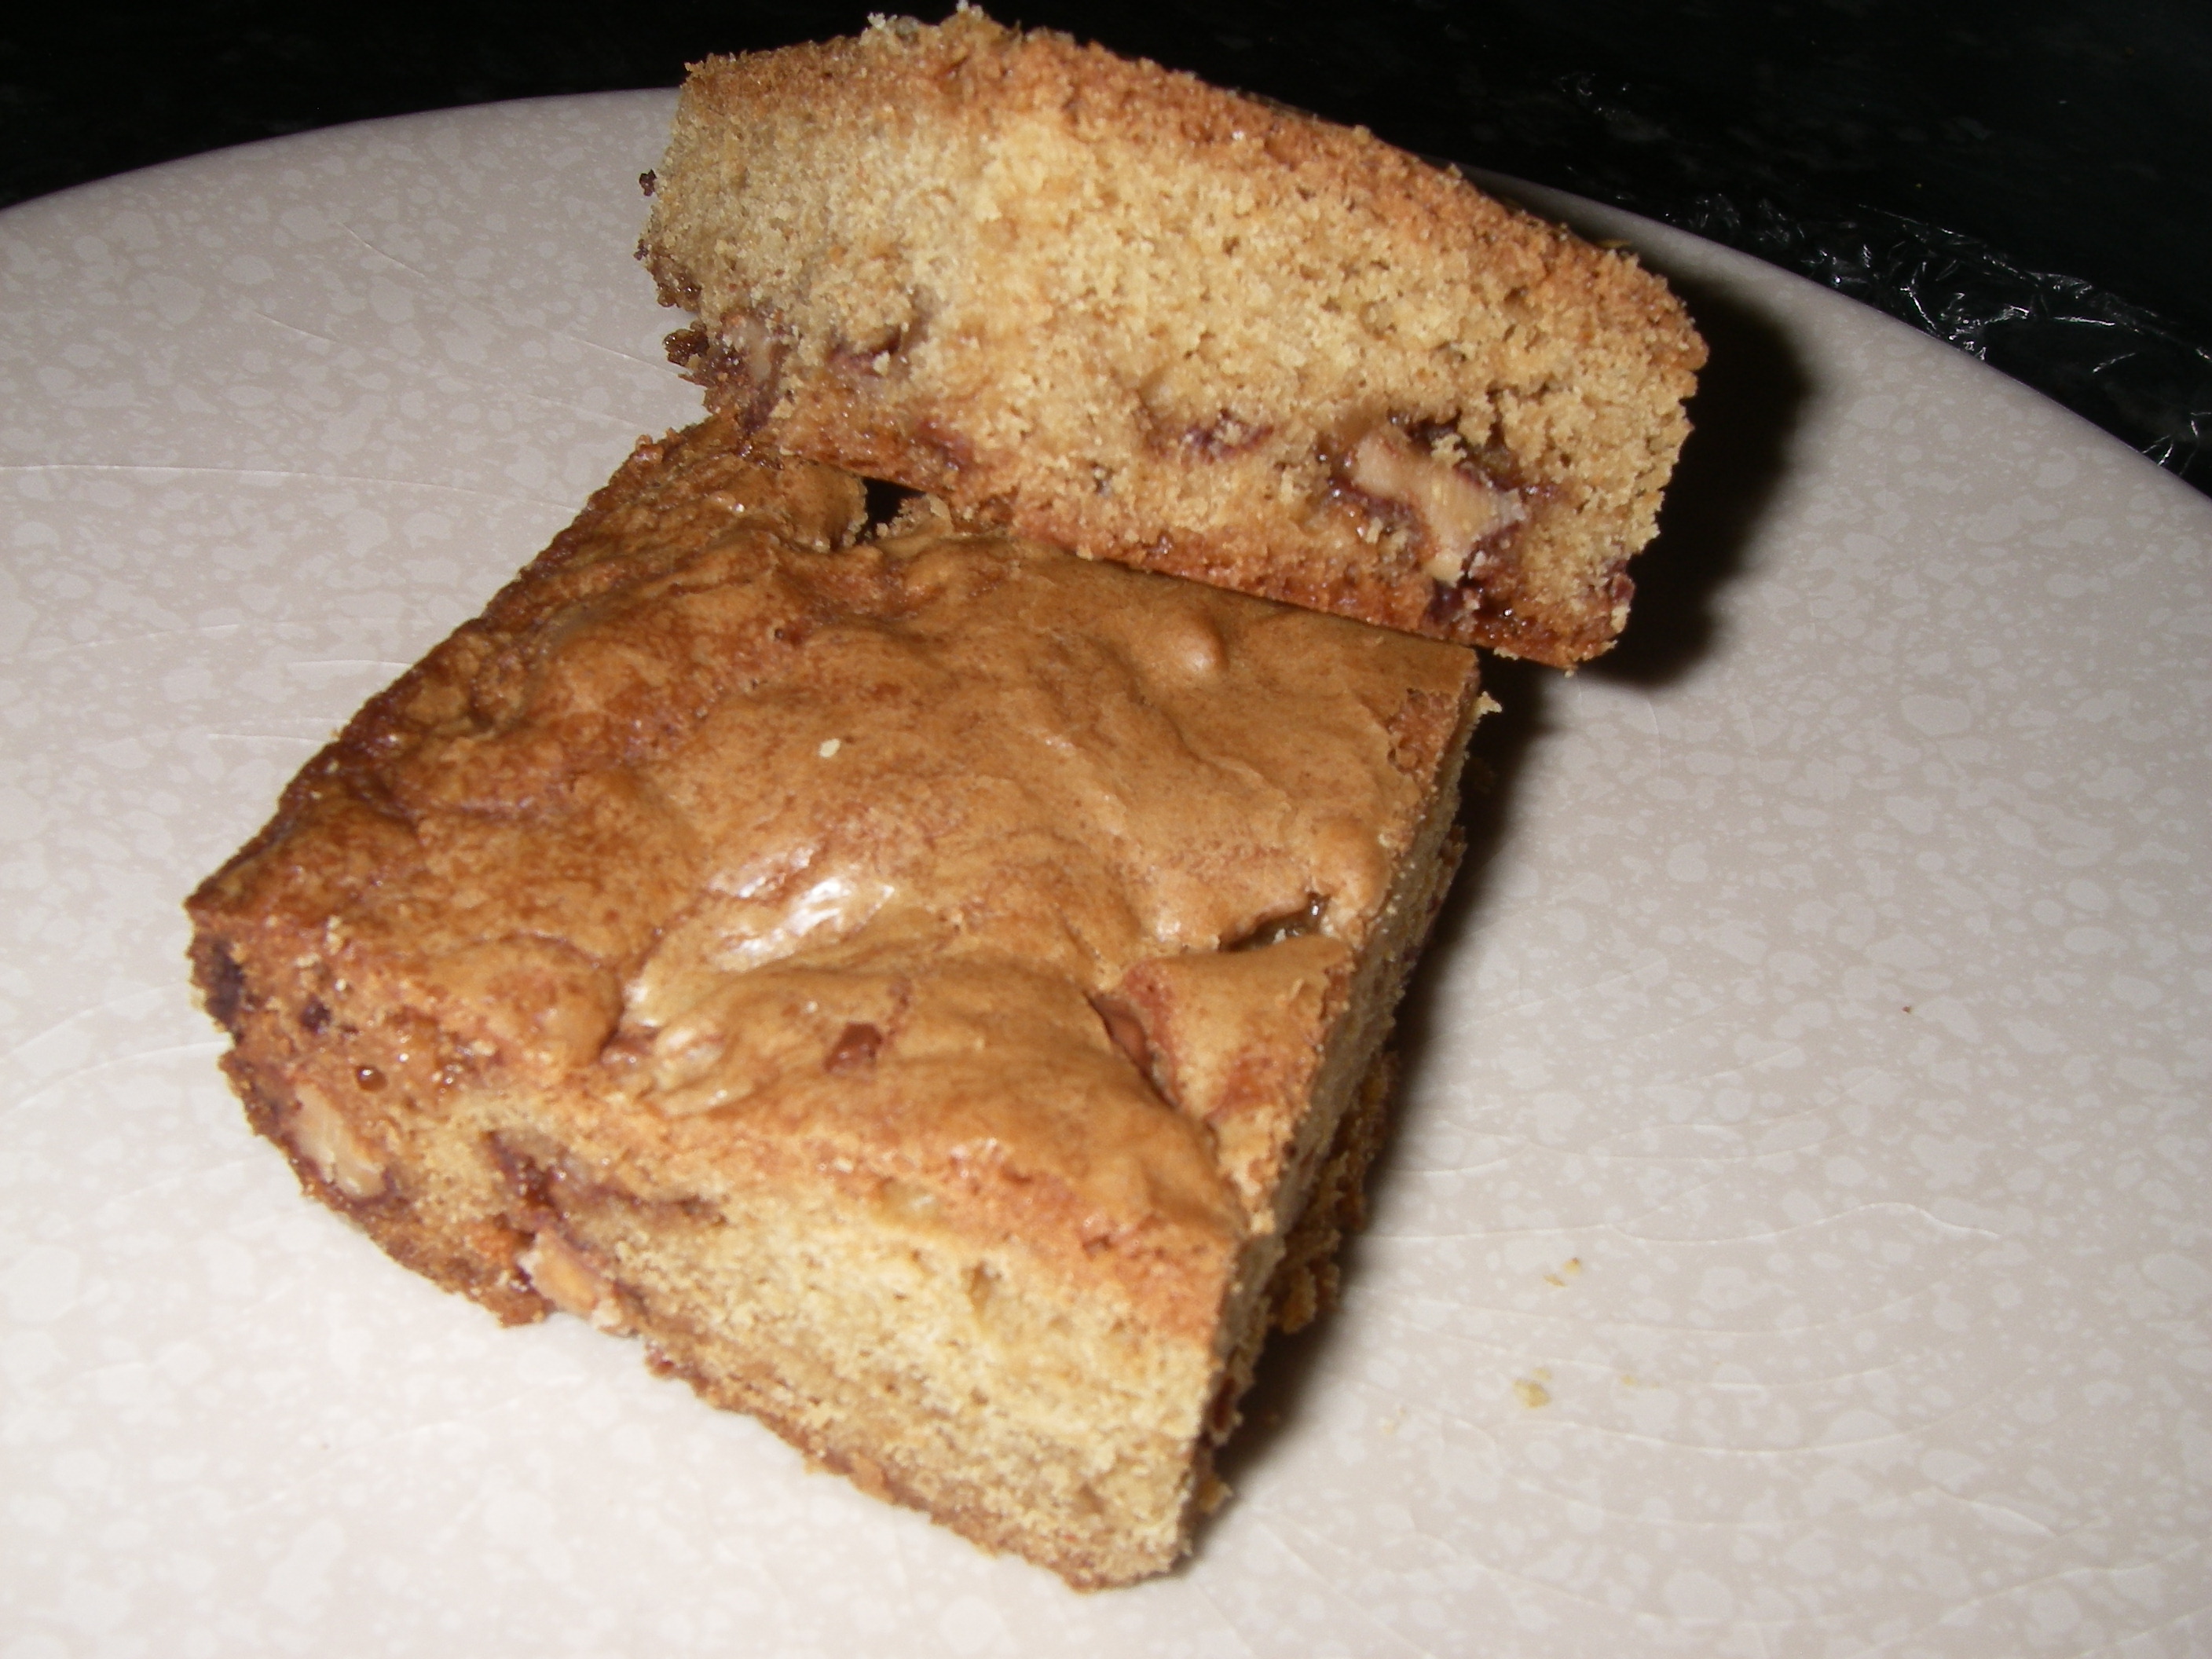
I’m a firm believer that yummy desserts don’t have to be time-consuming or complicated. Case in point: these Heath bar blondies. They took me almost no time to whip up, and the end result was just insanely good—crispy toffee and chocolate pieces scattered amidst dense, chewy blondie goodness. Does it really get better than that?

IMGP1711

Heath Bar Blondies
Recipe from Lovin From The Oven (a great site, by the way – check it out)

Ingredients:
1 cup AP flour
1/2 tsp baking powder
1/8 tsp baking soda
1/2 tsp salt
1 cup brown sugar
1/2 cup melted butter
1 large egg
1 tsp vanilla
1 cup coarsely chopped Heath Bars

Method:
1. Preheat your oven to 350 degrees and grease an 8×8 baking pan.
2. Mix or whisk together the brown sugar and melted butter until well-combined.
3. Whisk in the egg and vanilla.
4. Add the dry ingredients to the batter and mix until well-blended.
5. Stir in the chopped-up Heath pieces.
6. Bake for 30-35 minutes, or until an inserted toothpick comes out clean.
7. Let the blondies cool completely in their pan before cutting into them.


Mom’s Carrot Loaf

Okay, I’m going to come right out and say it: I’m way overdue for a sugar detox. I blame the winter, really—the constant cold weather makes me want to spend my (limited) free time indoors, whipping up goodies and then eating them on the couch all wrapped up in a blanket. But lately I’ve been going overboard, just tossing all notions of self-control out the window in favor of frequent face-stuffing and brownies galore. It has to stop, at least for a day or two.

Of course, when I say sugar detox, I’m talking in relative terms. I mean, a girl’s still gotta eat, right? But I did decide to whip up a recipe that’s relatively light on the sugar front.

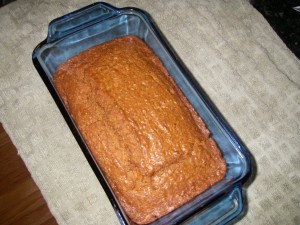
This carrot loaf is one that my mom used to make back when I was a kid. She actually used to serve it a side dish during dinner, but it’s just sweet enough to qualify as dessert. In my mind, it’s actually the perfect breakfast food. And best of all, it’s super easy to make. The toughest part is grating the carrots, and if you’ve got a food processor, that takes no time. Once your carrots are ready, it’s a simple matter of throwing the ingredients into a large bowl and mixing them together by hand.

As far as serving goes, I prefer this carrot loaf at room temperature, but I know some people like it warm. And my husband likes it cold right out of the fridge, so when I make it, I usually stick half in there for him and keep my half on the counter. In fact, another great thing about this recipe is that it’ll keep for several days stored at room temperature and up to a week in the fridge—though it never lasts that long in my house because of that self-control thing we talked about earlier. At least I’m aware of the problem.

IMGP1439

Mom’s Carrot Loaf

Ingredients:
2/3 cup butter or margarine
1/2 cup brown sugar
1 egg
2 cups grated carrots
1 1/4 cup flour
1 tsp. baking powder
1 tsp. baking soda
1 TB lemon juice
1 TB water
1 tsp. vanilla
1/2 tsp cinnamon
1/2 tsp. salt

Method:
1. Preheat your oven to 350 degrees and lightly grease a medium-sized loaf pan.
2. Whisk together flour, baking powder, and baking soda together.
3. Add egg and brown sugar; whisk to combine.
4. Stir in lemon juice, water, vanilla, cinnamon, salt, and carrots.
5. Pour into prepared pan and bake for 45-55 minutes, or until an inserted toothpick comes out clean. Cool in pan on a wire rack.


White Chocolate Coconut Brownies

Sometimes, if you’re me, you find yourself in the mood for something insanely sweet yet easy to whip up. These brownies totally fit the bill. They took almost no time to throw together and didn’t require me to bust out the gadgets.

Now I will warn that the sweetness factor is intense. You’ll probably want to cut these into bites more so than bars or squares…unless you’re me, in which case you’ll want to stuff your face with way too large a piece for your own good.

I got the recipe from Brown Eyed Baker. If you haven’t visited this site yet, stop what you’re doing and check it out. This is definitely one of my go-to sources when I need a new dessert idea. Take a look and you’ll see why.

badpicbrownies

White Chocolate Coconut Brownies
Ingredients:
1 and 1/3 cups all-purpose flour
1 teaspoon salt
11 ounces white chocolate, chopped
2 sticks unsalted butter, cut into 1-inch pieces
1 and ½ cups white sugar
½ cup light brown sugar
5 eggs, at room temperature
2 teaspoons vanilla extract
1 cup shredded sweetened coconut

Method:
1. Preheat the oven to 350 degrees. Line a 9×13 pan with parchment paper and set aside.
2. Whisk the flour and salt together.
3. Melt the white chocolate and butter. Since I didn’t have a ton of time, I cheated and did this by putting the mixture in a glass bowl and microwaving it for 30-second increments at 50% power until it was ready. The original recipe suggests setting the white chocolate and butter mixture over a saucepan of simmering water to melt it properly.
4. Whisk in the white and brown sugars.
5. Whisk in the eggs one at a time
6. Stir in the vanilla extract.
7. Stir in the flour mixture and coconut using a rubber spatula—not a whisk.
8. Pour the batter into the prepared pan and use the spatula to smooth the top.
9. Bake for 30 minutes until a toothpick inserted comes out clean and the top looks nice and crispy.
10. Cool in the pan on a wire rack. Once cooled completely, you can lift the brownies out using the parchment paper and then cut them into small bites or squares.


Blizzard Brownies

Living in the Northeast means you have to expect snowstorms at least once in awhile. Today is apparently one of those days. They’re calling the impending storm a weather event of epic proportions,  or something ridiculously dramatic along those lines. I mean, I get it: You want people to be prepared. And that’s fine. But I just find it a touch annoying that every storm that rolls around these days is hailed as the biggest, baddest version  of anything we’ve ever known.

Now, having gotten that rant out of the way, I will say that it looks like we’ll be stuck at home for the next day or so. And based on previous experiences, we can’t really rule out the possibility of a power outage. See, most people’s power companies are equipped to handle weather-related outages. Mine isn’t. So generally, when the power goes out, it stays out for awhile. And while we did invest in a generator, we can only use it to power so many appliances at a time—which means if we do wind up with an outage, my ability to bake will be seriously hampered. And since I obviously can’t risk being cooped up for the weekend without an ample supply of sweets on hand, I decided to take a few minutes to whip up a batch of brownie goodness.

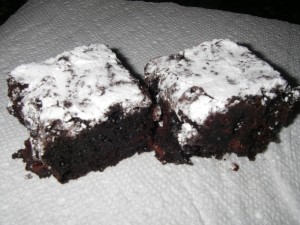
These brownies are, simply put, super yummy. They’re definitely dense and intense, but they’re not quite as sweet as your average brownie. I like how the coffee flavor really comes out and complements the rich dark chocolate without being too overpowering. And these are definitely the kind of brownies that would go well with a nice scoop of vanilla or coffee ice cream. So if you’re expecting to be stuck indoors this weekend, take 15 minutes out of your evening (yes, that’s really all you need to throw these together, including cleanup) and bake yourself some brownies. Then go grab a blanket, queue up your favorite movie, and enjoy some delightfully delicious downtime. You can worry about clearing out your driveway tomorrow.

IMGP1644

Blizzard Brownies (or, for some context, Intense Dark Chocolate Brownies)

Ingredients:
1 cup AP flour
2/3 cup unsweetened dark cocoa powder (I used Hershey’s Special Dark)
1 and ½ cups granulated sugar
½ cup confectioners sugar,plus more for dusting
1 tablespoon instant coffee
¾ teaspoon salt
3 large eggs
1/3 cup vegetable oil
1 tablespoon water
1 tablespoon milk (I used skim)
½ cup dark chocolate chips (again, I used Hershey’s Special Dark)
½ cup semisweet chocolate chips

Method:
1.    Preheat your oven to 350 degrees. Grease an 8×8 baking pan and set aside.
2.    In a large bowl, mix the flour, cocoa powder, sugars, instant coffee, and salt.
3.    Add in the eggs one at a time, and mix well (I recommend using a spoon instead of a whisk—the batter will be quite thick at this point, and it may be easier to work with a spoon).
4.    Add in the oil, water, and milk, and mix well.
5.    Stir in the chocolate chips.
6.    Pour the mixture into your prepared pan and bake for 35 to 40 minutes, or until an inserted toothpick comes out clean. Wait about 20 minutes and then dust with confectioners sugar.
7.    Let the brownies cool completely before cutting into them. Or, if you’re me, reject the notion of self-control and grab yourself a warm, gooey bite shortly after they come out of the oven. Either way works, I suppose.

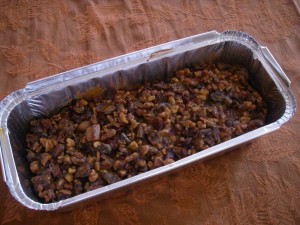
Dried Fruit and Nut Cake

The other day, I was in the mood for something a little different. And I had various containers of dried fruit in my pantry that I really wanted to use up, ‘cause, um, yeah, I needed to clear some space to accommodate my latest Costco run. (Ever been to Costco? That place is wonderful and evil at the same time—especially because whenever I go there, I just seem to get into this mode where I start thinking “yes, it is a good idea to buy three different types of chocolate chips in bulk.”) Anyway, the dried fruit (among other things) had to go, so I took the opportunity to tackle a recipe I’d seen awhile back.

This cake is really more like a giant granola bar. And I’ll warn that it’s fairly dense—you need a pretty solid knife to cut through it. But it’s also super tasty, and incredibly quick and easy to make. The most time-consuming part was chopping up all the dried fruit, and even that only took a few minutes. And the result was an interesting concoction that I’ll happily be eating all week long.

IMGP1510
Dried Fruit and Nut Cake
Recipe from David Leibowitz

Ingredients:
7 tablespoons AP flour
7 tablespoons granulated sugar
3 large eggs
1/2 teaspoon ground cinnamon
1/4 teaspoon ground nutmeg (I like nutmeg, so I used a bit more, but not quite a half teaspoon)
1/8 teaspoon ground cardamom
Pinch of ground cloves (I omitted this)
Pinch of salt
1 and 1/2 cups of chopped up dried fruit (I used dried cranberries, apricots, dates, and prunes)
1 and 1/2 cups of chopped nuts, lightly toasted (I used walnuts and pecans)

Method:
1. Preheat your oven to 300 degrees. Grease a 9-inch loaf pan.
2. Mix the flour, sugar, eggs, salt, and spices in a large bowl.
3. Stir in the dried fruits and nuts.
4. Pour the mixture into the prepared pan and bake for 90 minutes. Cool the cake in its pan. When ready to slice, you’ll definitely want to bust out the cutting board and a sharp knife.